Around The Farm :: Settling In

tag_happyjanssenfarm_1370199346

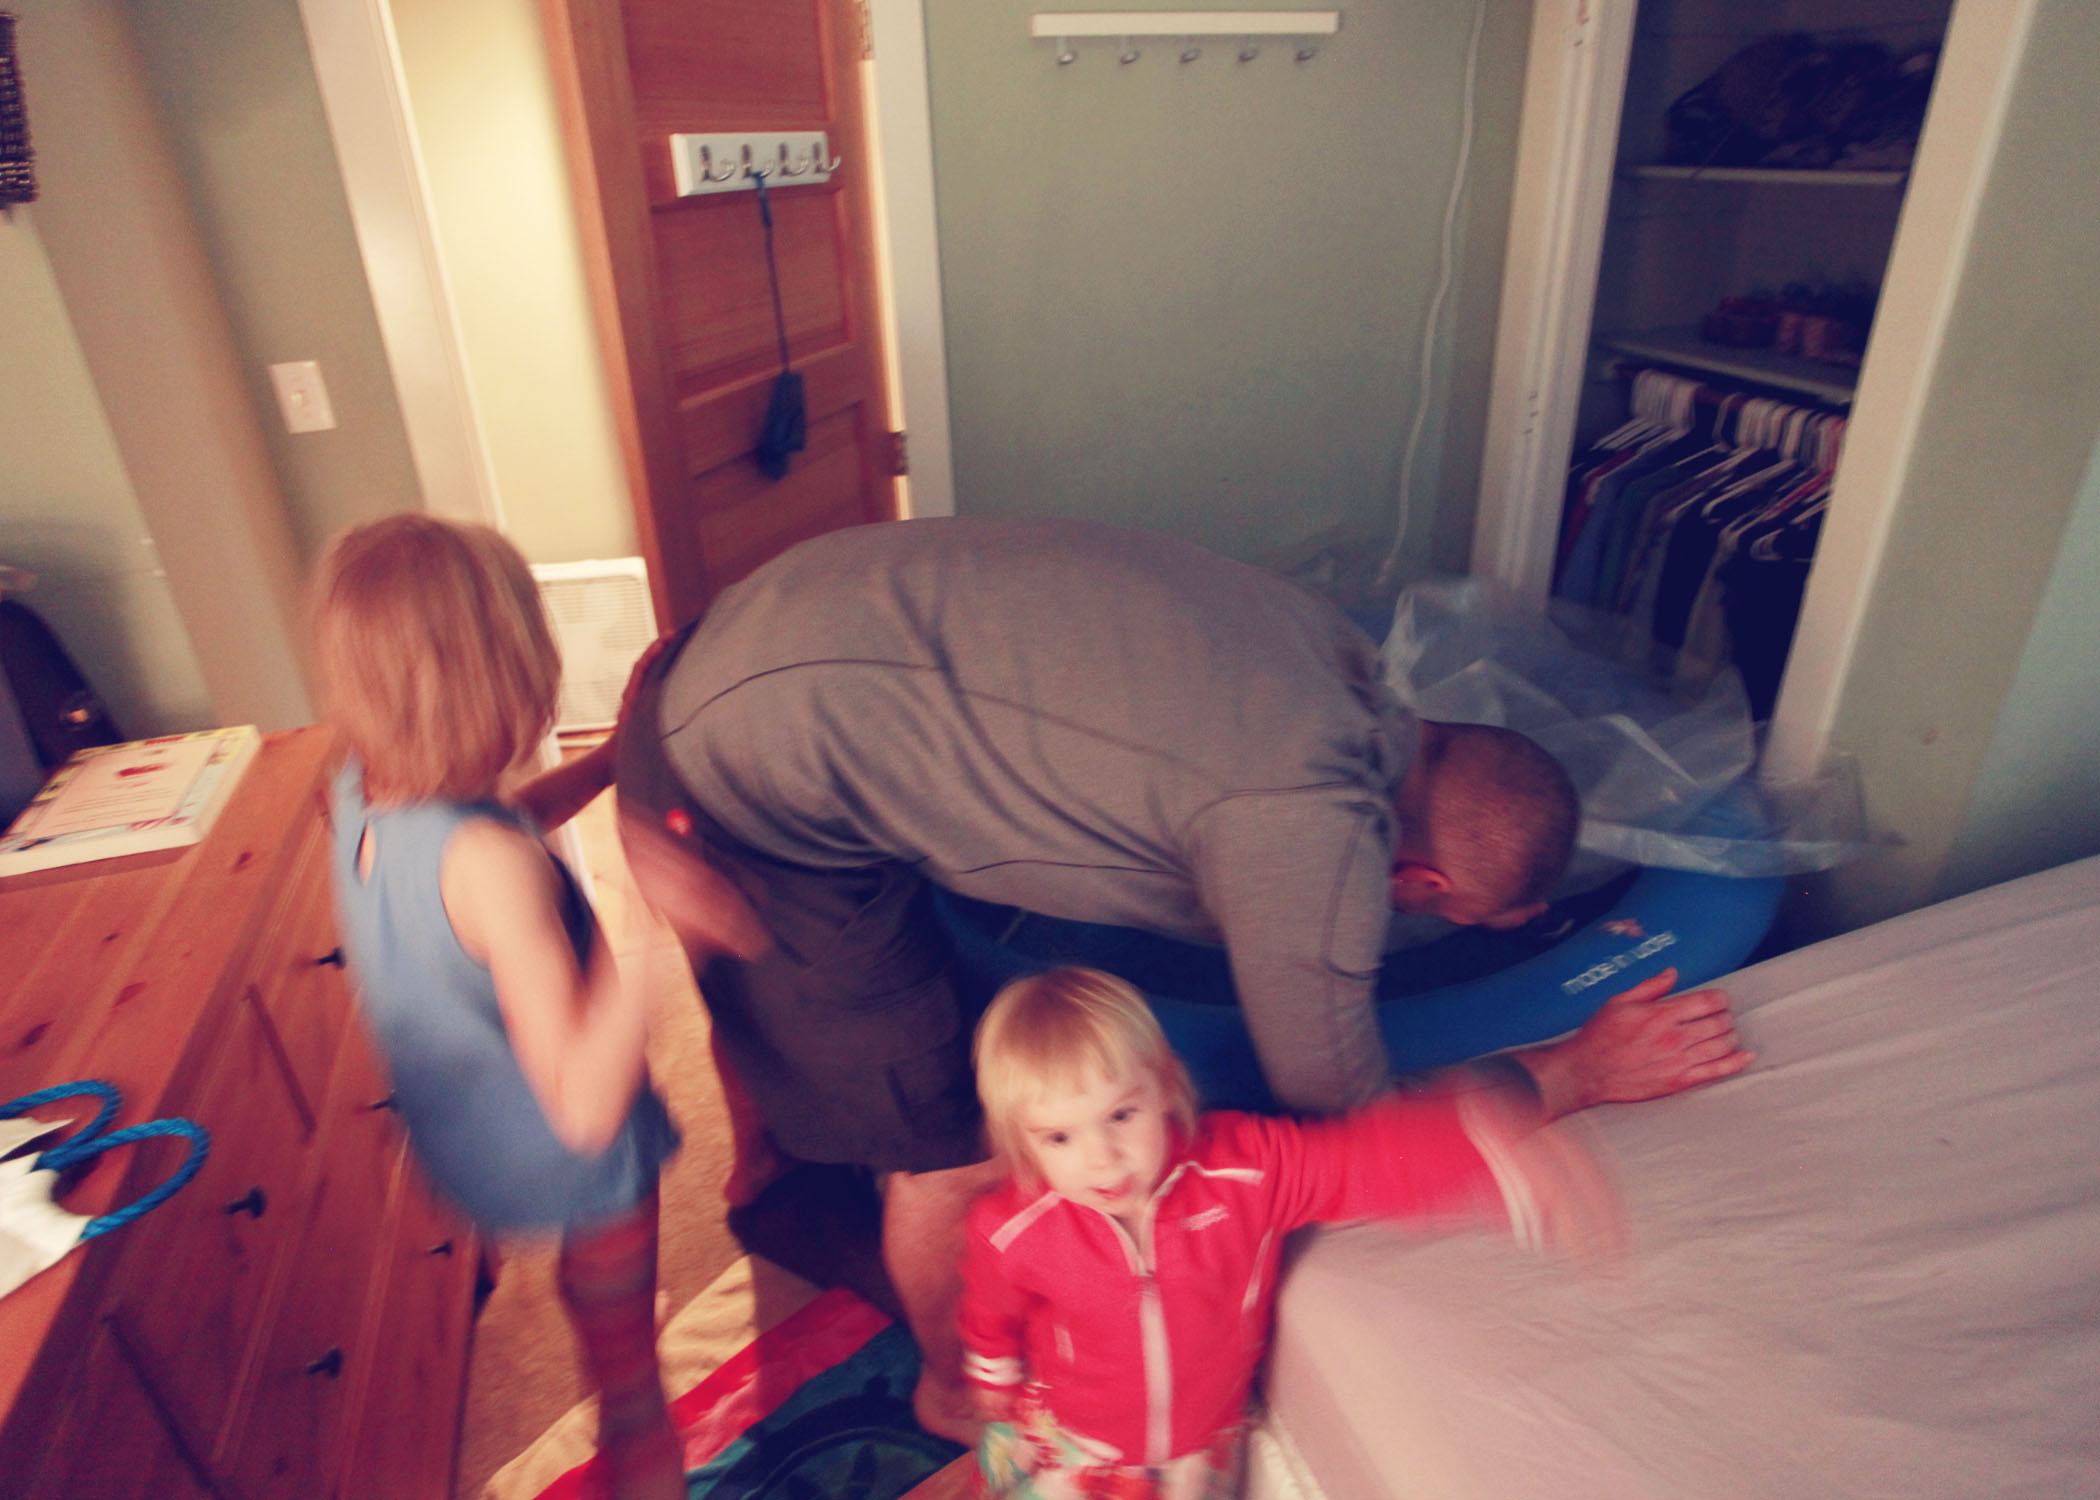
17 lovely eggs were waiting for us in the coop on June 1 when we moved into the farm...a welcome gift from our new flock of chickens. We've been here for 13 days now, and we are deliciously exhausted...literally crashing into the bed every night. We've been digging and fencing and planting and feeding and dreaming. Lots and lots of outdoor play...while our boxes remain mostly packed inside. There will be time for all things...but for now, we live under the sun. Every day has held new adventures...we are learning so much, so fast.

tag_happyjanssenfarm_1370199570

To move right into a space and "inherit" 30 laying hens is...well...pretty awesome. The magic of going outside every morning and finding our breakfast there will never get old!  We have enough eggs for us and enough to sell...so if you are local, let me know!

tag_happyjanssenfarm_1370392736

On our second day here, we said goodbye to a very mean old rooster. A few days later, we welcomed Tony Stark and Ironman...sweet little bantam roosters (breeds: antwerp and porcelain). The girls ADORE them. They were hand-raised and handled daily by our good friends...so they are super friendly.

tag_happyjanssenfarm_1370839211

These four goaties are making me VERY happy. I would sit with them all day, every day if I could! We ended up getting 2 nigerian dwarfs, Cloud and Clover...and 2 nubians, Begonia and Blaster. Jet (nubian) and Violet (nigerian) will be coming to live with us after they wean in August. We'll have a sweet little herd of six...oh so wonderful.

tag_happyjanssenfarm_1370823949

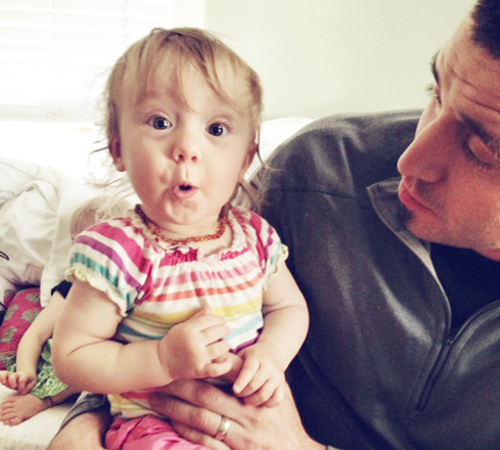
It's so fun to see Emma interact with the animals...they have a special connection :) To go from never owning even a gerbil in the last 13 years to having SO many animals is a bit of a shock, but in a wonderful way! I've had people ask if we "knew what we were getting into". Taking care of animals and a farm is no joke...and yes, we were very aware of the time commitment and responsibility, but the rewards are HUGE! Now I can't imagine how we lived for so long without animals!

echo

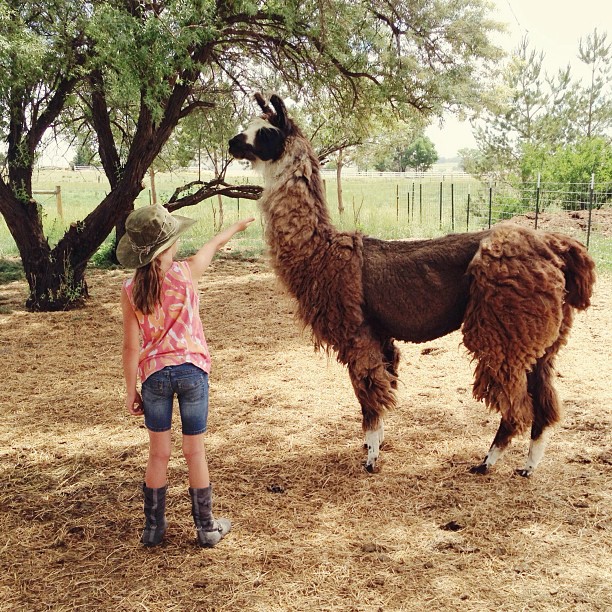
This is Echo, our guard llama (and our friend Mary). She is 18 years old and is an experienced goat guard. She was quite aloof when she arrived, but is definitely warming up to us. Her deep brown eyes are captivating and she is so graceful and majestic. I love her so much already.

tag_happyjanssenfarm_1370733445

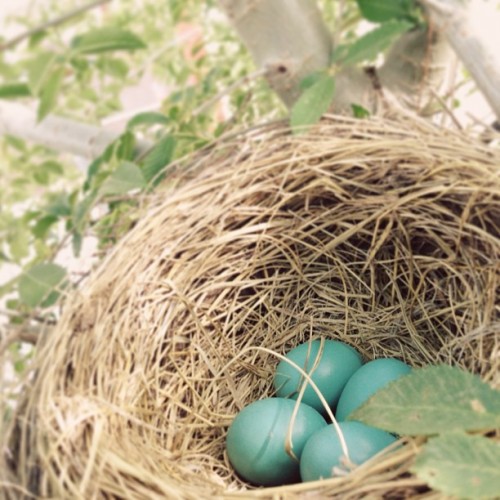
There are lots of other animals around the farm...here is a nest of robin's eggs that we found in a tree above the chicken yard. There are at least 3 other nests on our property with hungry and chirping babies in them...one is right outside our bedroom window!

tag_happyjanssenfarm_1370665824

There are frogs galore...

tag_happyjanssenfarm_1370665515

Lucy LOVES to hold animals and this froggy is no exception.

tag_happyjanssenfarm_1370648474
tag_happyjanssenfarm_1370457178

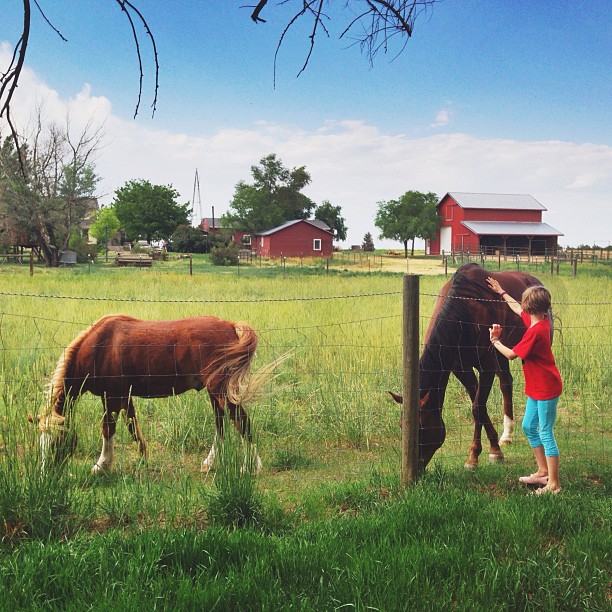
Much to the Bella's delight, our neighboring farm has 2 beautiful horses who graze at our fences.

Boots are a necessity around here...so we figure, why not have cute boots? :)

tag_happyjanssenfarm_1370315390

Clothes on the line...constantly. We don't have a dryer, so I've been enjoying hanging our clothes in the sun.

While we are getting settled, I will be posting a few guest blog posts, but you can find daily photos and happenings on Instagram...I use that space as a micro blog too. See you there!

How To Roast Coffee at Home

so much potential

I love coffee. Really good coffee. One night after geeking out about coffee preparation with my friend Khrista, I went searching for a reputable local roaster. I asked my Facebook friends what their favorite Boulder-based roaster was. And while I did get a few answers...the BEST answer I received was from another friend, Pucky.

He suggested that I could ROAST COFFEE BEANS MYSELF! I don't know why it never dawned on me to learn and experiment with it before. It always just seemed too difficult. He graciously bought me 5 lbs of green beans and had them shipped to my door. I've never looked back!

Getting started with roasting your own beans is so EASY. All you need is an air popper and a strainer. Now...it can't just be any 'ol air popper. The Poppery II from West Bend is widely known to be one that works great for air popper roasting. The Air Crazy is another that has been tested and works. You can find the Air Crazy here. The Poppery II is a little harder to find, as they don't make it anymore. I found mine on eBay, but you might be able to snag one at your local thrift store if you keep an eye out.

I would eventually love to bump up to a "real" coffee roaster...one that roasts more than 1/4 cup of green beans at a time. But for now, this works great!

popper inside

If you have a popper at home, you can try that too, but it MUST look like the photo on the right with the air vents that spin the beans around. Not the mesh bottom. The air vents on the right will spin the coffee while it heats, which is what you want. Here is a link to Sweet Maria's that details everything you ever wanted to know about the air pop/roasting method...including all the different models you could use.

First, I put 1/2 cup of green coffee beans into the hopper and plug it in...making sure the lid is on tight :)

Because this lovely chaff will start shooting out immediately and will continue on through the entire roasting. There will also be a nice aroma...and sometimes "smoke" that fills the air. All the books call it "smoke"...but it's more like a light fog :) that increases with the length of time you are roasting. If you have a vent or window to open, it's helpful...but I have even been roasting in the RV with no problems.

Every type/origin of bean will roast differently...and that's the fun part! My favorite bean so far has been organic/fair trade Columbian, with Organic Bali Blue Moon coming in at a close second. They both handle heat well and can be roasted dark. I've tried a couple that seemed to burn quick and not roast evenly. I roast my Columbian for 12-13 minutes.

Next, I pour the beans into a wire/mesh strainer and spin them until they are warm to the touch and not burning your hand.

At this point, I inspect the beans and pull out any that did not roast fully or have anything funky going on. Then I let them "rest" for at least an hour before brewing. Coffee is at it's most flavorful 4 to 24 hours after roasting. Which is precisely why if you enjoy coffee, you should roast your own. Even the coffee you can get from your local roaster will most likely be at least 24 hours old. In some cases, the beans you are buying are MONTHS old (or more...gasp!).

I store my beans in a re-purposed steel coffee tin...but you could use anything with a tight lid. Here are some great coffee storage tips.

hand grind

hand grind

Now...for the grinding! I am currently using a blade grinder, but have plans to be using this beauty soon!! My Dad used this all through my childhood and he recently gave it to me. It's an antique Arcade Crystal hand crank burr grinder! The screw is broken and I need to get it replaced, but I am SO thrilled to have this amazing piece in my home.

There are so many grinders out there to choose from. If I didn't have the Arcade, I might be getting this one. Or, even better, this one. The grinding style really does affect the taste of your coffee...so choose wisely!

My favorite method of brewing is the Aeropress. It quickly and efficiently makes espresso shots...with minimal mess! I've used it for several years without fail. There are MANY different methods of brewing with the Aeropress. In fact, there are even Aeropress World Championships where coffee aficionados compete with their own tweaked Aeropress style. There is even an iPhone app! It has a lot of different ways to brew.

Personally, I've been using a variation on "The Jay" (iPhone app version). I grind it to an espresso grind (fairly fine)...and dump it into the canister, with the plunger at about 4.

Much of the time, I use a Hario kettle because I love that I can pour it reeeeeeeally slow and controlled (which is great for making Chemex coffee, but that's a topic for an entirely different blog post!). Other times, I use my regular electric kettle.

After the water comes to a boil, I let it sit with the lid off for a few minutes to bring the temp down to 175-185 degrees. I then pour in just a little bit of water to allow the beans to "bloom" a bit. Then I pour it to the top and stir for about 10 seconds. I then replace the lid with a rinsed paper filter and screw it on tight.

I let it sit for approximately 2 minutes and then I invert it over my cup and press slowly for 20 seconds.

Voila! Espresso!! At this point, you can fill the rest of the cup up with hot water and you'll have an Americano. Or...

You can make a latte! I like to add a little foo foo to my espresso...and my handy dandy Nespresso Aeroccino has become my BFF in that area. It makes heated, frothed milk with the touch of a button. You can choose between frothing and foam...and it works AMAZINGLY well even with almond milk!

I like to add a little vanilla Monin syrup!

This is my favorite part of the process because I know my latte is soon to be done!

Nothin' prettier than a fresh latte on my mug rug!

This mama needs caffeine!

happy mama

happy mama

Aaaahhhhhh....happy mama!

So good. This process has saved me OODLES of money because I rarely go out for coffee any more! I've found my home roasted beans to be so far superior tasting, that everything else is just...well...bad :) And the frother/syrup fulfills my need for something fancy. Try it for yourself...I know you'll love it!

A few tips and links:

  • This seems like a lot of steps and somewhat complicated. It's not. Once my hot water is boiled, it takes 2 minutes.

  • The cleanup of the Aeropress is my favorite part. Just unscrew the lid and "snap" the puck of grounds out into the trash or compost. So easy! Rinse the device and you're done. So much easier than a french press.

  • Experiment! Roasting can be quirky. I got lucky and it worked pretty well on my first try. I think Columbian beans are a good starting point.

  • I have recently started to roast my beans longer than I THINK I should...and they usually turn out perfect. I used to dump them at the first smell of "burny"...but they needed a little extra time.

  • When roasting decaf, they tend to turn dark faster and it's hard to tell when they are done. I recently did a batch and I took them out early and cooled them...and then roasted them a little more to the color I wanted. I have no idea if this is the proper way to do it, but they turned out ok!

  • Educate yourself! Here are a few books I like:

books

books

Joe: The Coffee Book and The Blue Bottle Craft of Coffee. Both have AMAZING photography and are perfect for learning more about all things coffee! Joe focuses on east coast coffee culture, and Blue Bottle is west coast. Another great book is Home Coffee Roasting.

I currently buy my green beans from U Roast Em. They always ship very fast...I usually have them within 3 days. I would also like to start ordering from Sweet Maria's. Their variety is mind boggling...and I'd love to try some of their interesting blends. It's so fun to experiment!

And lastly, you must check out Sweet Maria's resource section. So much fantastic info there. I get giddy every time I click this link. Eeeeep! Coffee goodness! :)

And so...this has been my coffee roasting and Aeropressing journey. I look forward to my coffee daily! And because I know some of you will ask...I haven't completely abandoned my love of yerba mate! I was just getting burned out and needed something different. I still drink mate occasionally.

I can't wait to hear about your own coffee adventures! If you currently roast your own, I'd LOVE to hear your tips. I am such a newbie at this but I love it!

 **I am not affiliated with any of these companies and I’m not receiving compensation. Just sharing for the love!

The Homebirth of Emmaline Claire

One year ago today, this was the scene in our bedroom. It was finally time to welcome a new little person into our family!

We knew this babe was turned posterior, which means that labor could start and stop...and continue that way for days. After a week or so of intermittent contractions...I was certain I was NEVER going to have this baby. Even while I was in active labor, I was texting my dear midwife friend Rebecca, telling her that the baby was actually not ever going to come out. She assured me that the baby would indeed make an appearance. She's so smart.

Lucy was unconcerned and finished up her nap as we set up the room and got ready.

The girls were so excited and helped Daddy get everything ready.

When we hired our midwife, Christine...we did so because she would allow me to labor completely alone and basically have an "unassisted birth". We just wanted a midwife there just in case I needed her for anything. And that is exactly how it all played out. When labor started up in a stronger fashion, I shoo shooed everyone out of my room and bounced on my ball. In between contractions, I read scripture, sipped on grape Recharge, and focused on TRUSTING my body to do what it already knew how to do. I think Christine came in ONE time to talk with me...and then left me to do my thing :)

I spent a lot of time on the ball...but as things progressed, I got into the tub. The contractions continued to get stronger and stronger...and I just let my body feel everything. Accepting it as it came.

After two successful homebirths, the third seemed A LOT easier. Mostly because I knew what was happening and what was coming up. The sensations were expected and embraced. I let my body push when it wanted to. The process felt so natural and free.

I didn't have internal dialation checks with Bella or Lucy, and this birth was no different. My experienced midwives with all three knew how to "read" my body language and my "song" and knew when birth was close.

The girls came in and out a few times during labor...but I mostly just wanted to be alone and focus. Matt would come in and just sit near and be silent. I enjoyed having his strong, reassuring presence in the room. Towards the time of crowning, Christine called Matt, the girls, my mom, and my sister-in-law Jessica into the room to see her join us earthside.

And just like that...SHE WAS HERE! Little Miss Emmaline Claire. I lifted her up...and held her close. That otherworldly moment of holding your child for the first time, skin to skin...it's pure magic. She was so calm and alert...we gazed at each other for quite some time and the rest of the world seemed to fade away.

I was THRILLED to add another little girl to The Happy Janssens :) What an amazing blessing!

A smile of pure elation. I did it! THREE homebirths. THREE girls. THREE times the love.

A proud Daddy kisses his third little girl. This sweet pea looks much more like HIM than me for once! :)

My mama was able to be at all three of my births, which is such a special thing to me that I will treasure always.

We used the cord burning method to cut the cord...it was a lovely, gentle ceremony of reflection. Quiet moments to focus fully on the bond that Emma and I shared while she was inside me.

Thursday, April 19 at 9:38 p.m. 7 lbs. 14 oz. (my weight at birth!)

Active labor started around 6pm, so it was the perfect length of laboring time for me. Not too long, not too short. Just right. And that's how this first year has been...just right. THREE feels so perfect. She is animated and curious...and her sisters just adore her. She is walking now, and climbing on everything. Let's just say we have to keep an eye on her every minute of the day :)

Her constant expression of amazement. She is an inspiring little being. We're so glad you're here Emmaline Jelly Bean. Happy Birthday!

Other birth related posts here.