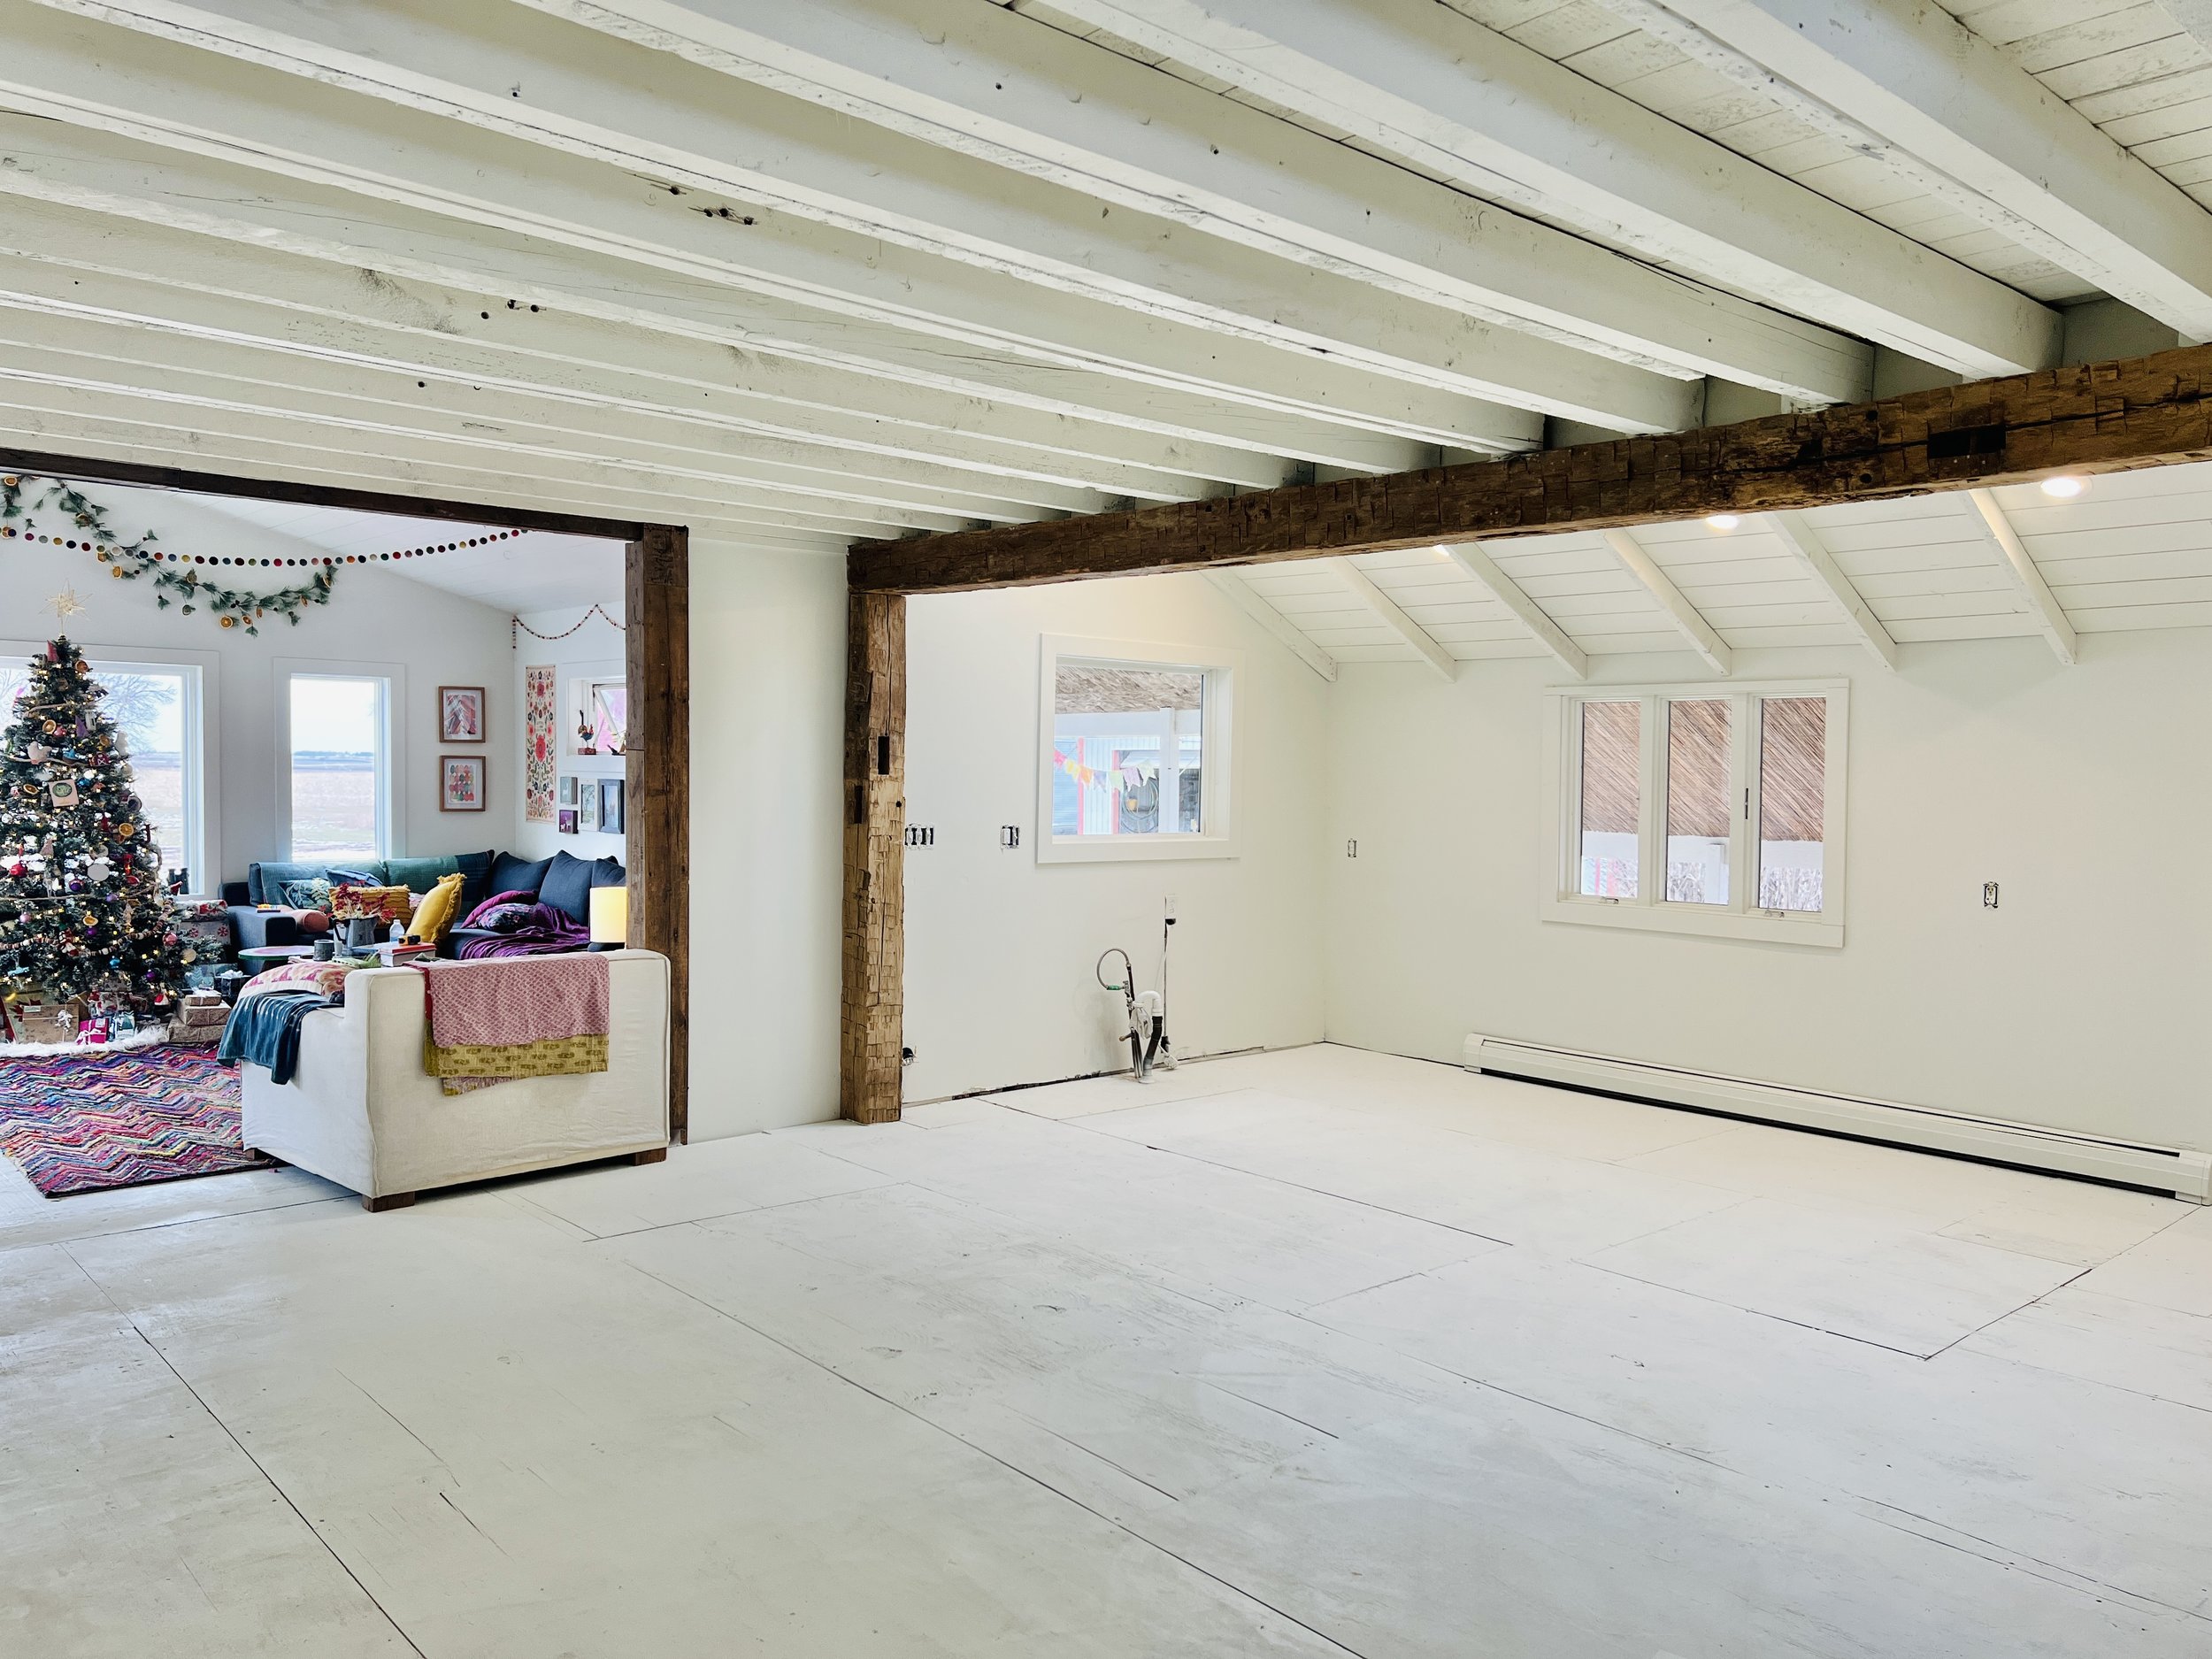
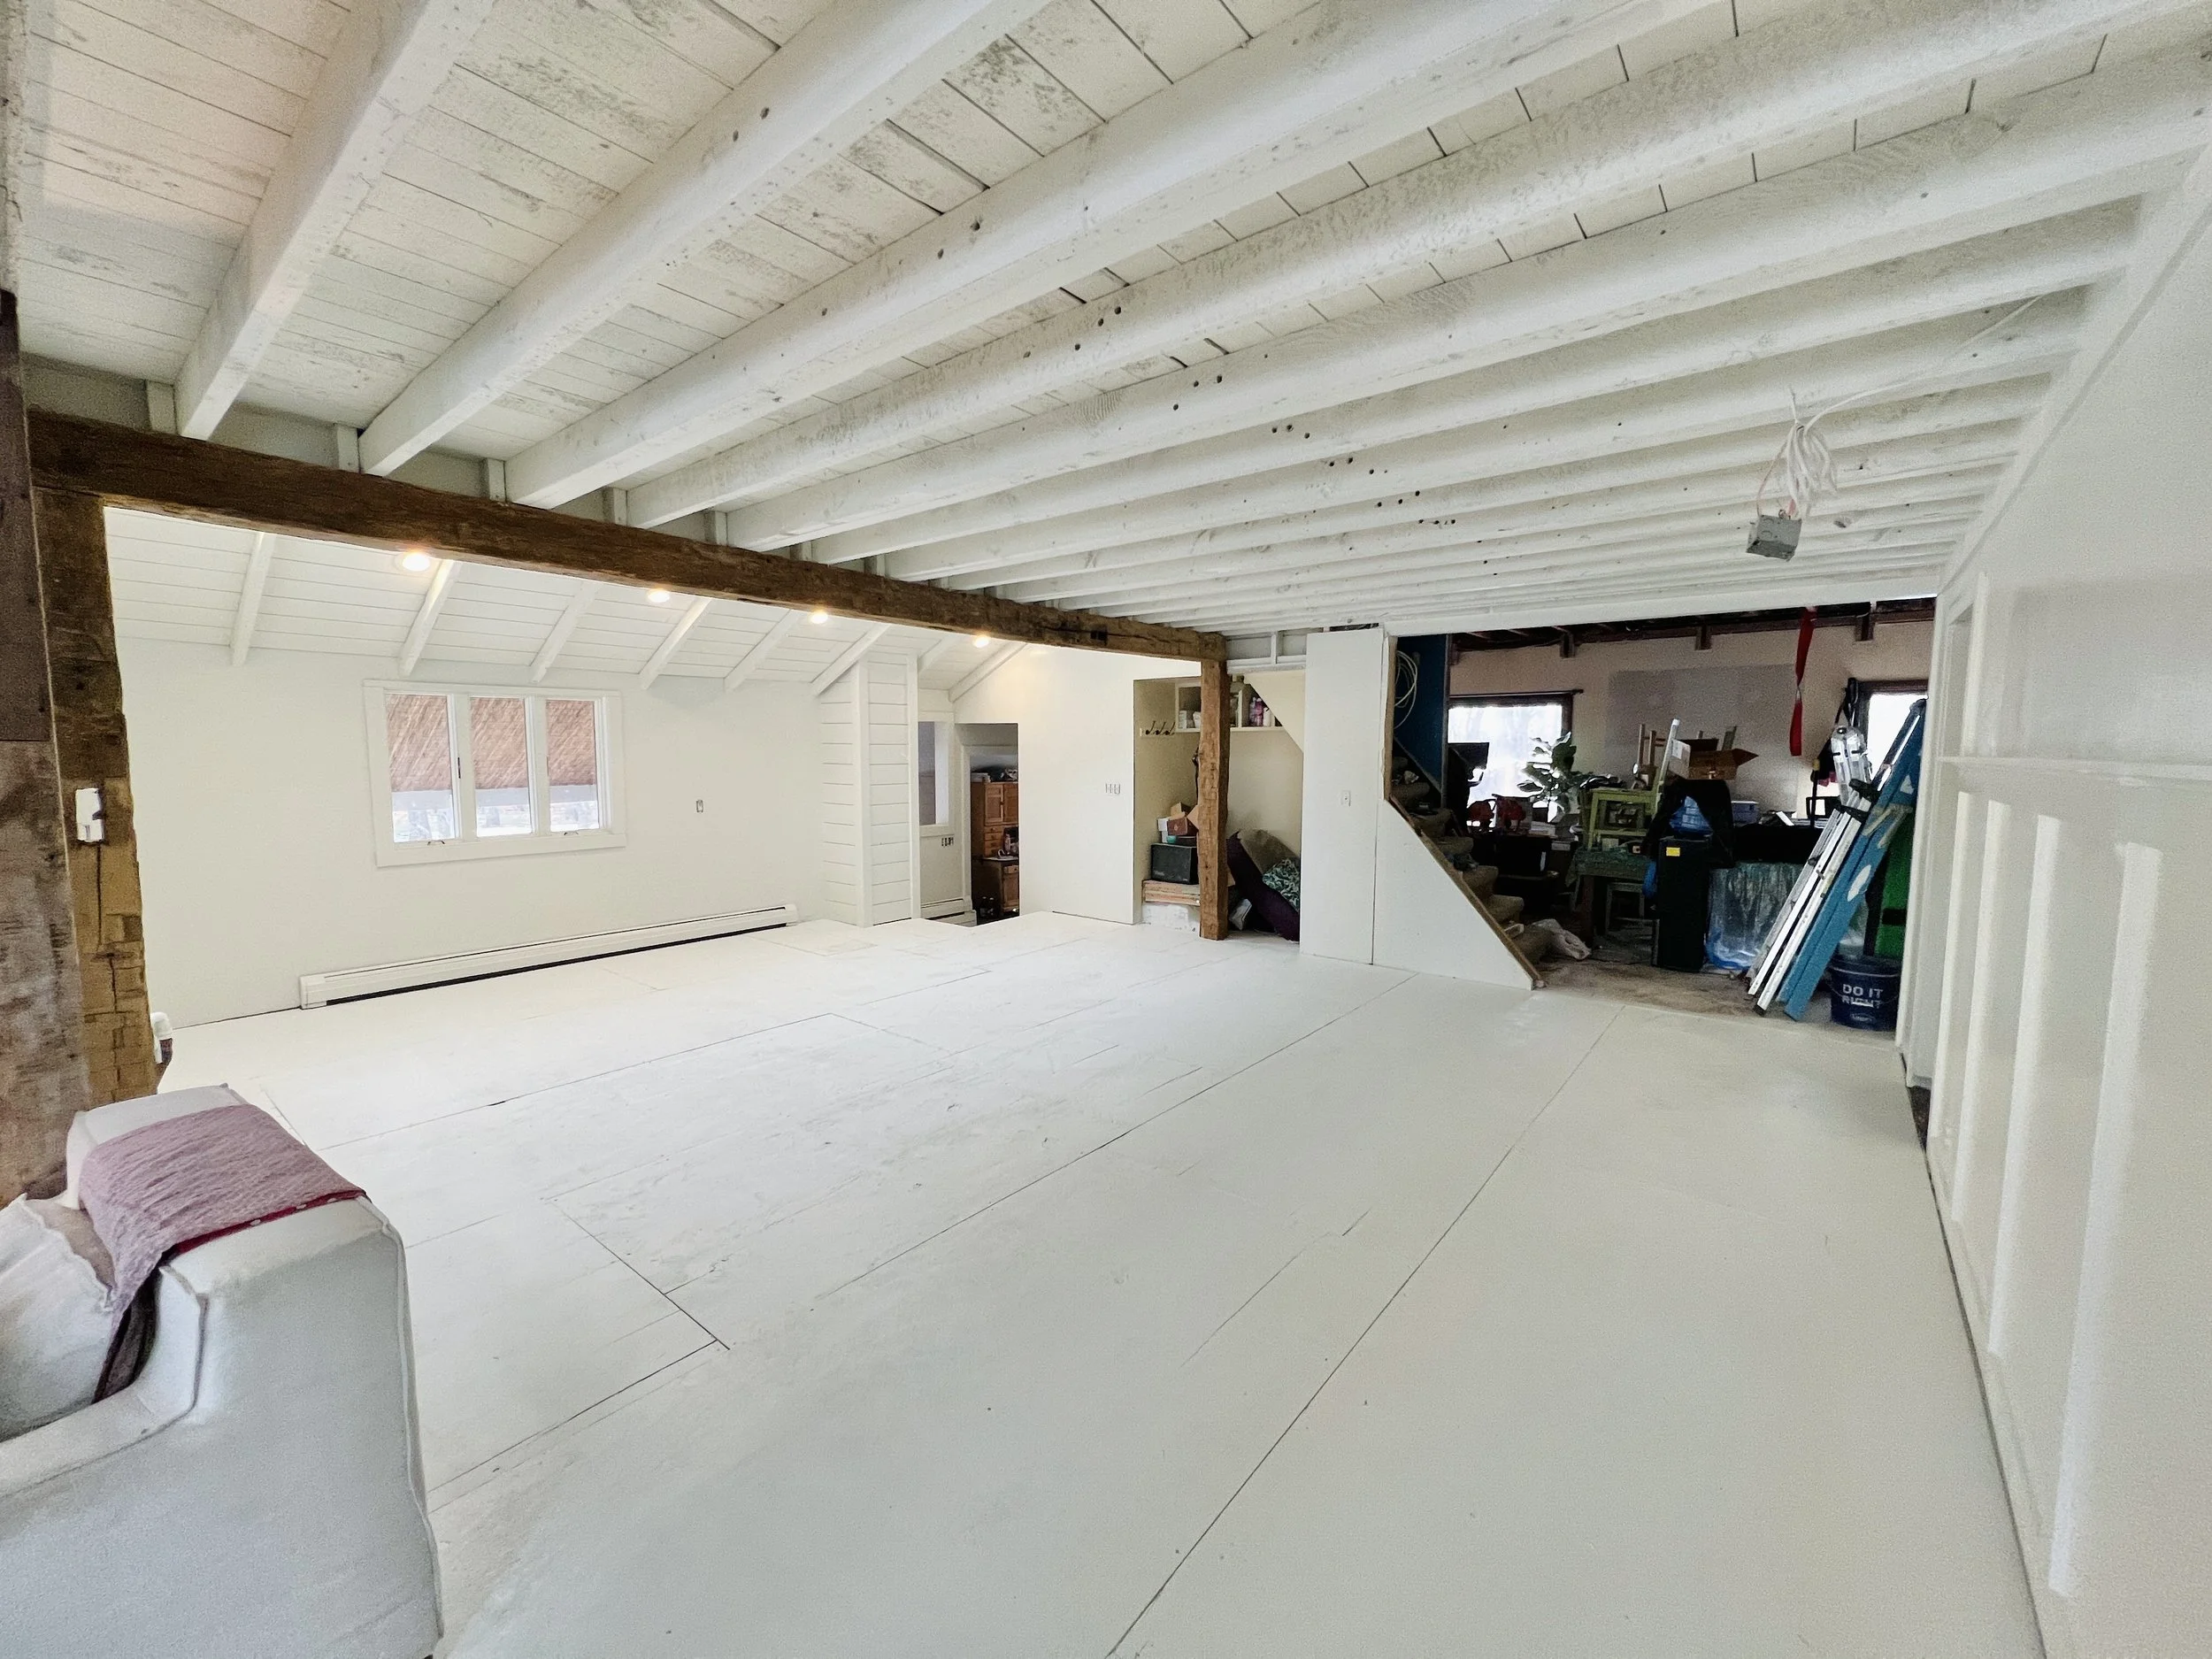
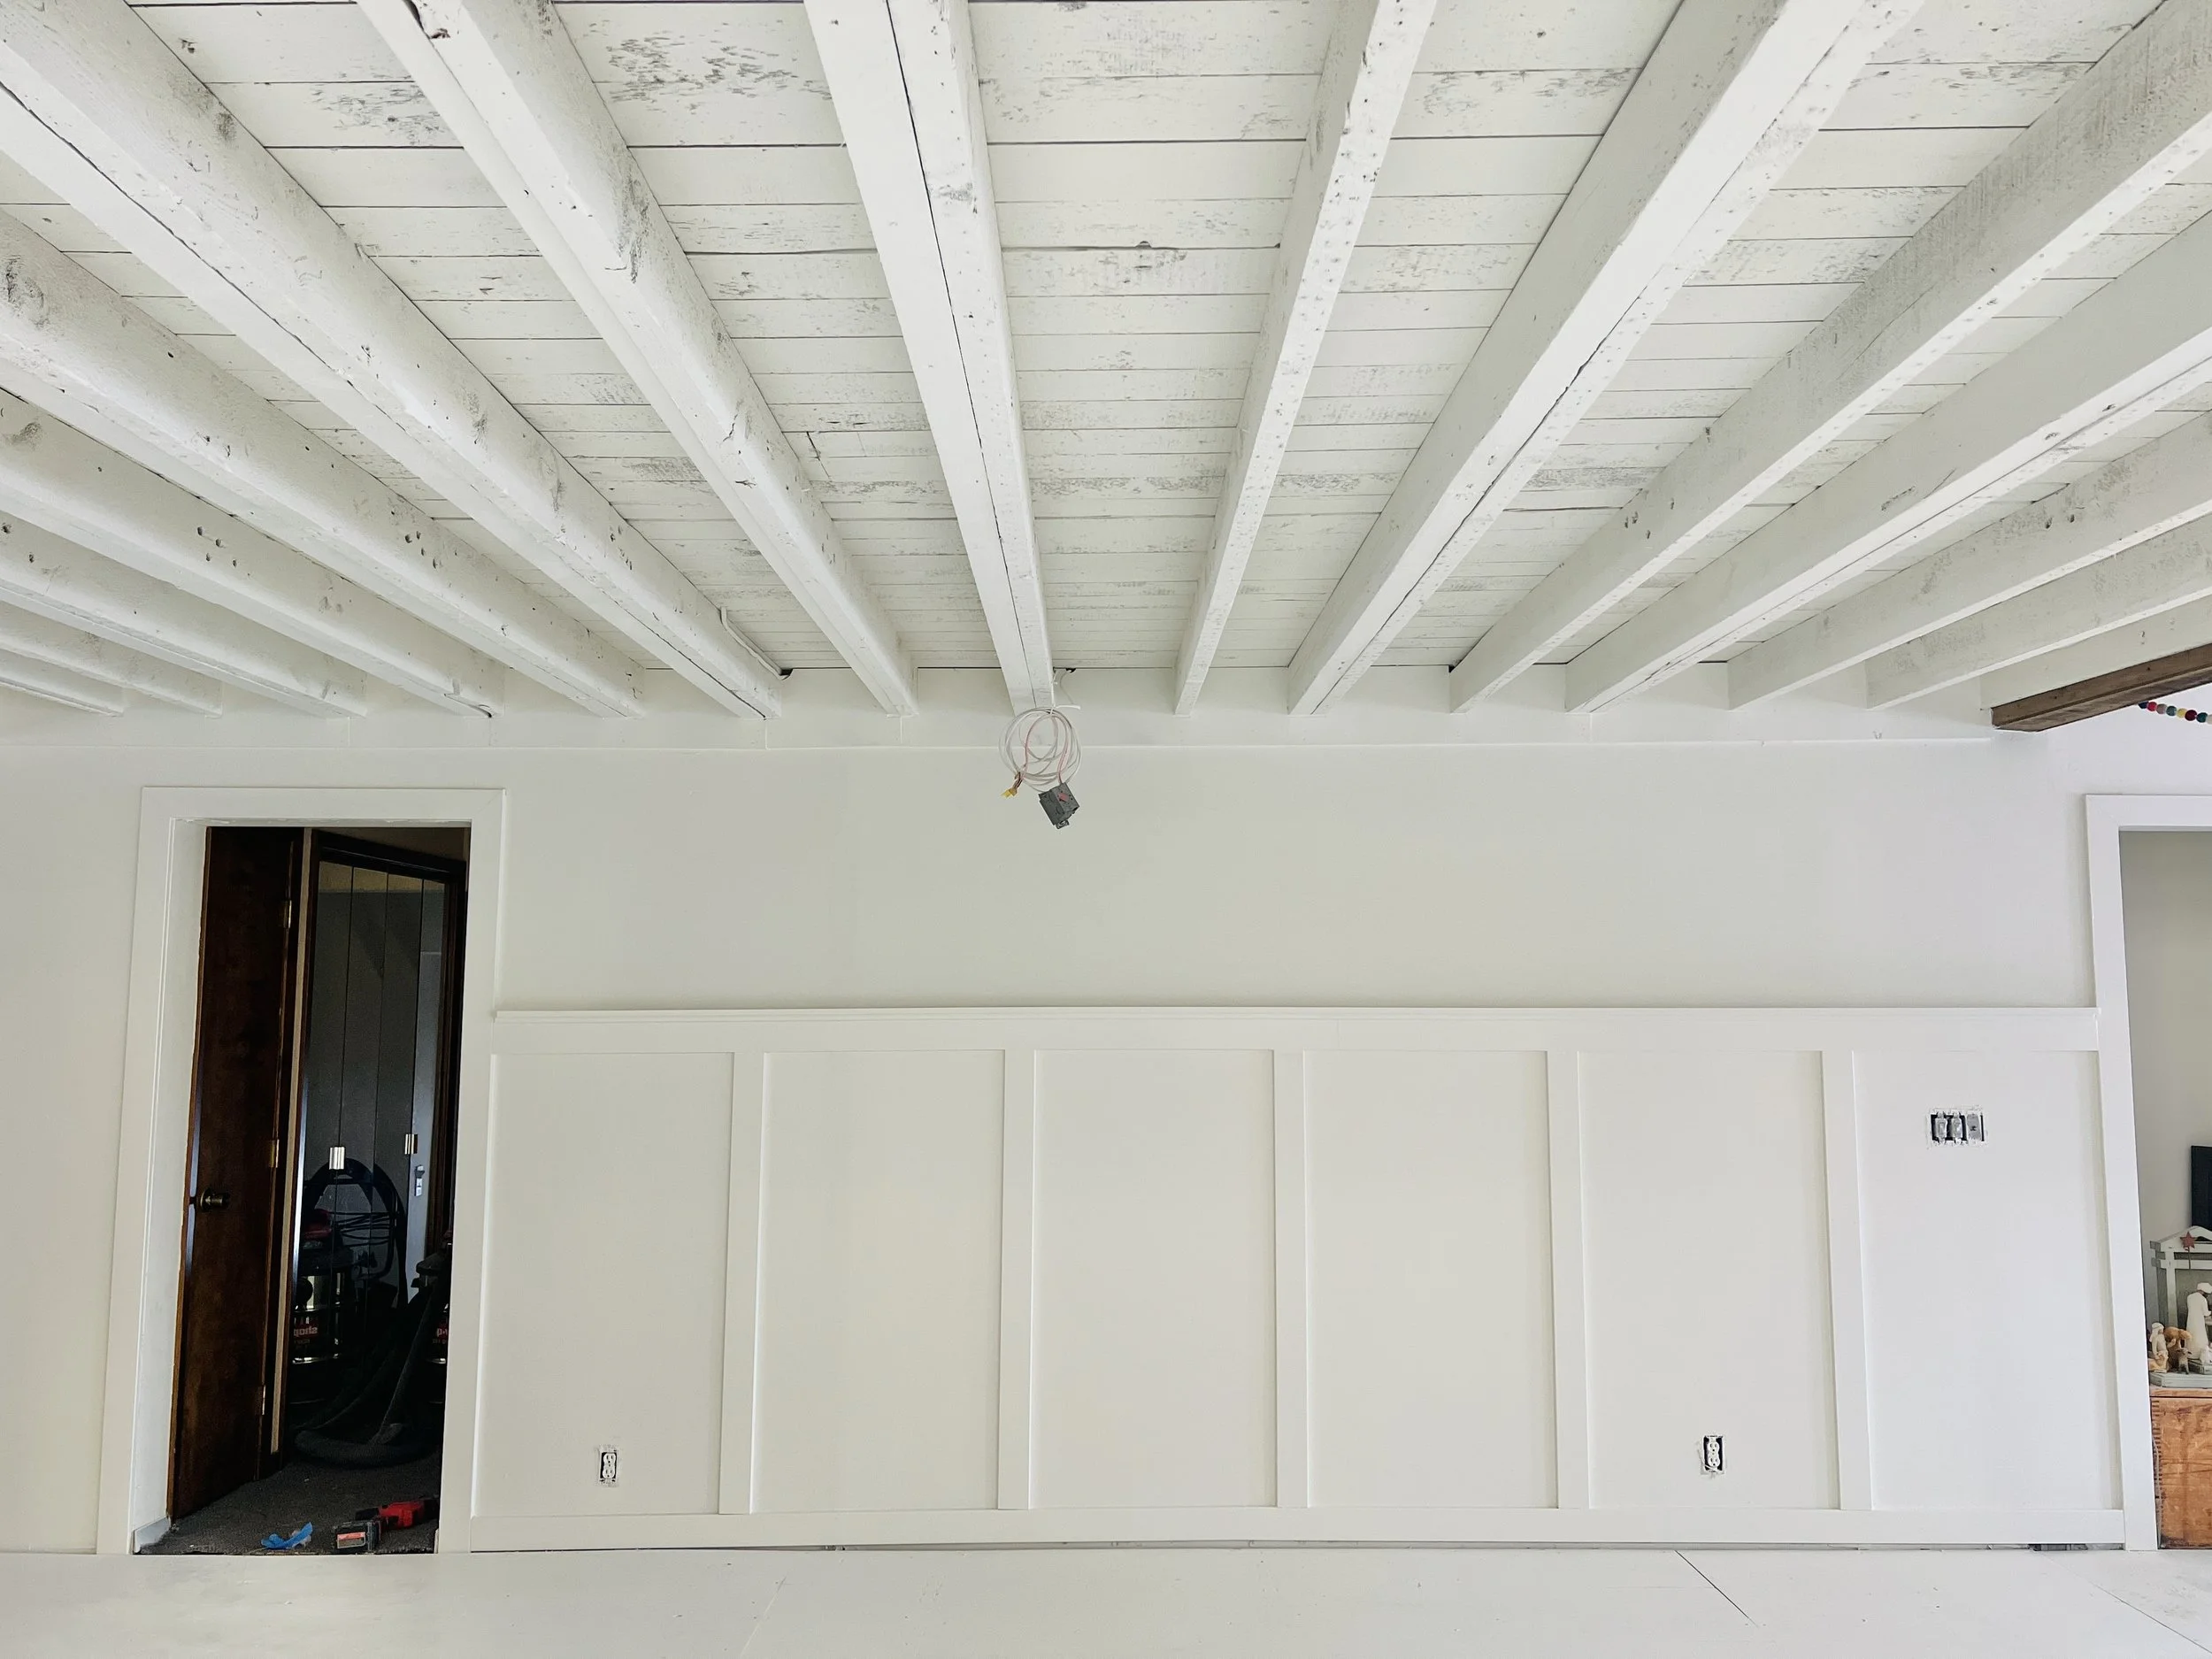
And then it was WHITE!

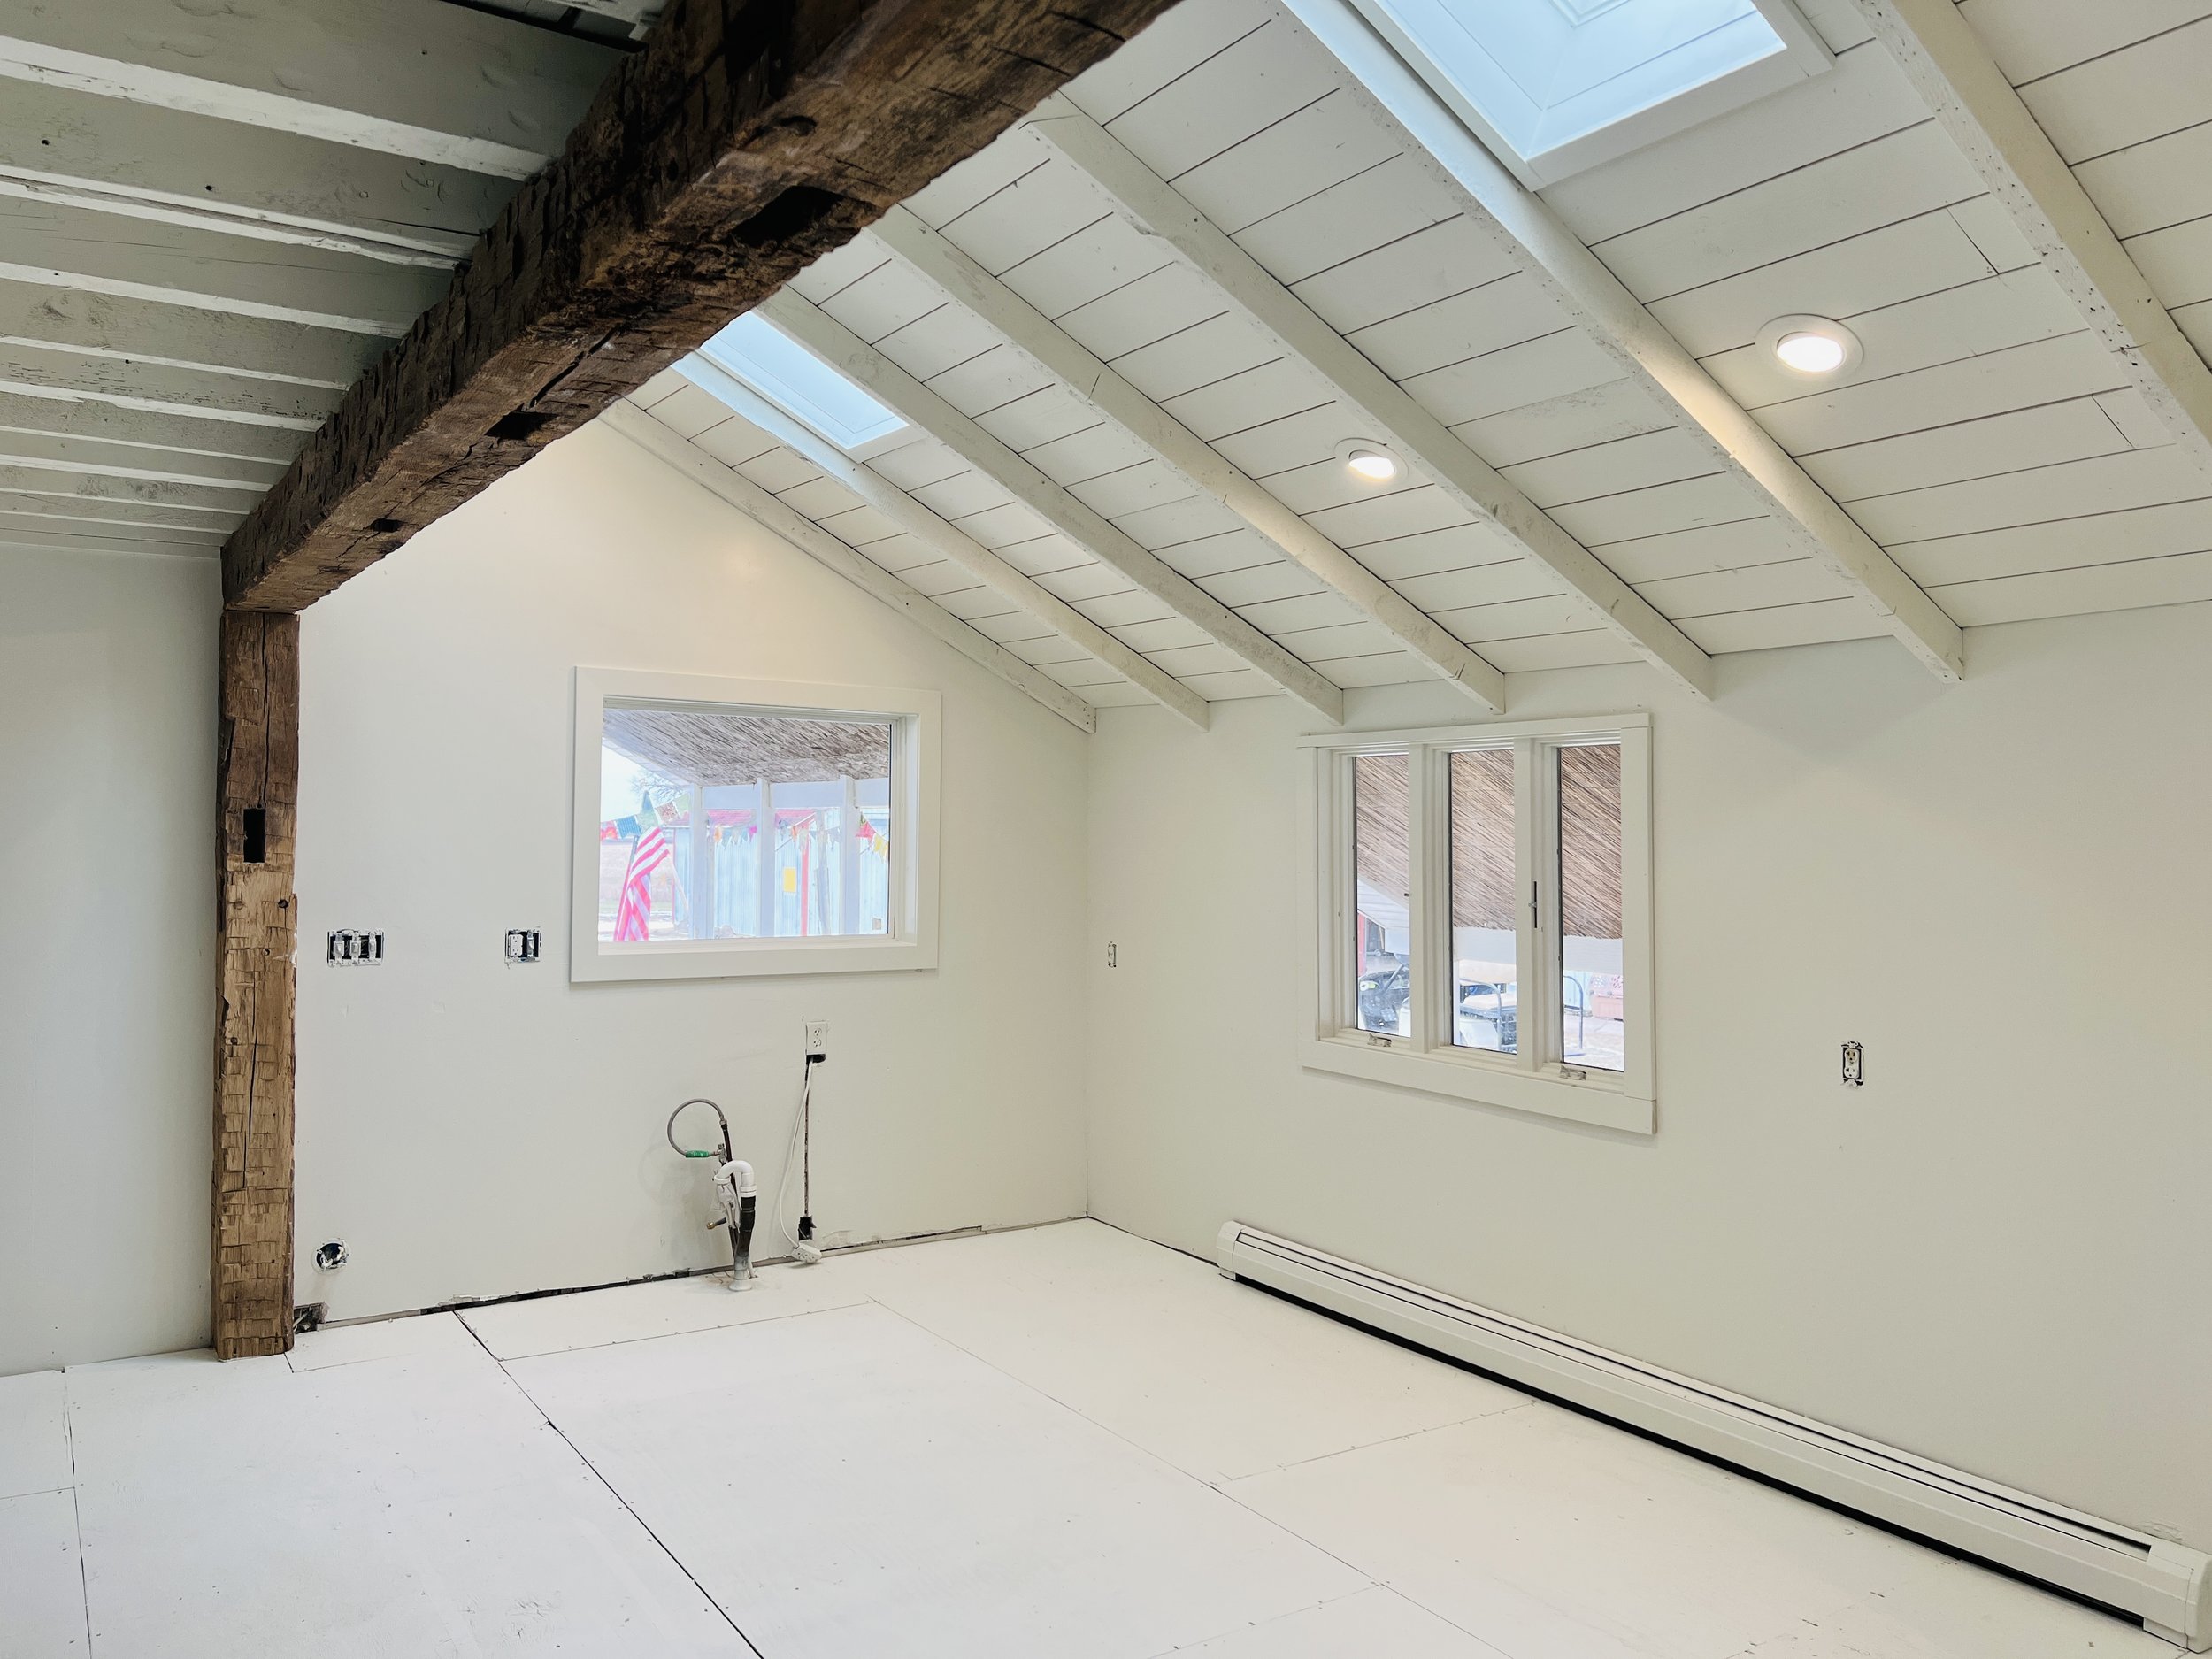
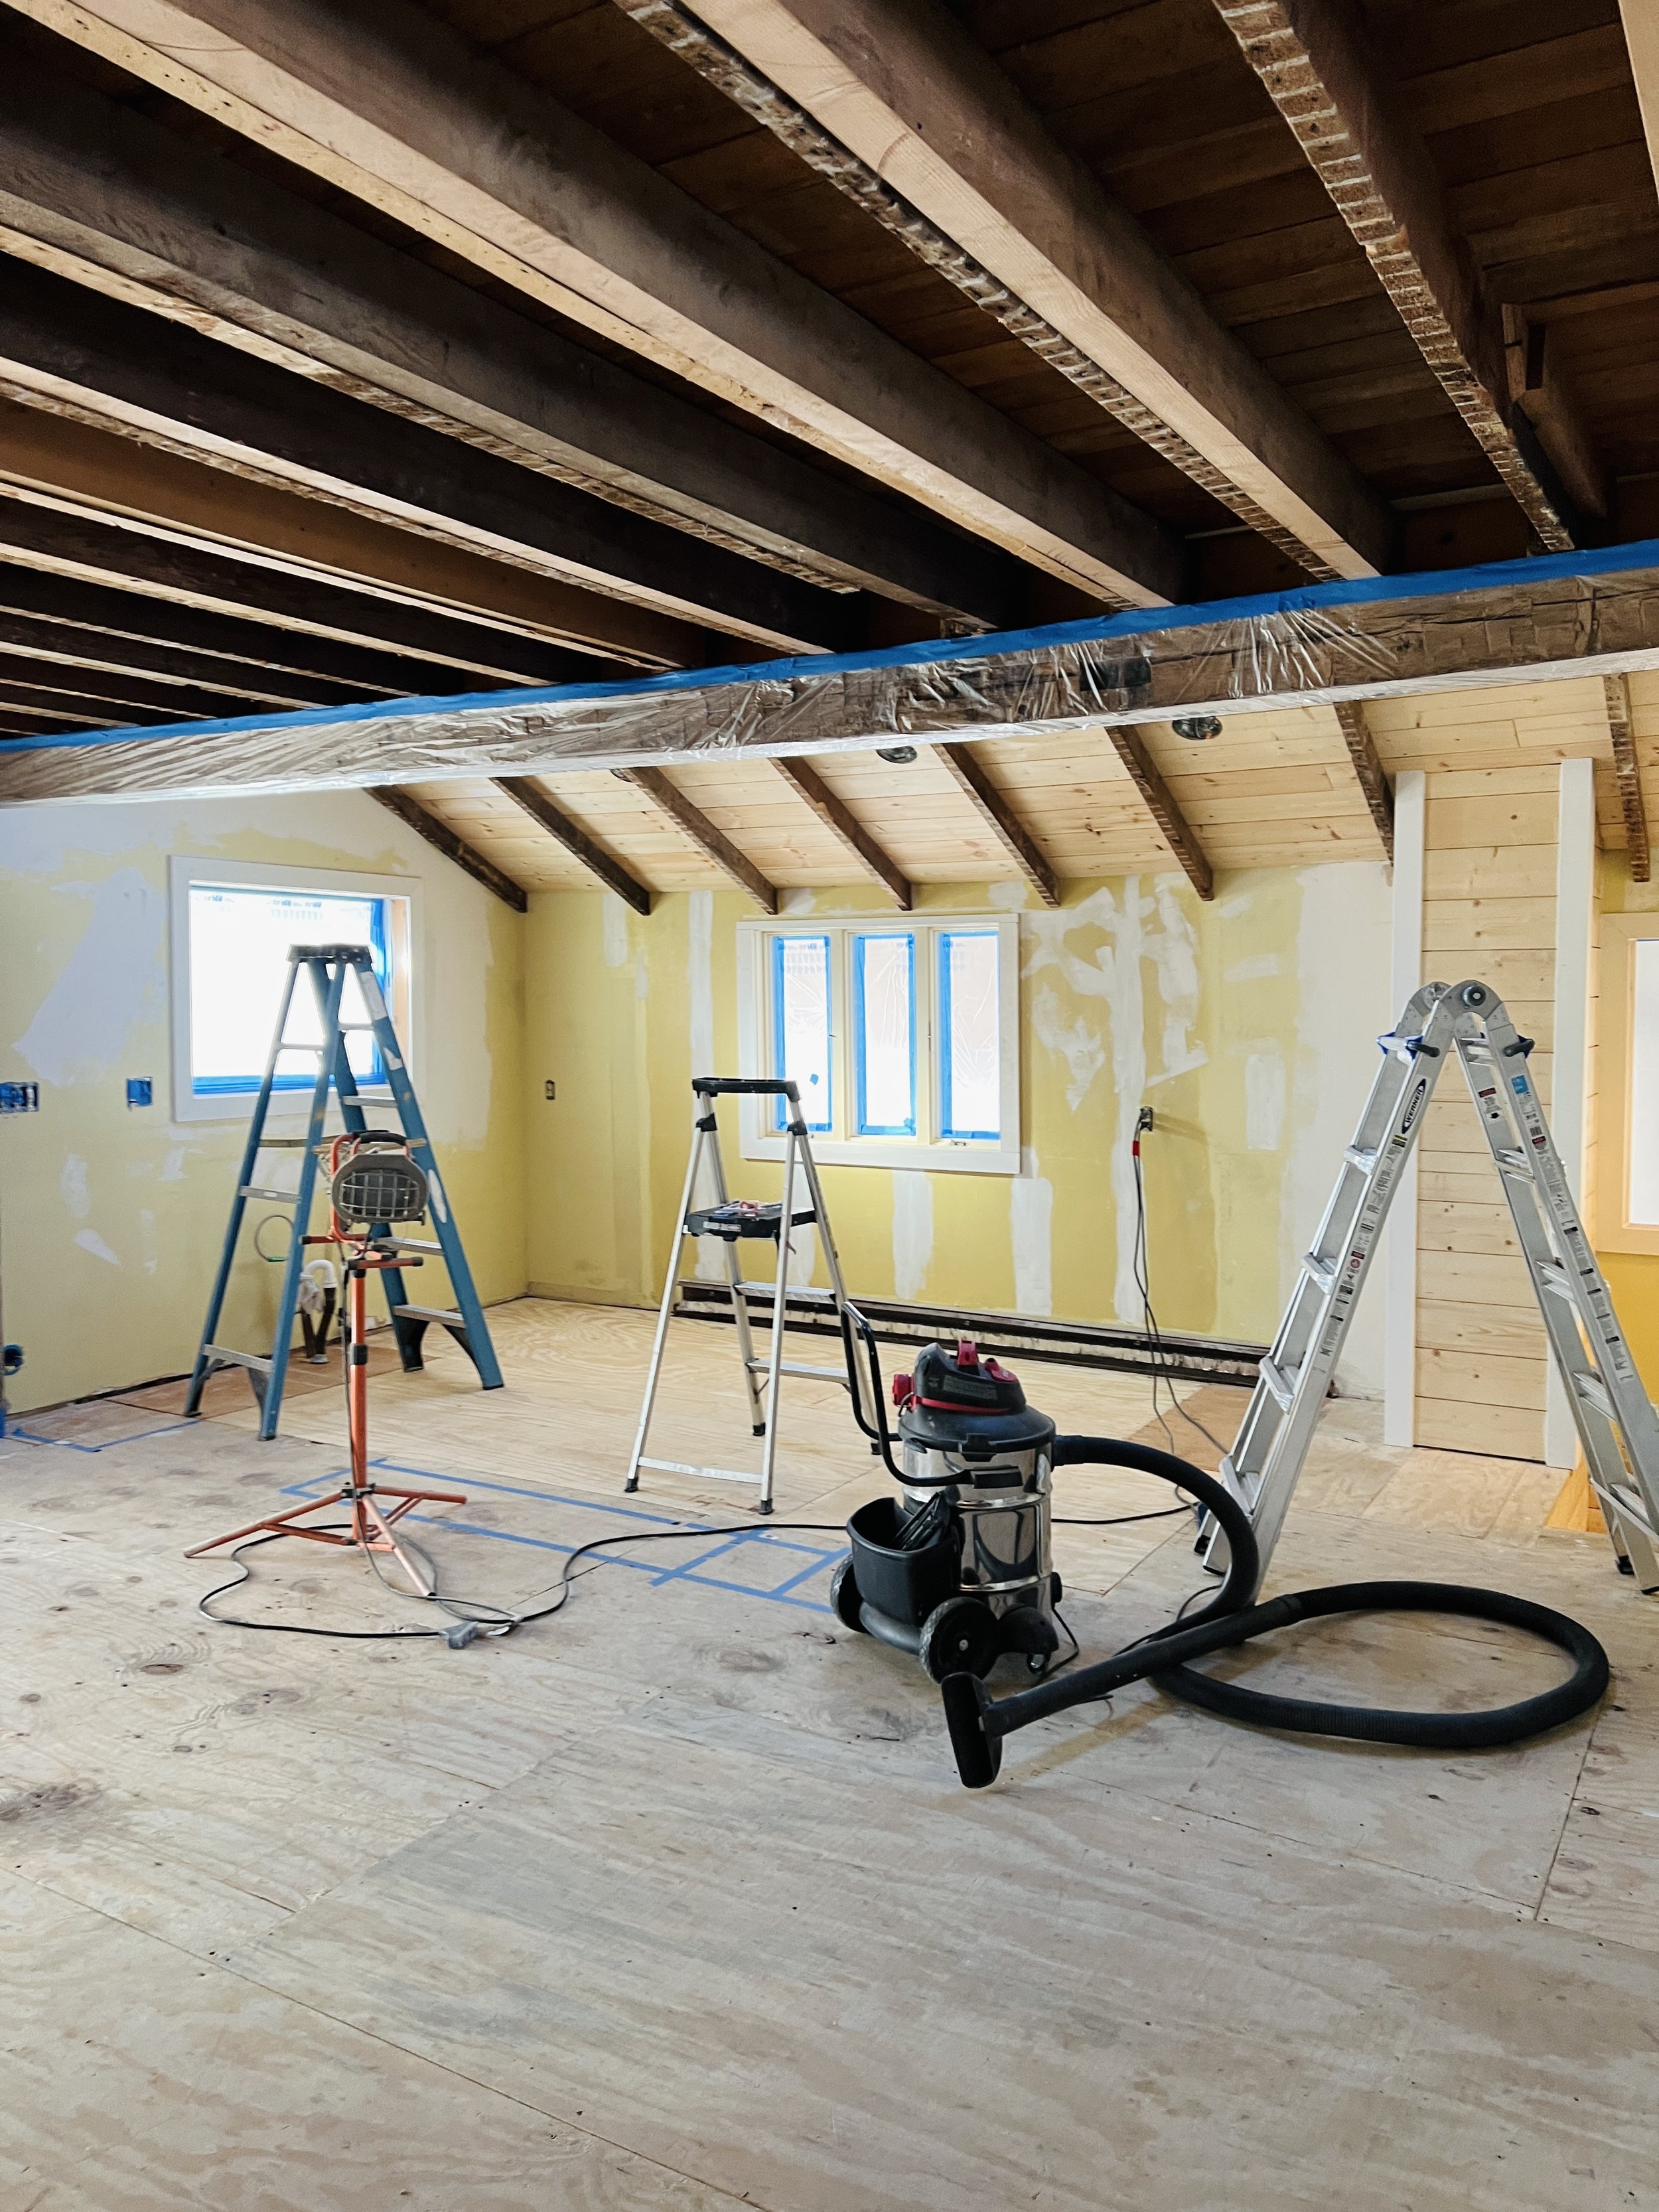
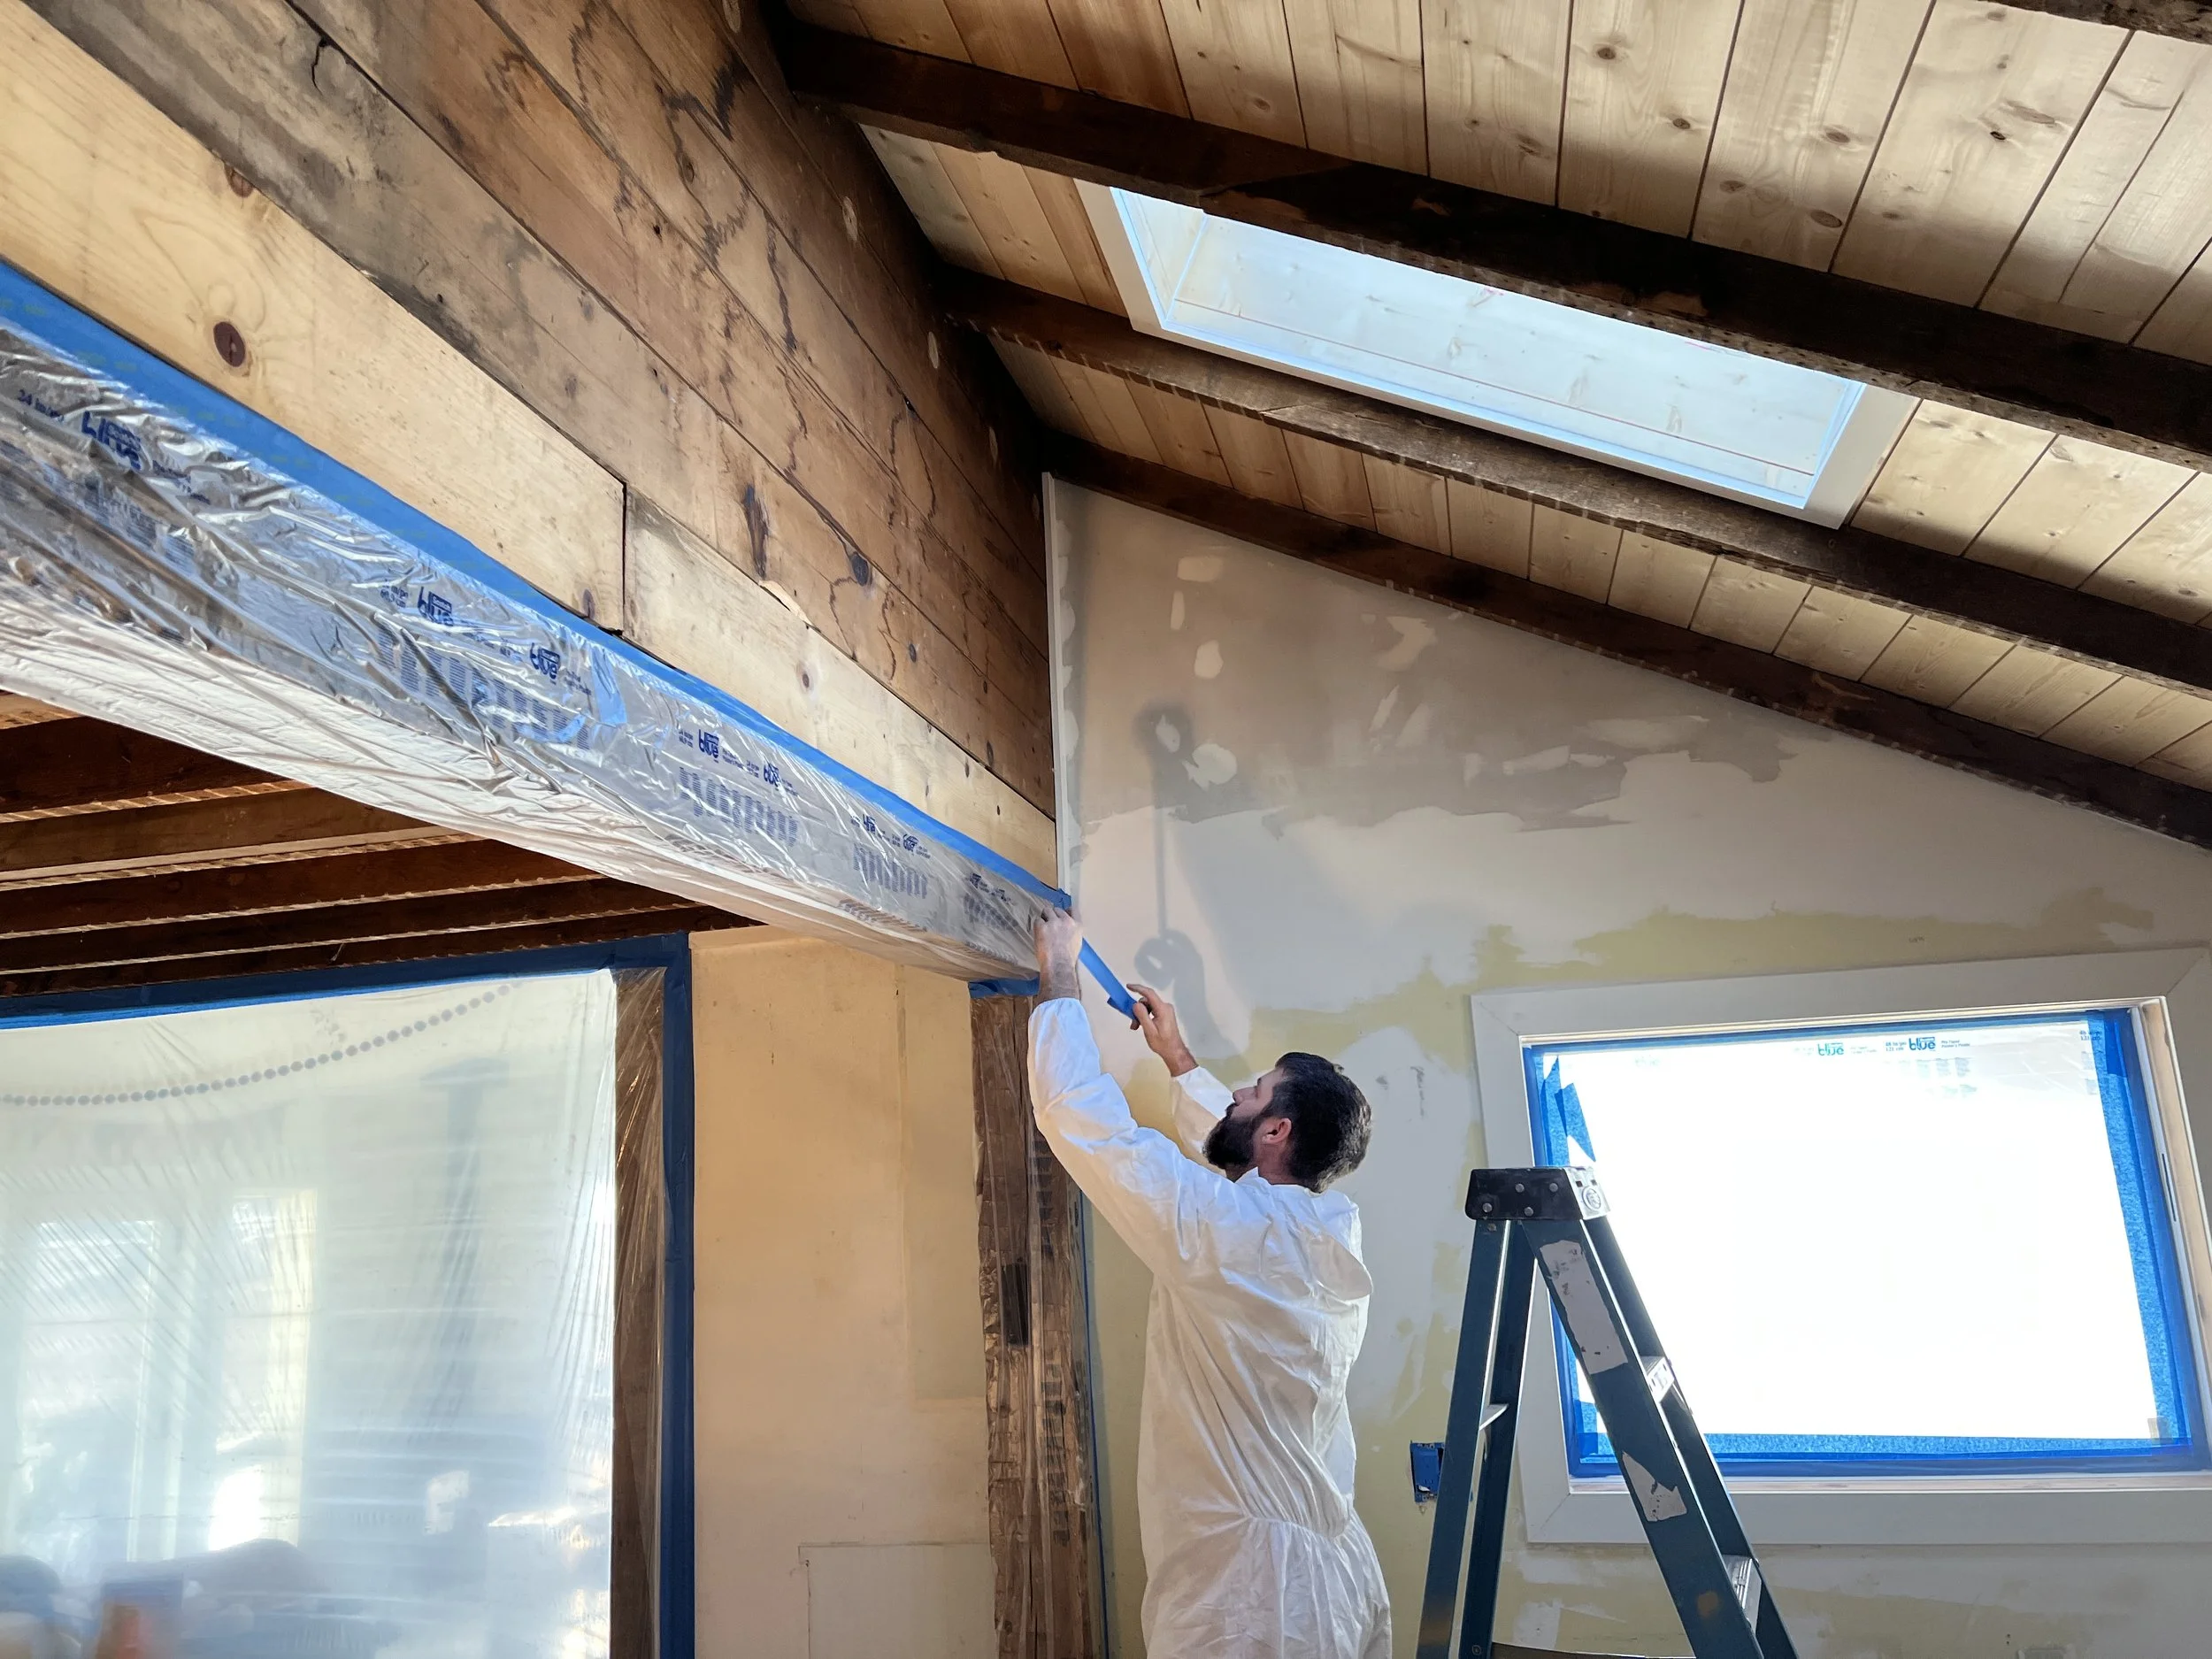
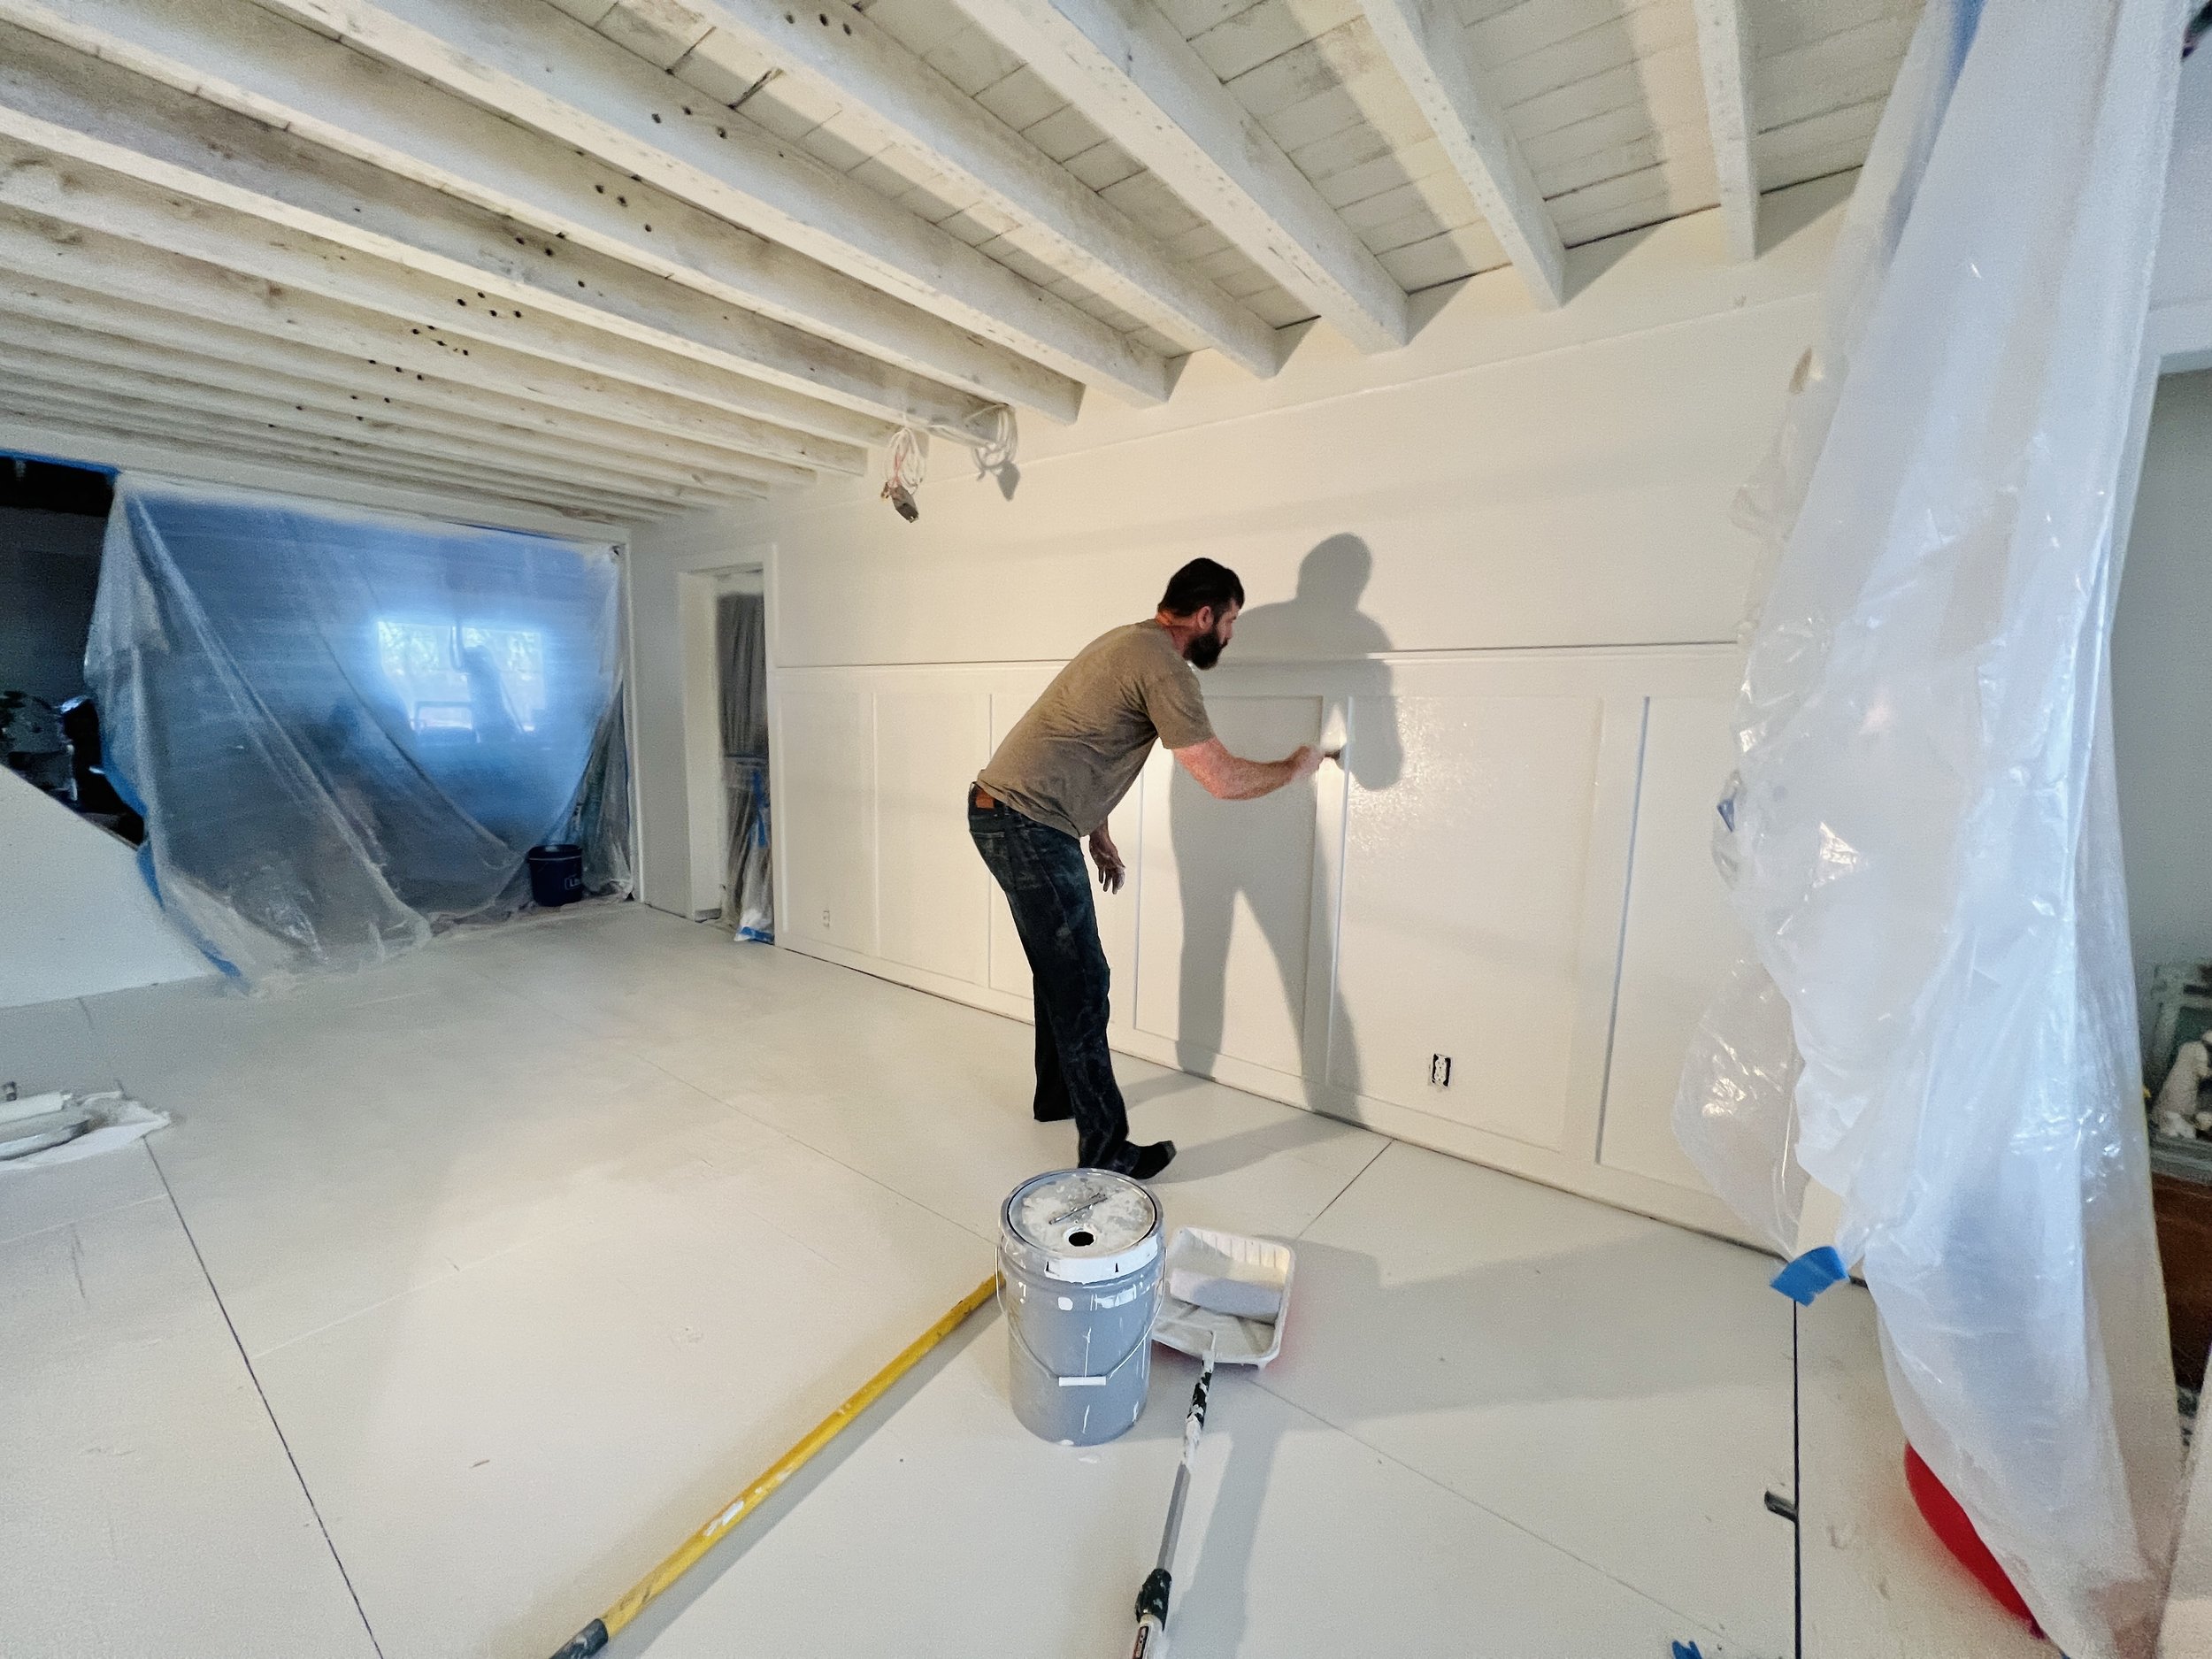
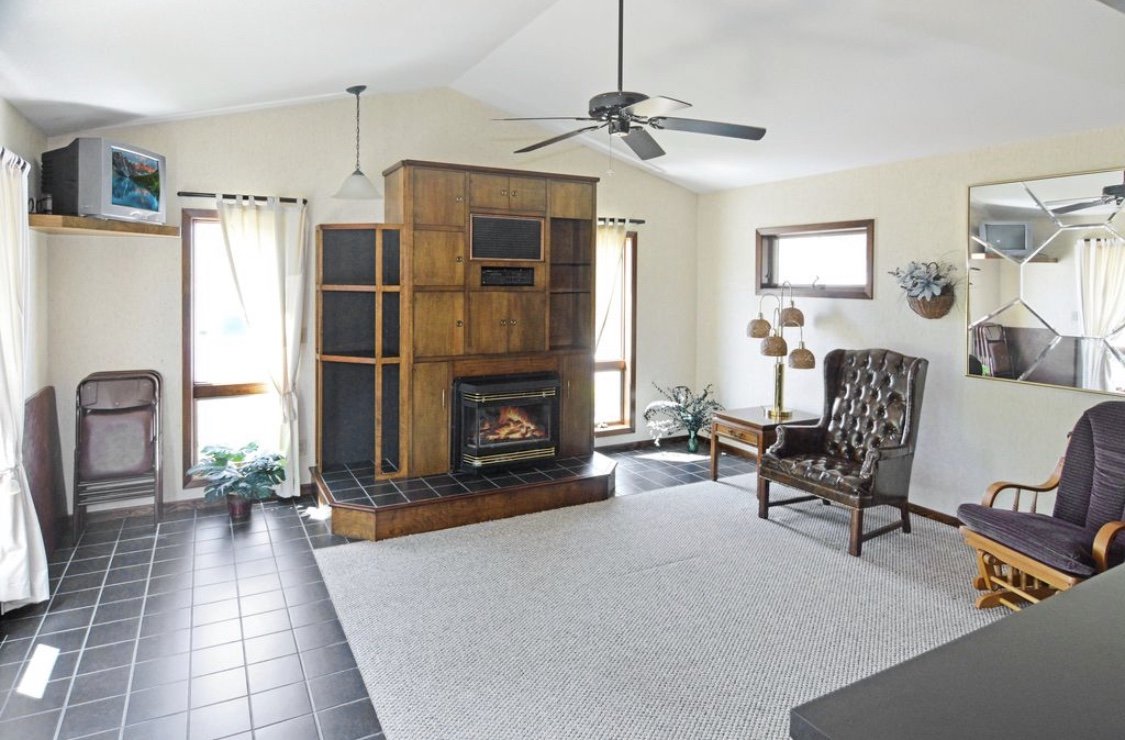
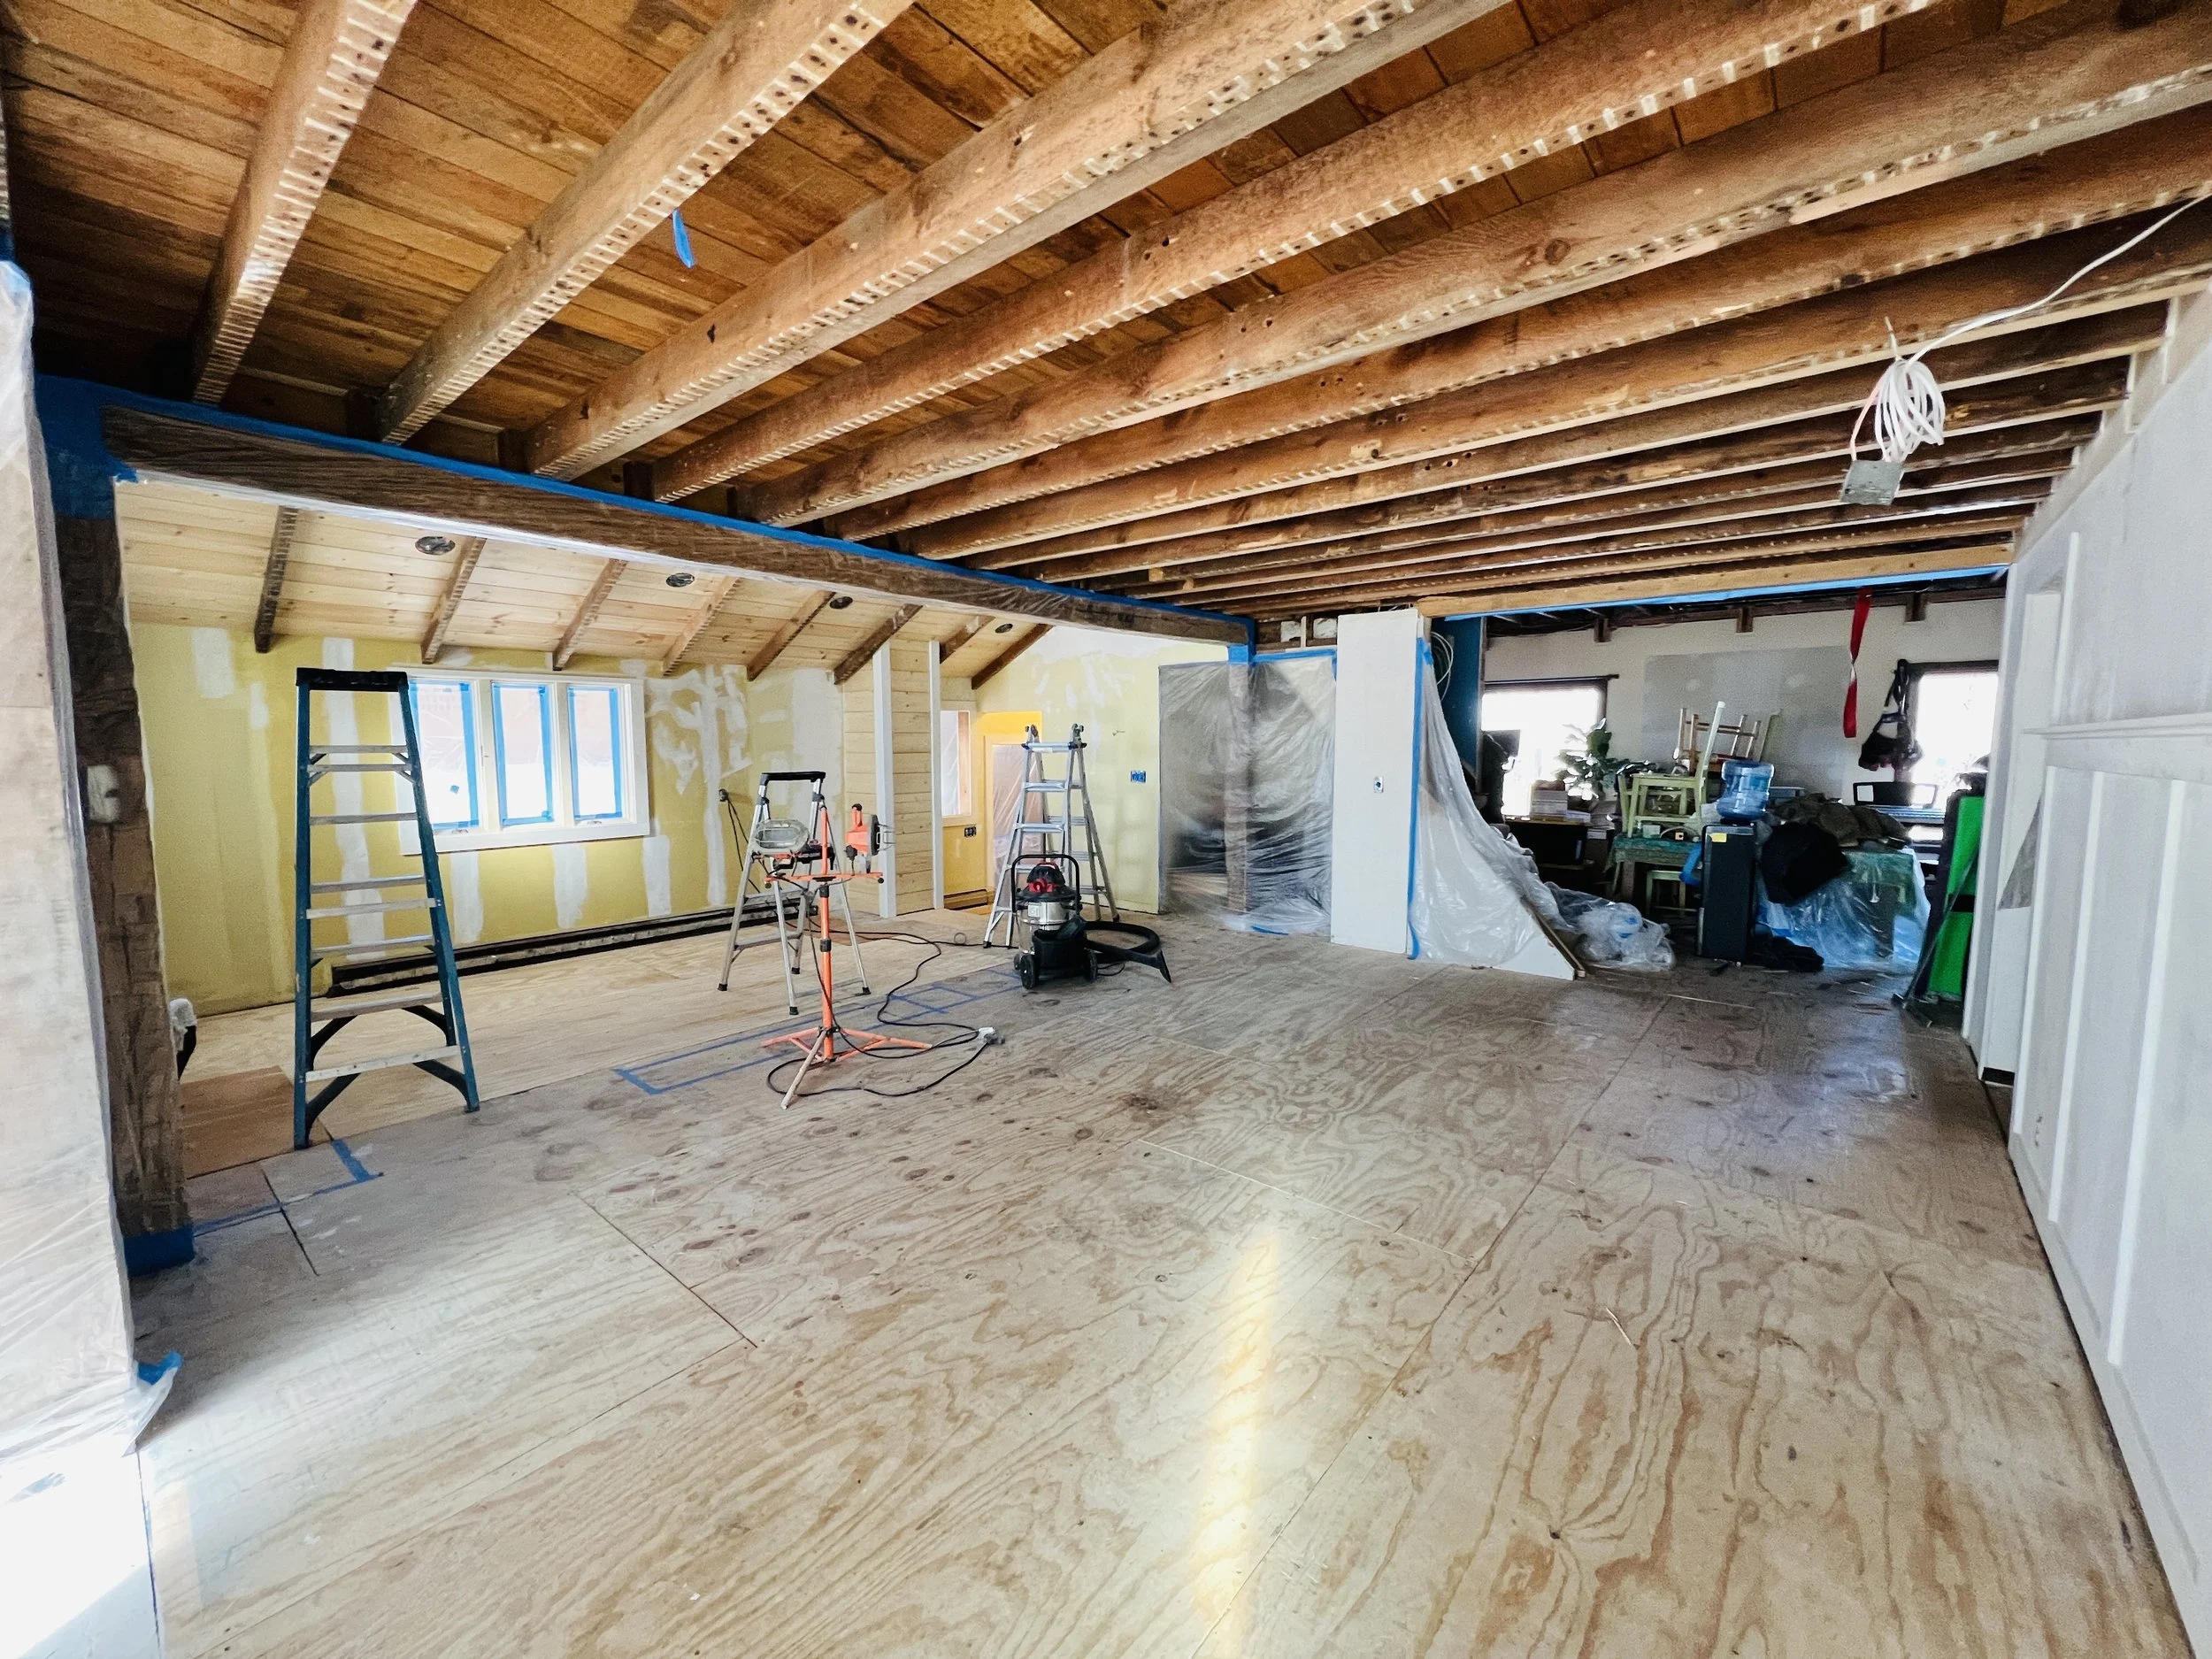
Twenty-four hours before our family was arriving for Christmas…this is what our house looked like. Because all sane people do major projects just hours before the company pulls in the driveway…right?! After a year of remodeling, we had finally come to the point of being ready to paint this area (our kitchen and dining room) WHITE! So many nights, we had sat in this room…dreaming of this moment.

We’ve been super inspired by Leanne Ford and her stylistic choices…in fact, when we first moved to the farm and were living in the RV, we watched ALL the episodes of Restored by the Fords as a family. Every night. LOL! She’s the reason why we ripped out all the ceilings and never put them back again! And then…of course…her obsession with white became mine as well.

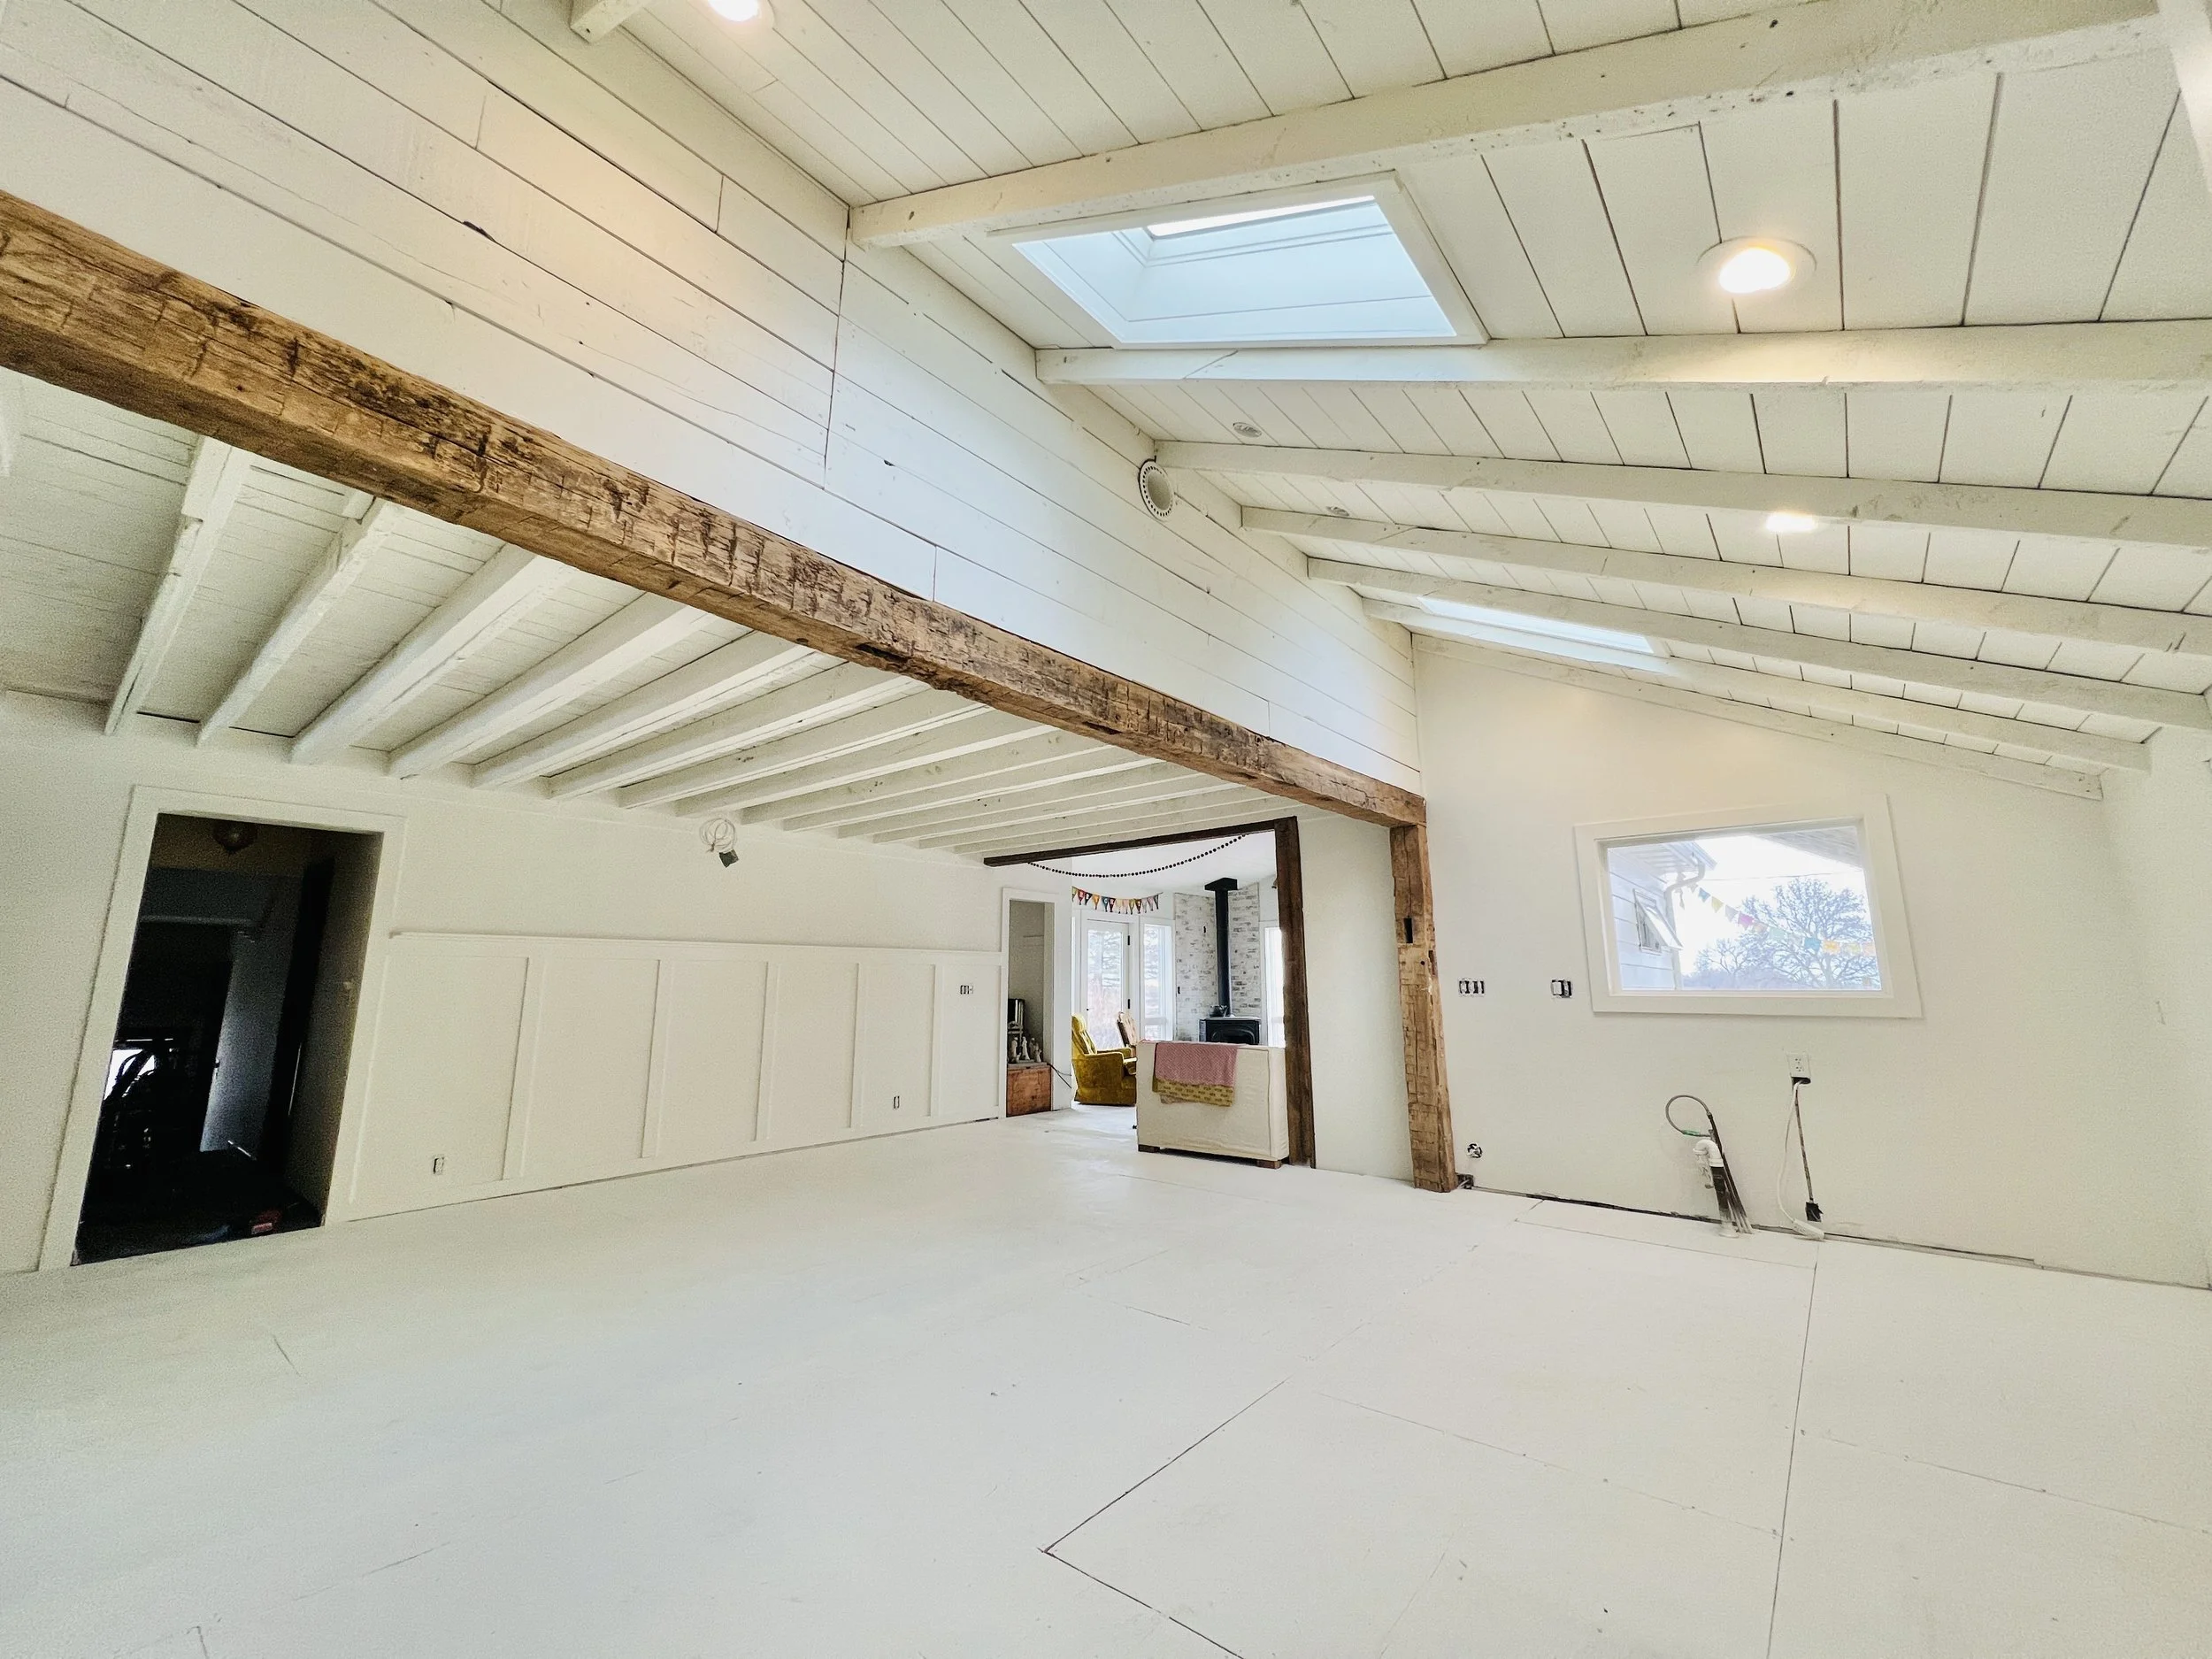
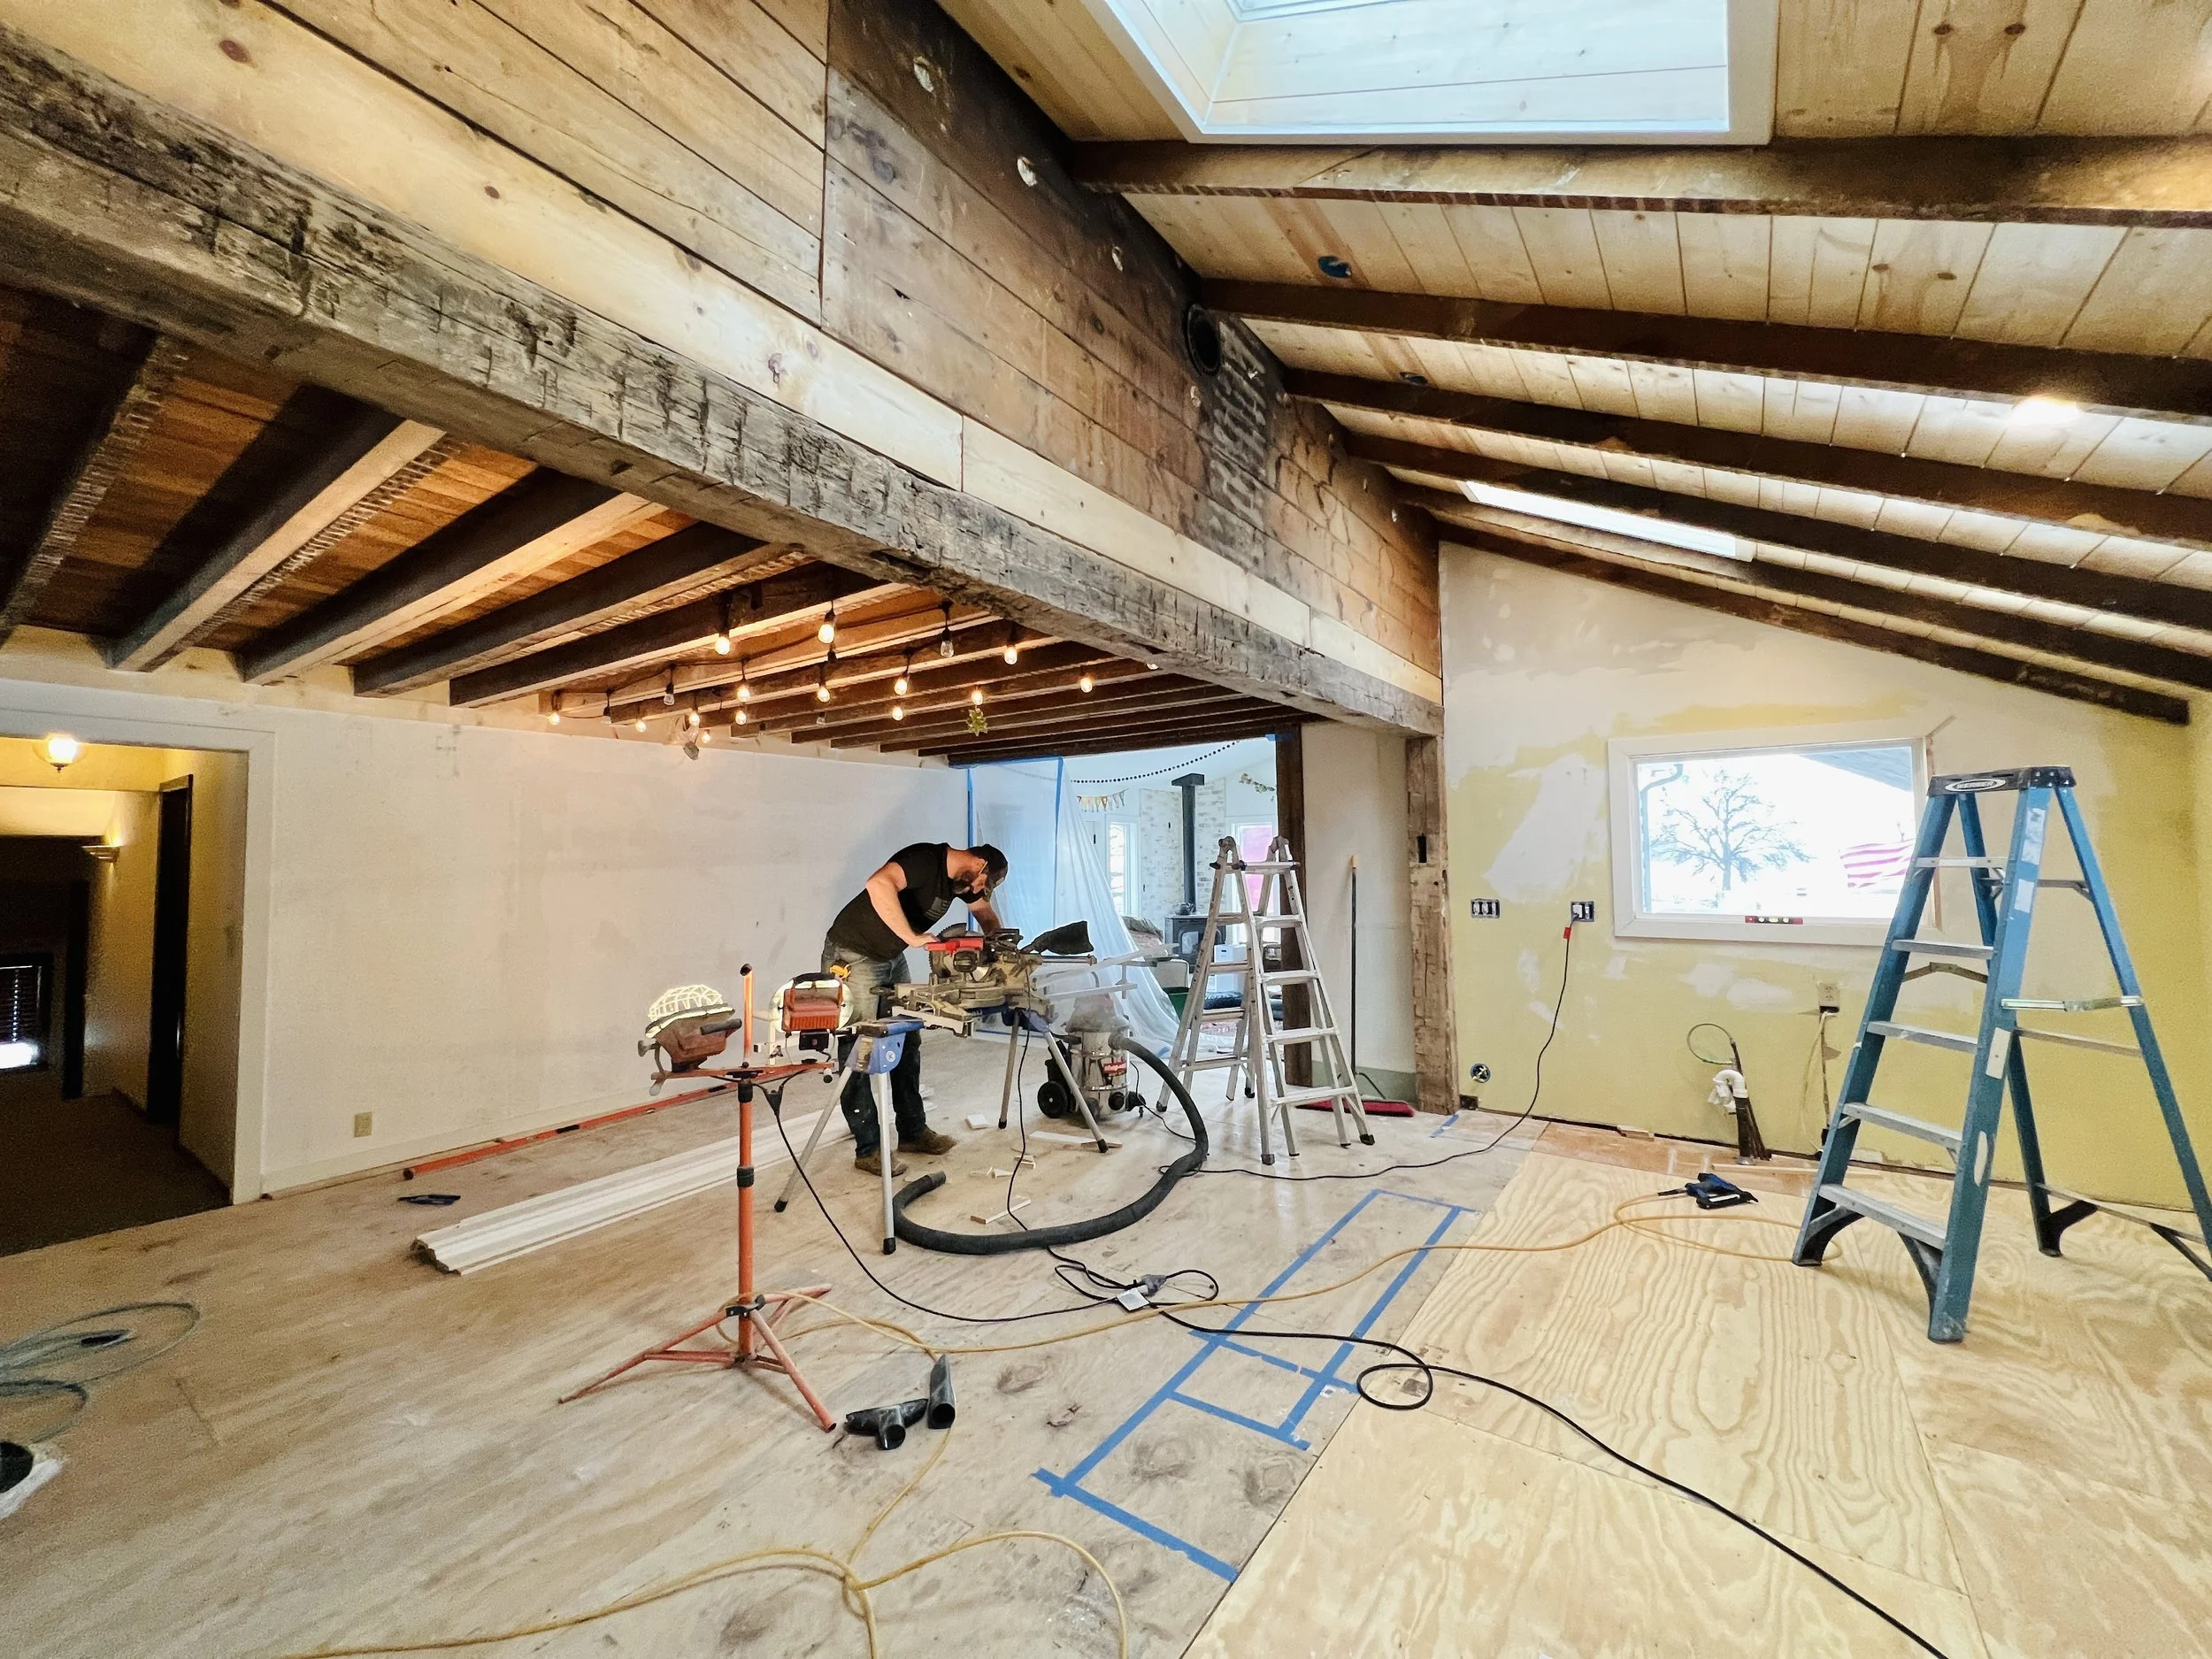
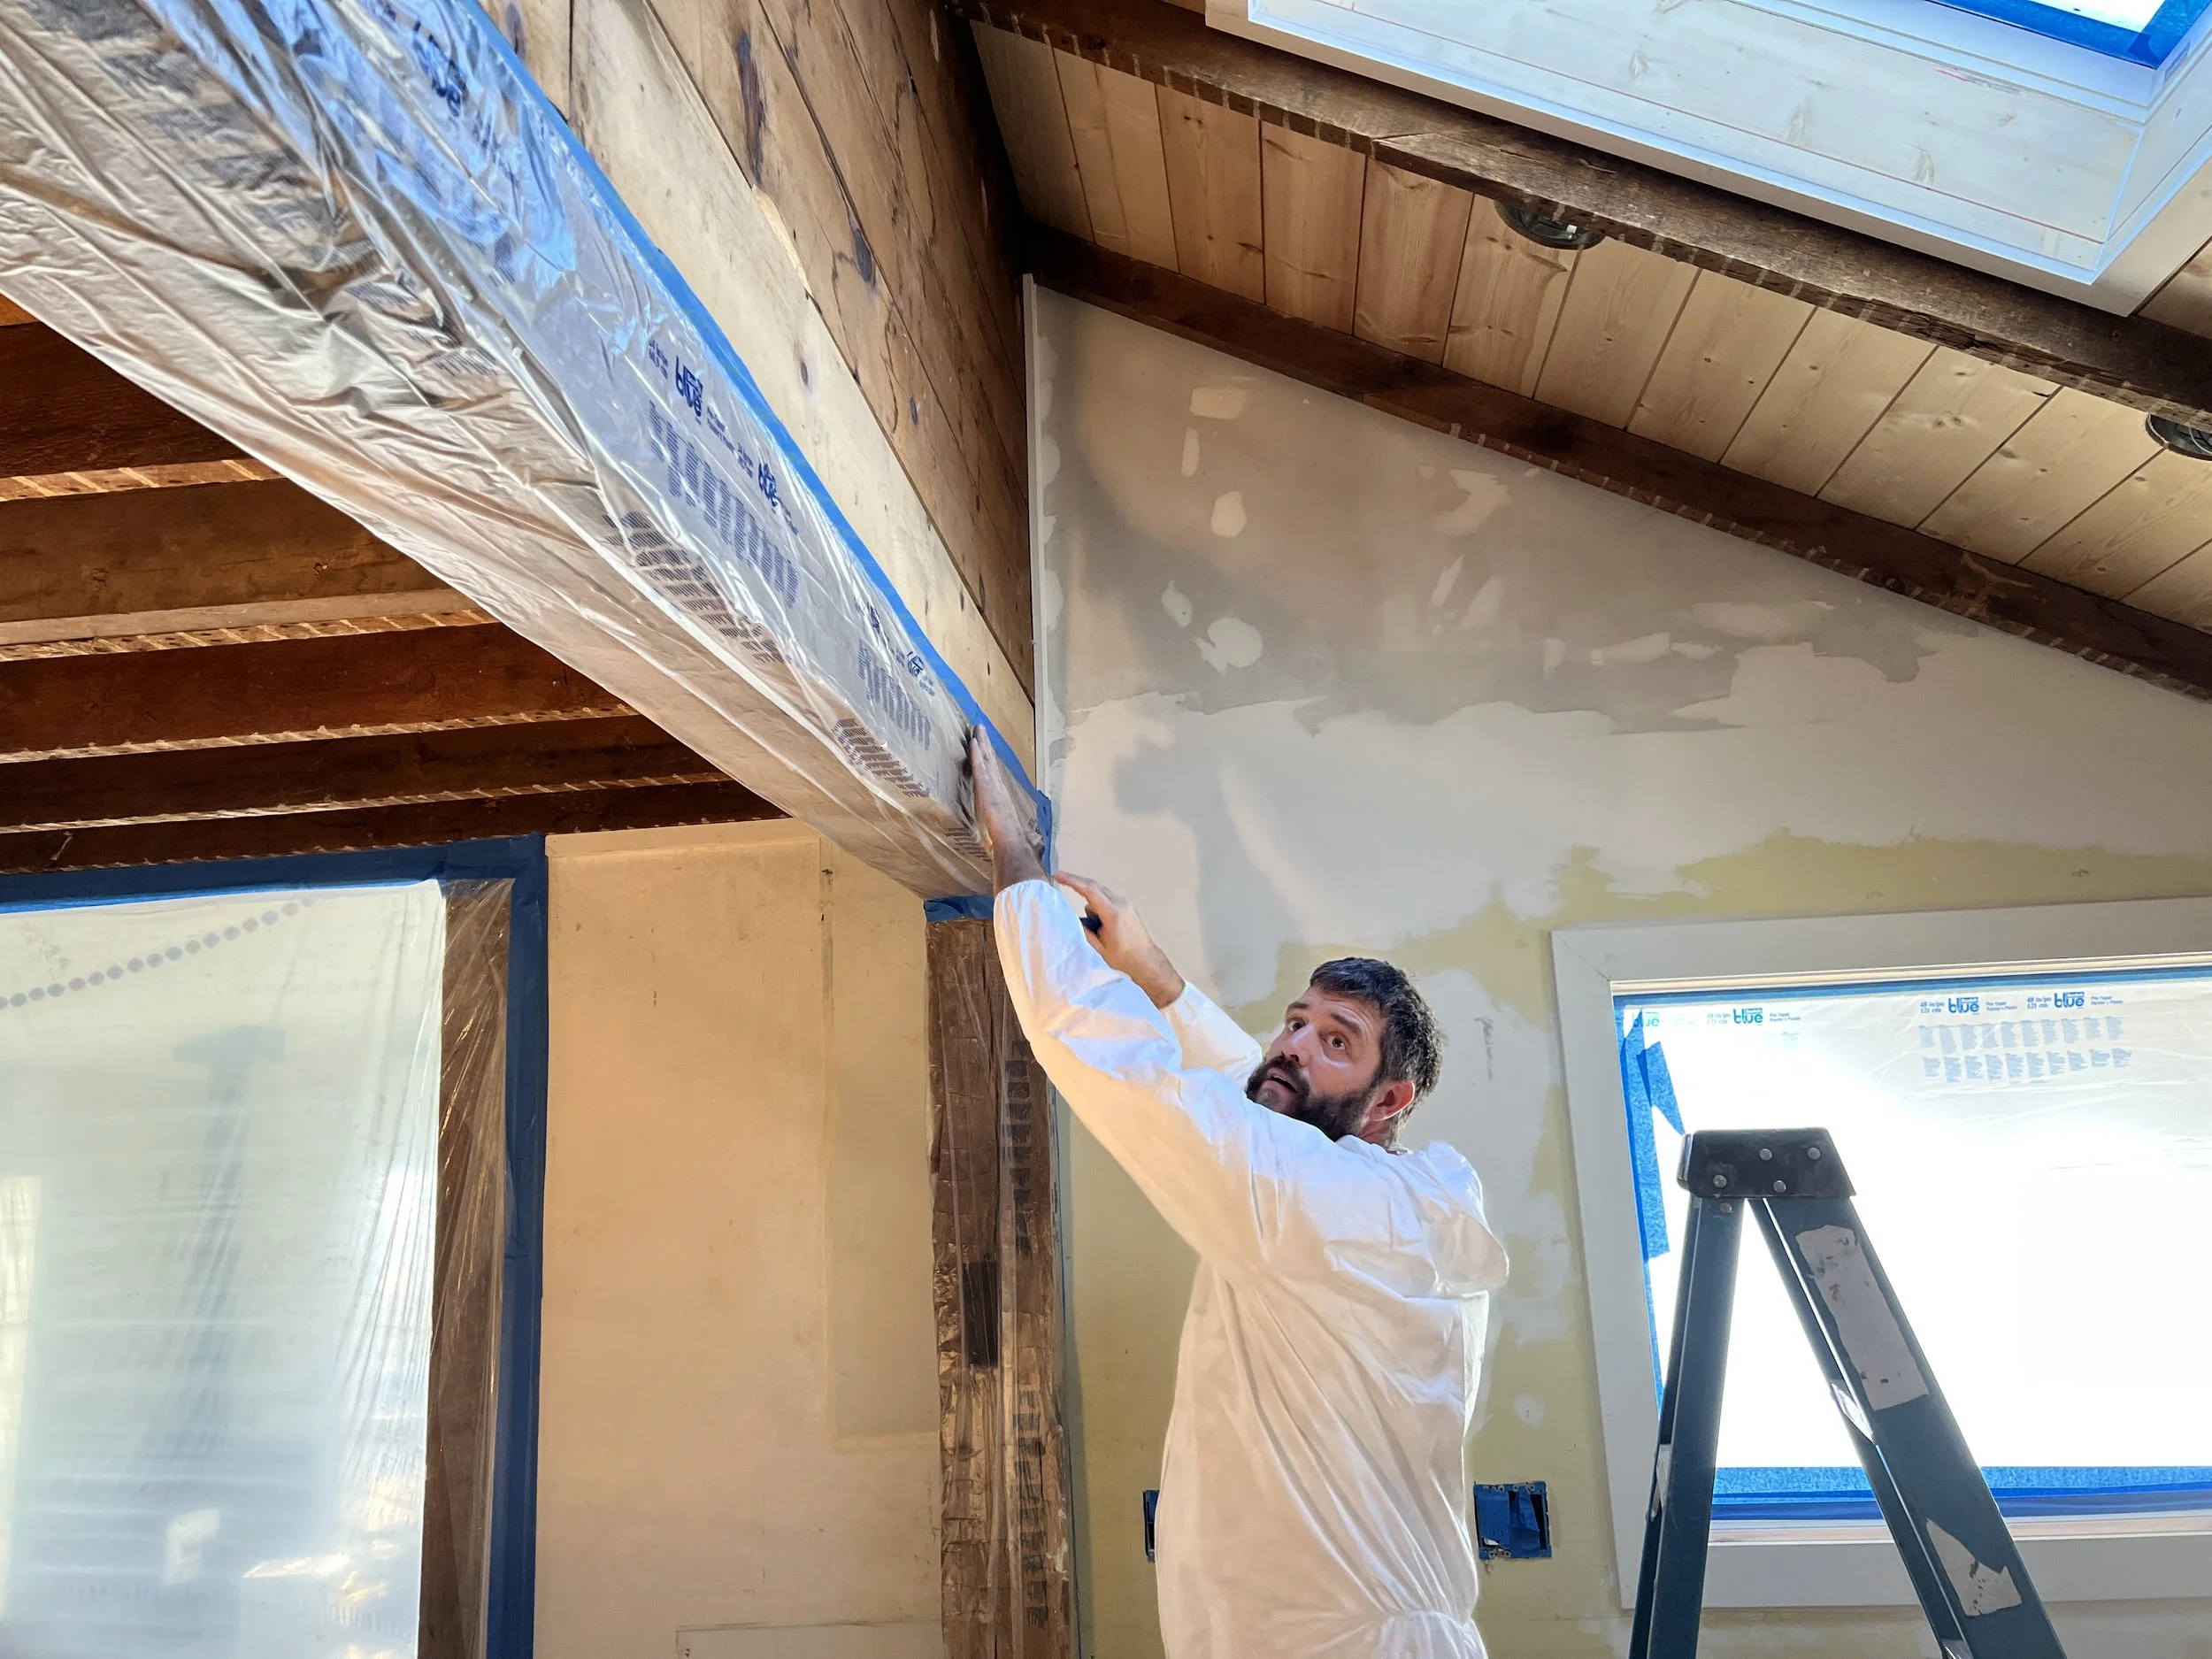
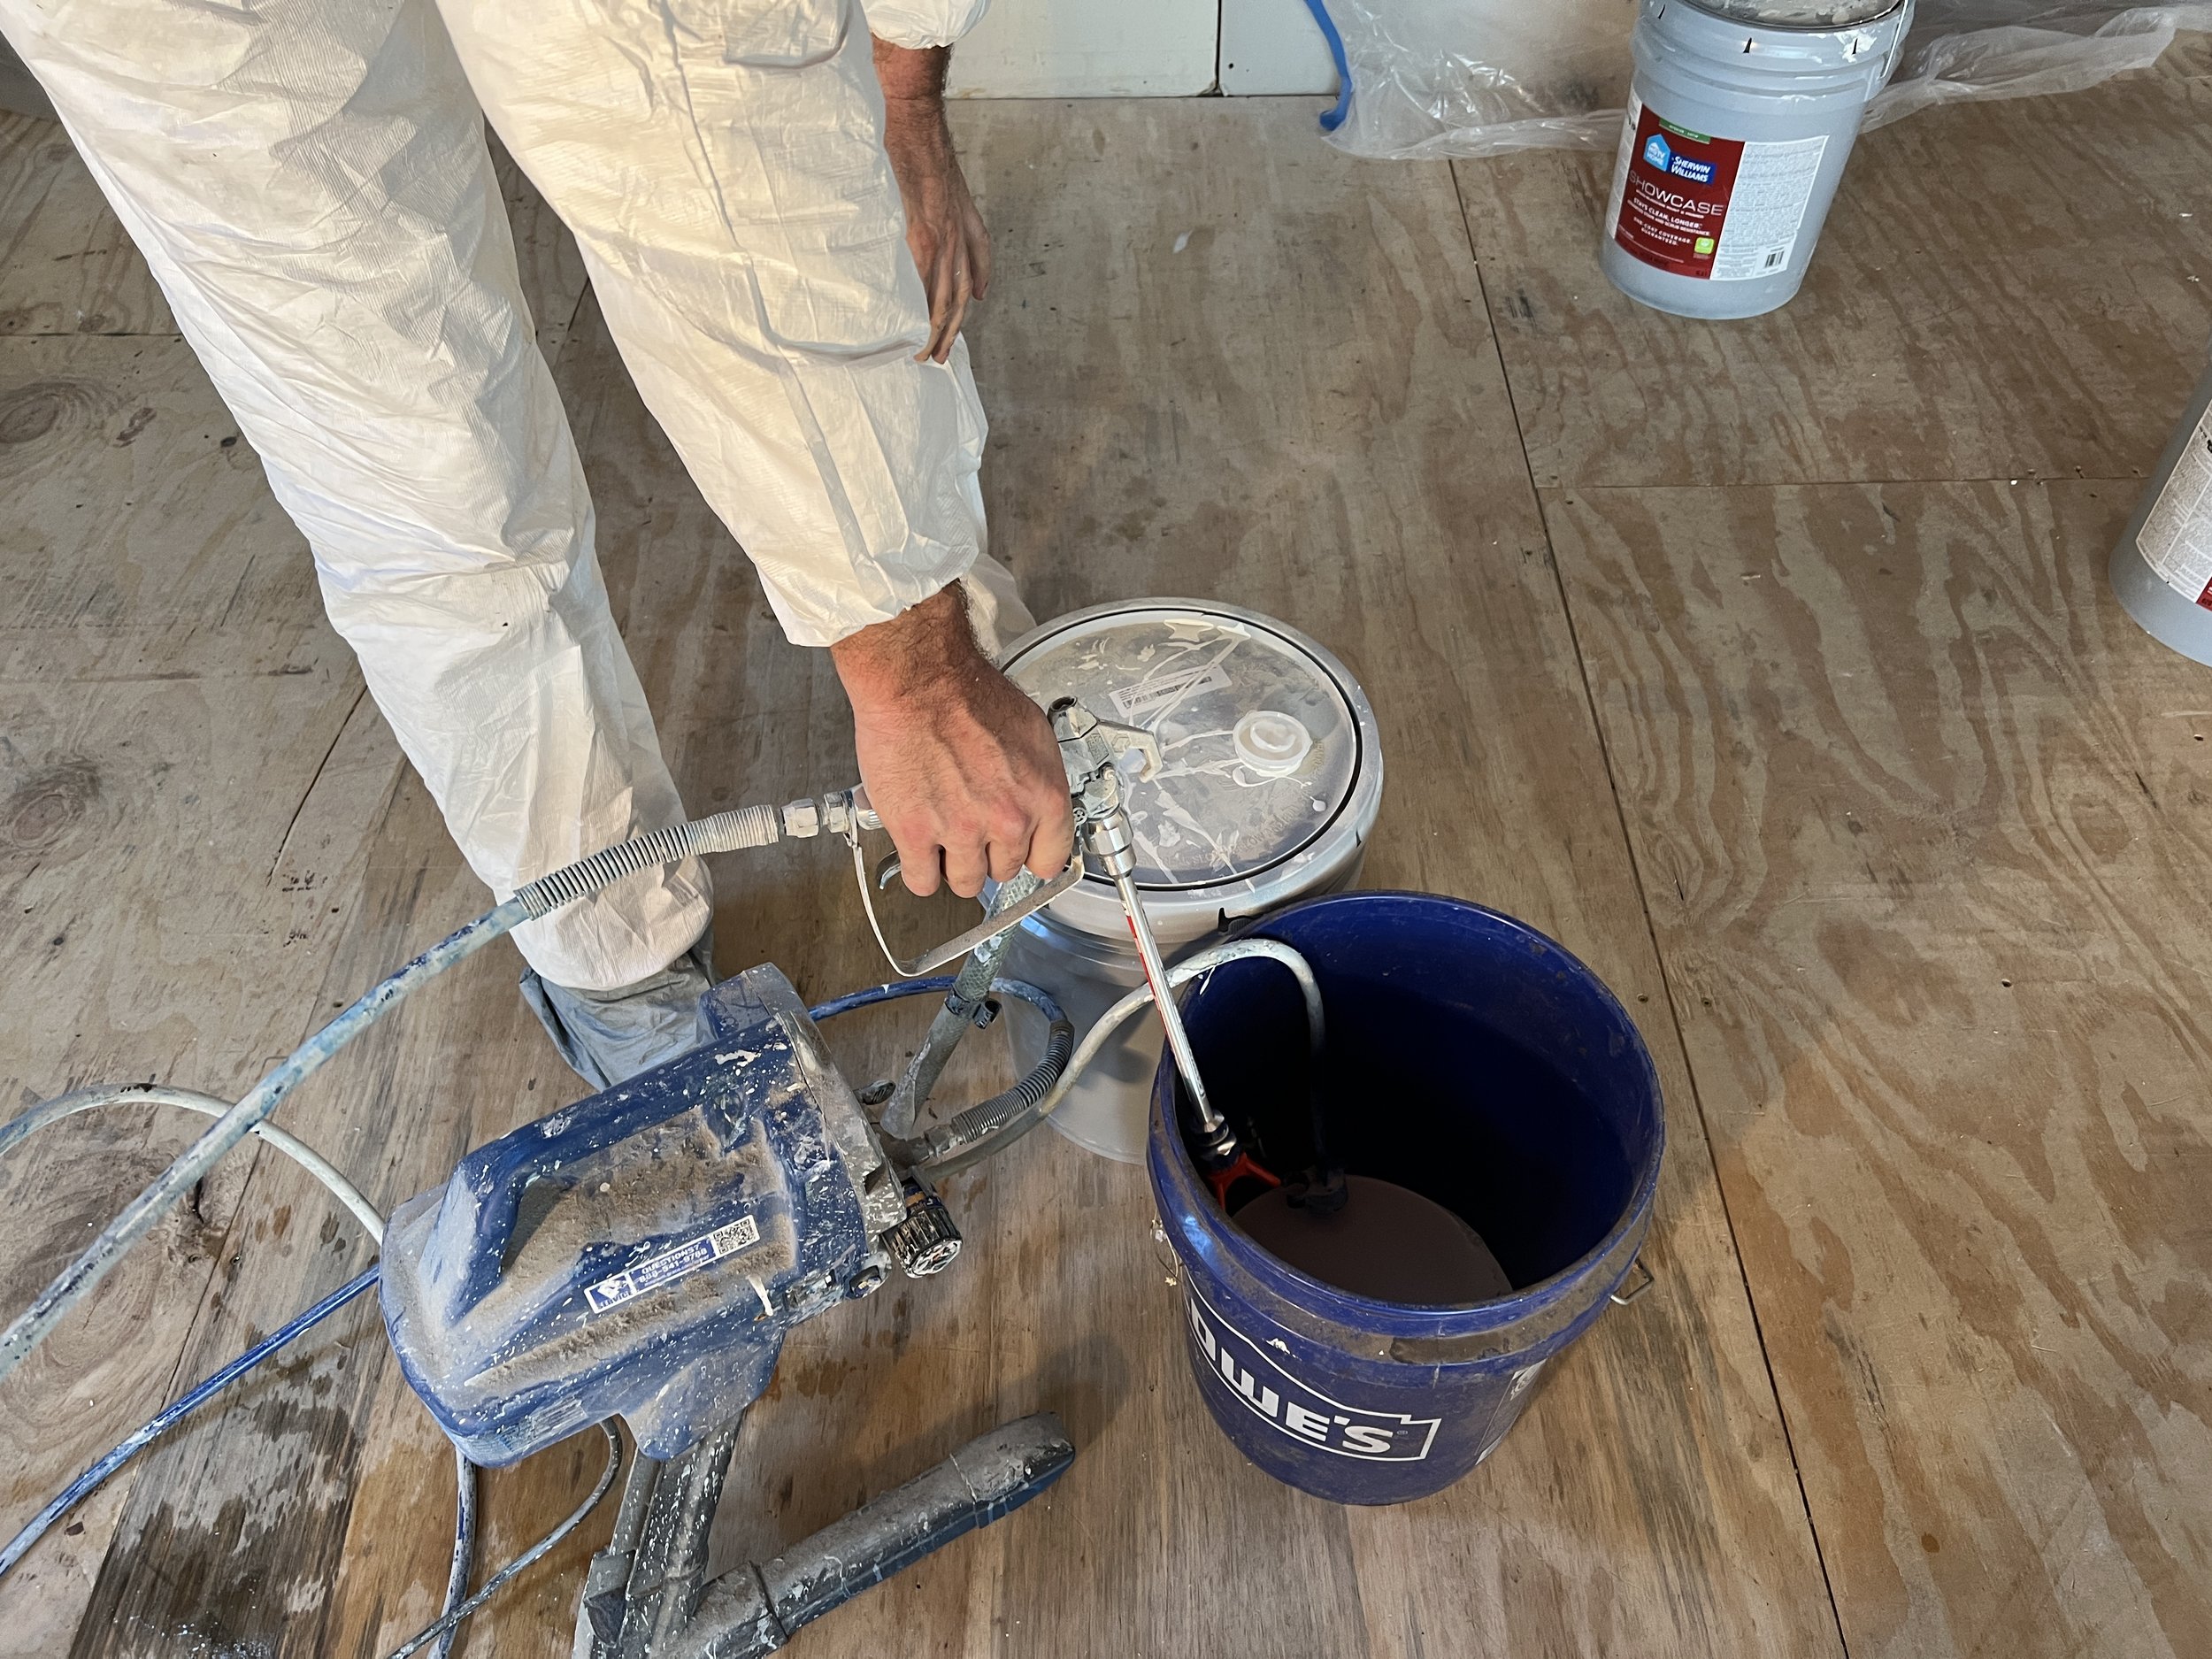
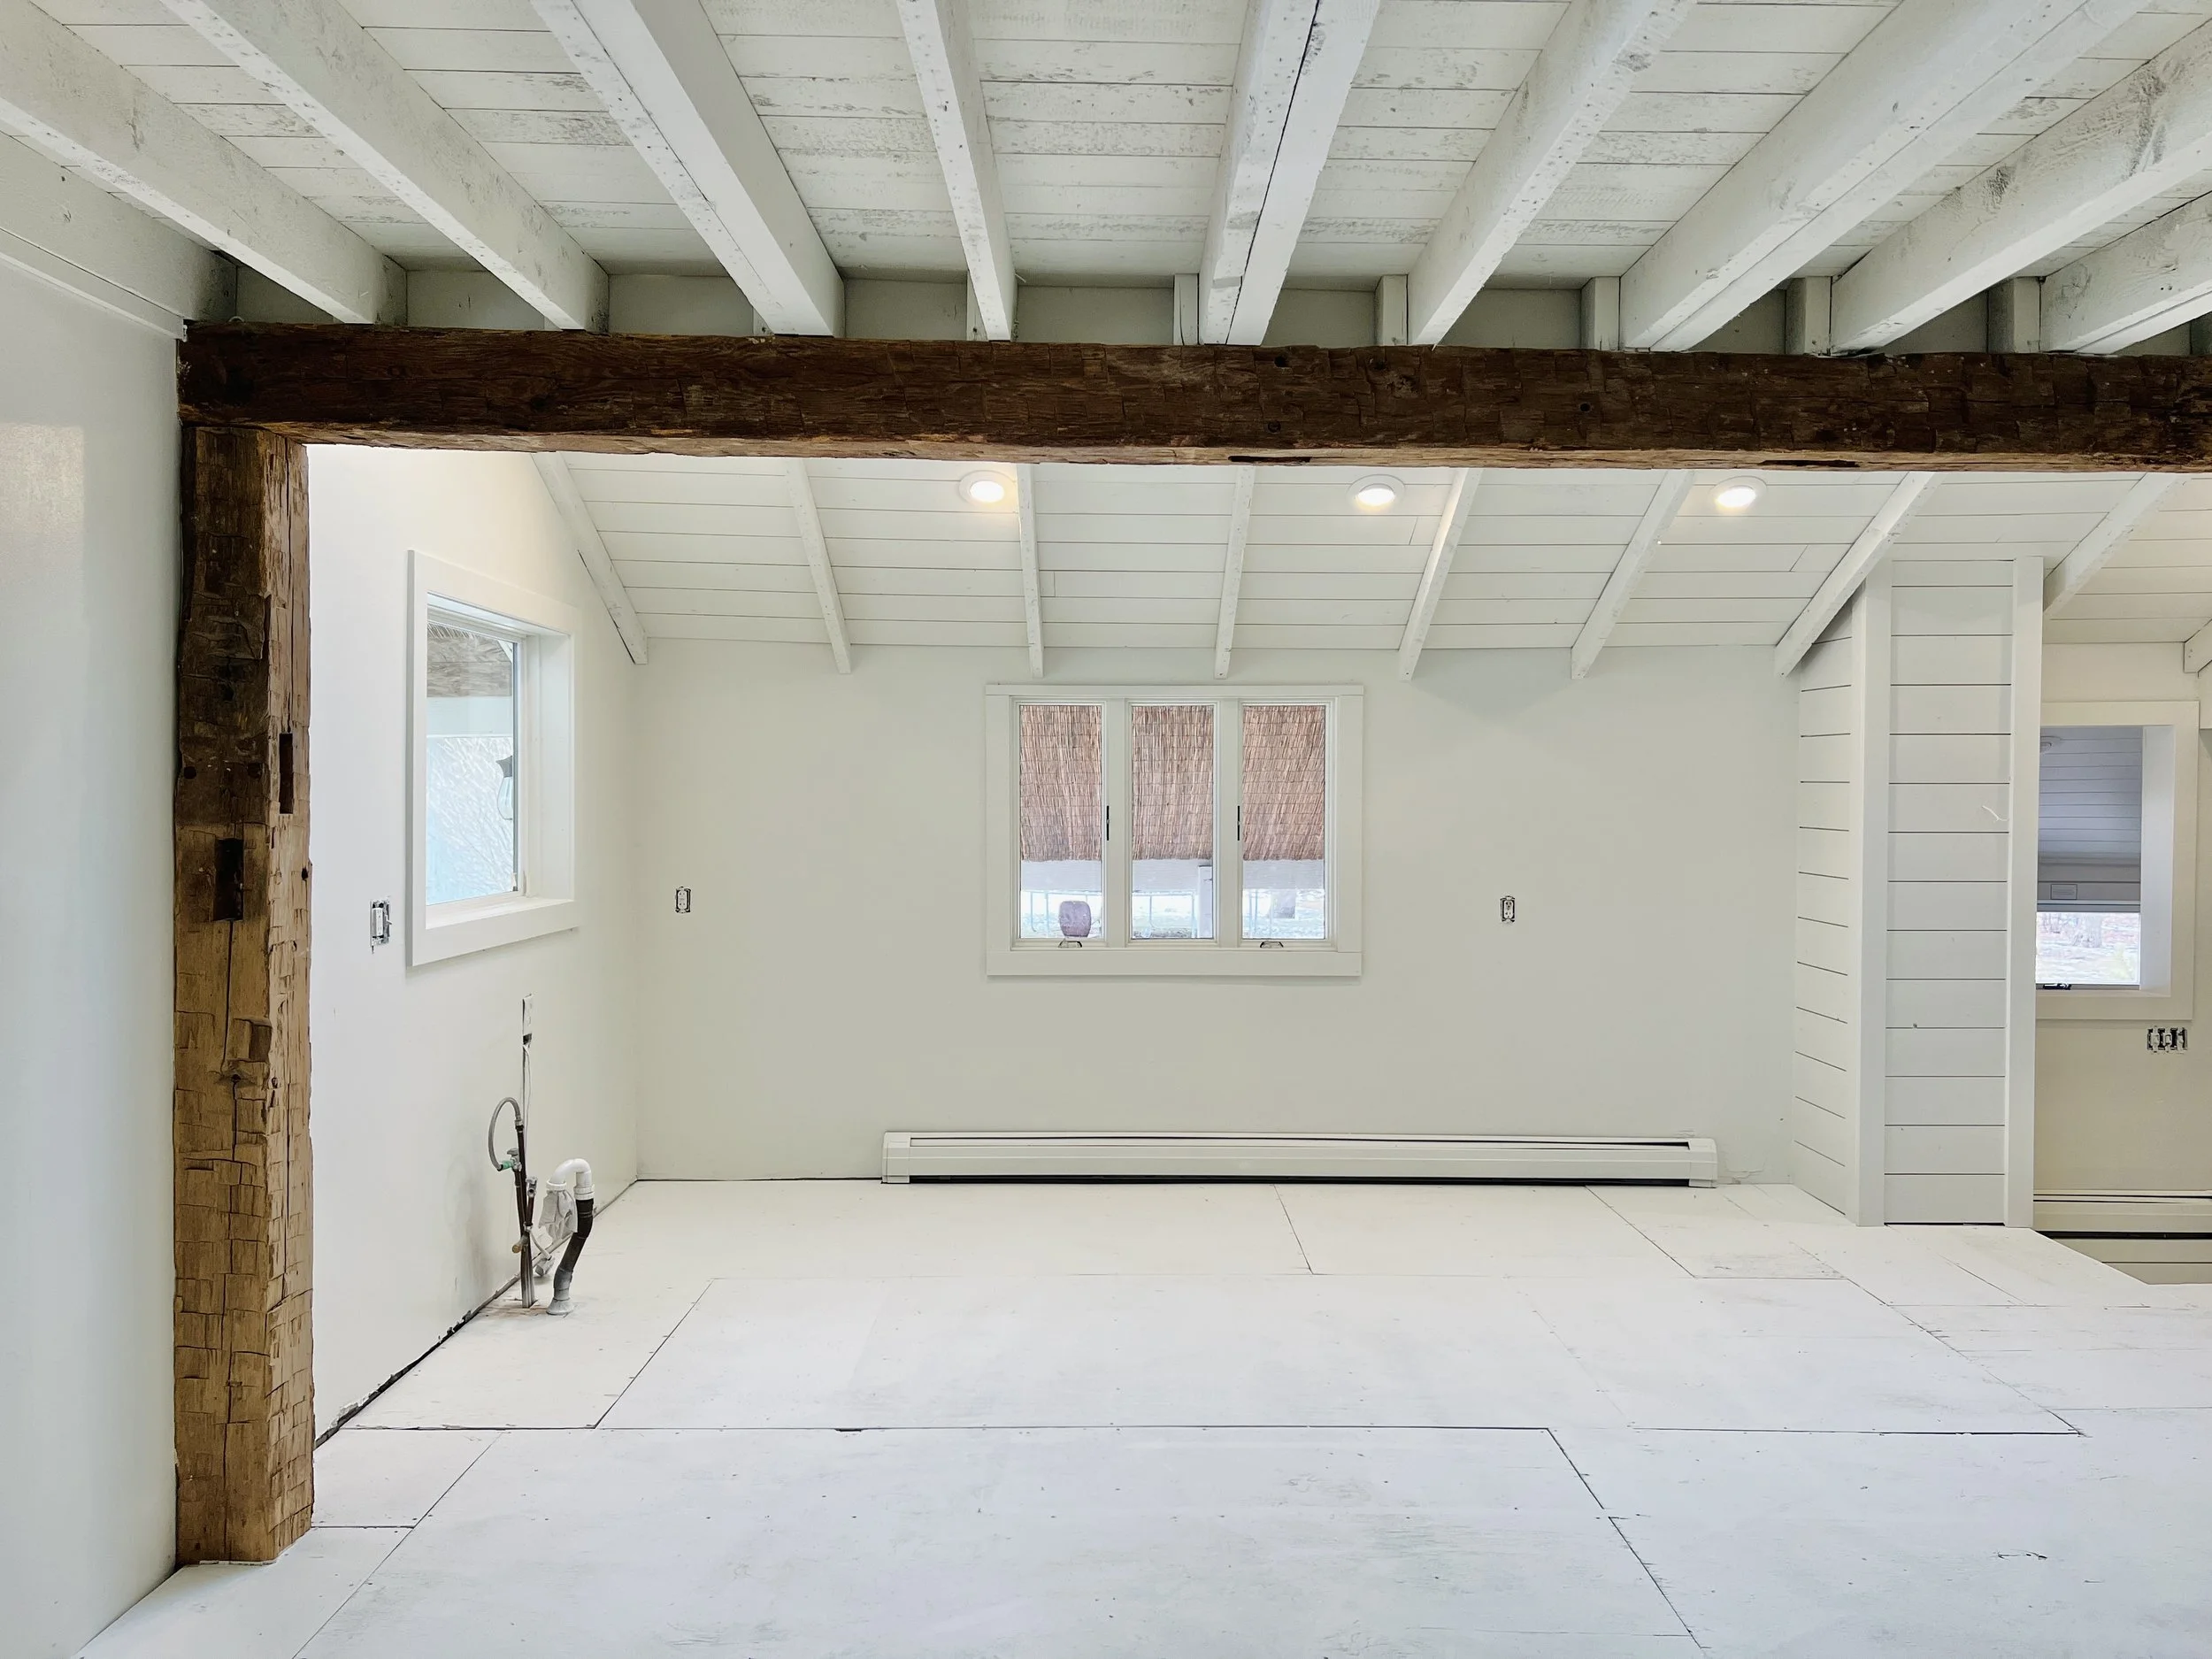
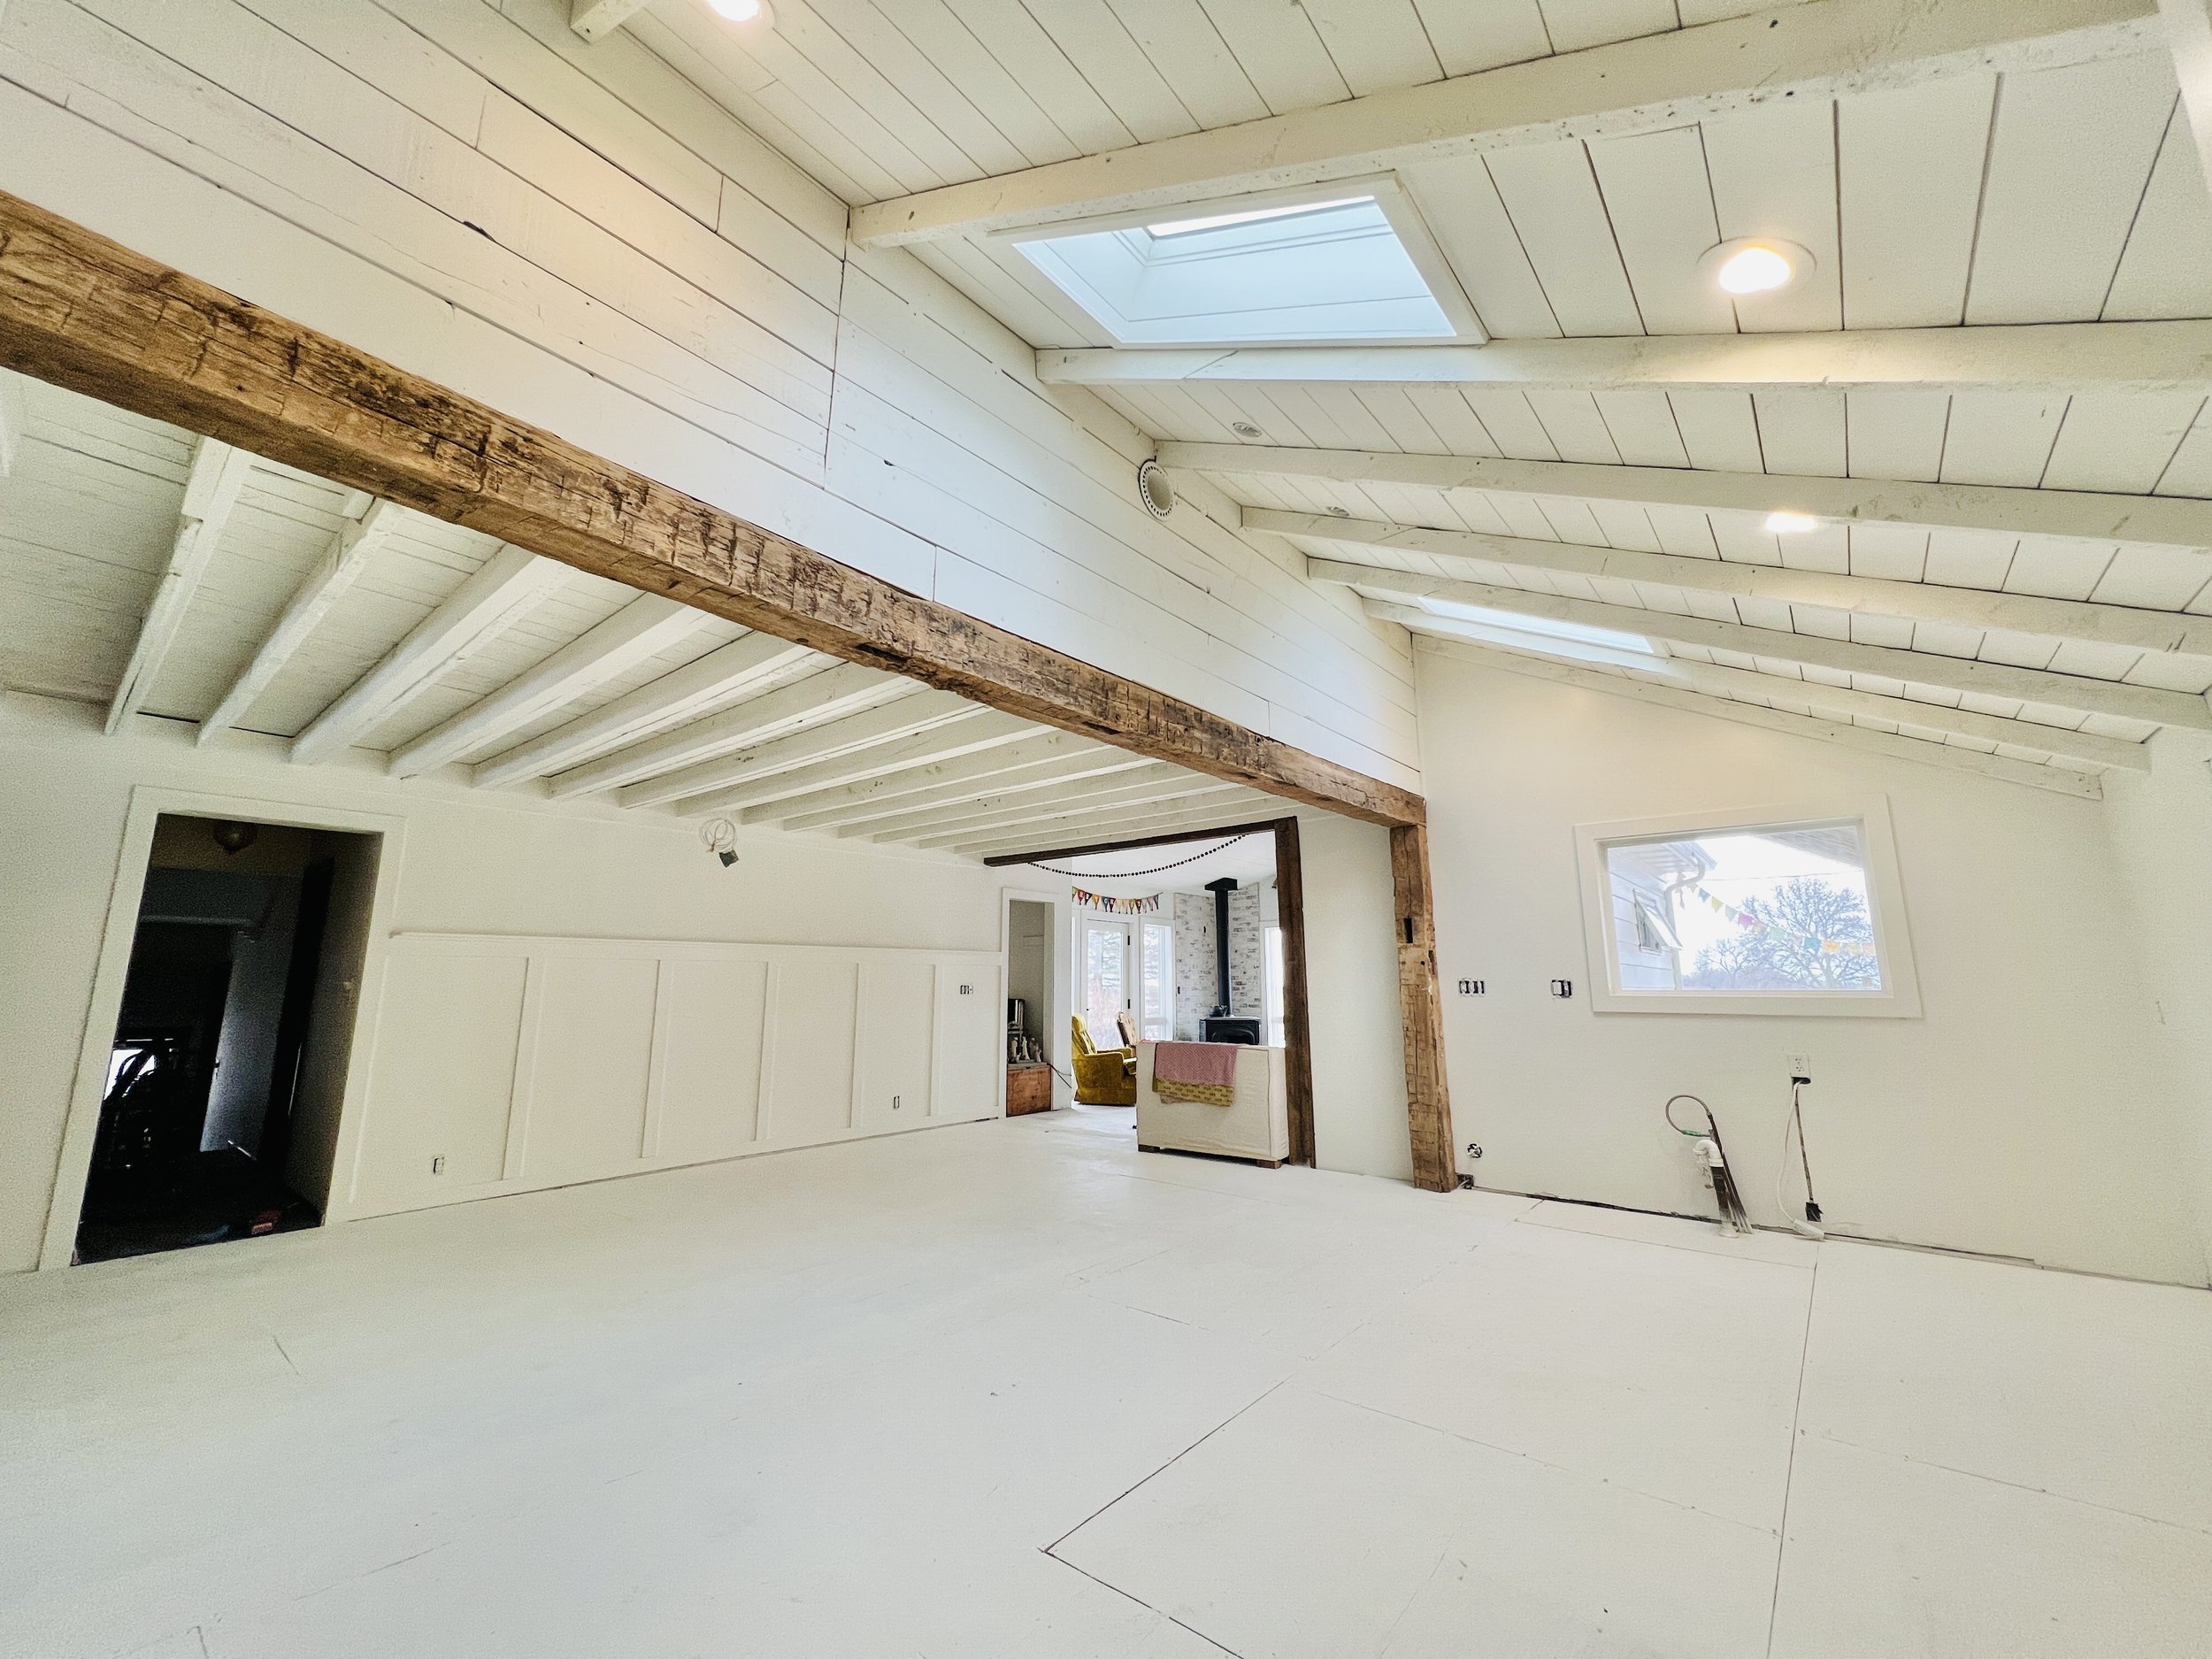
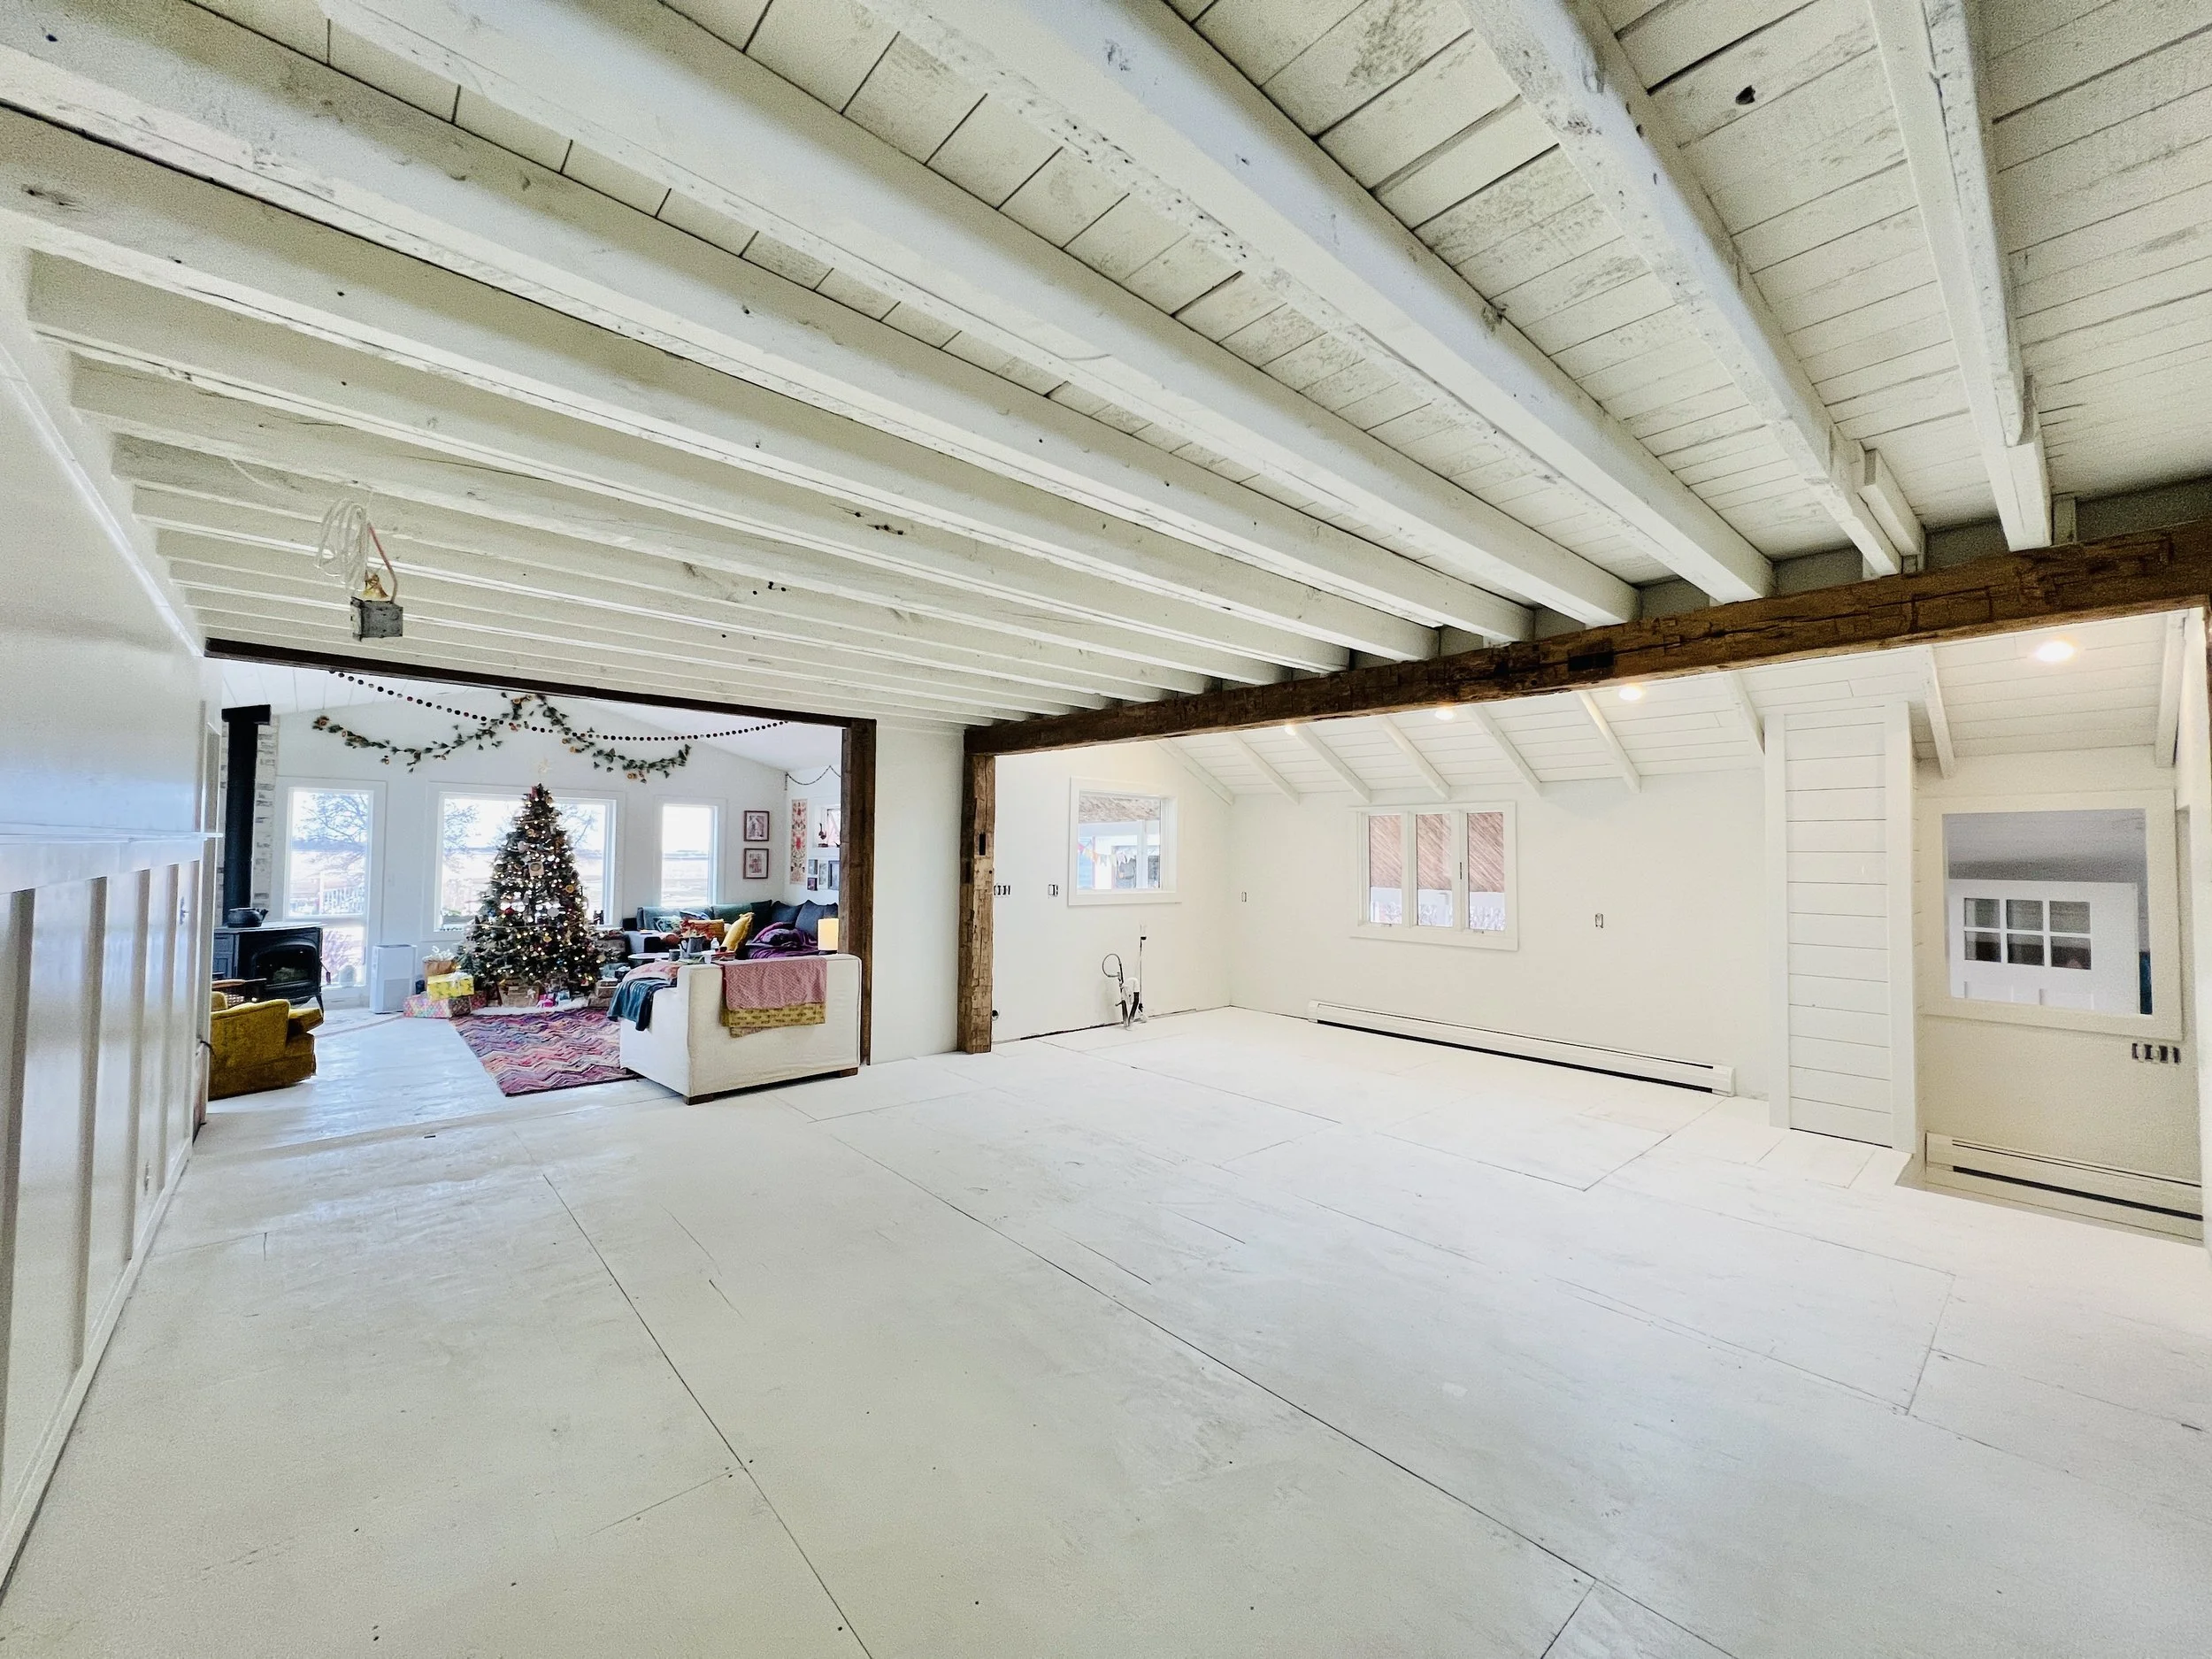
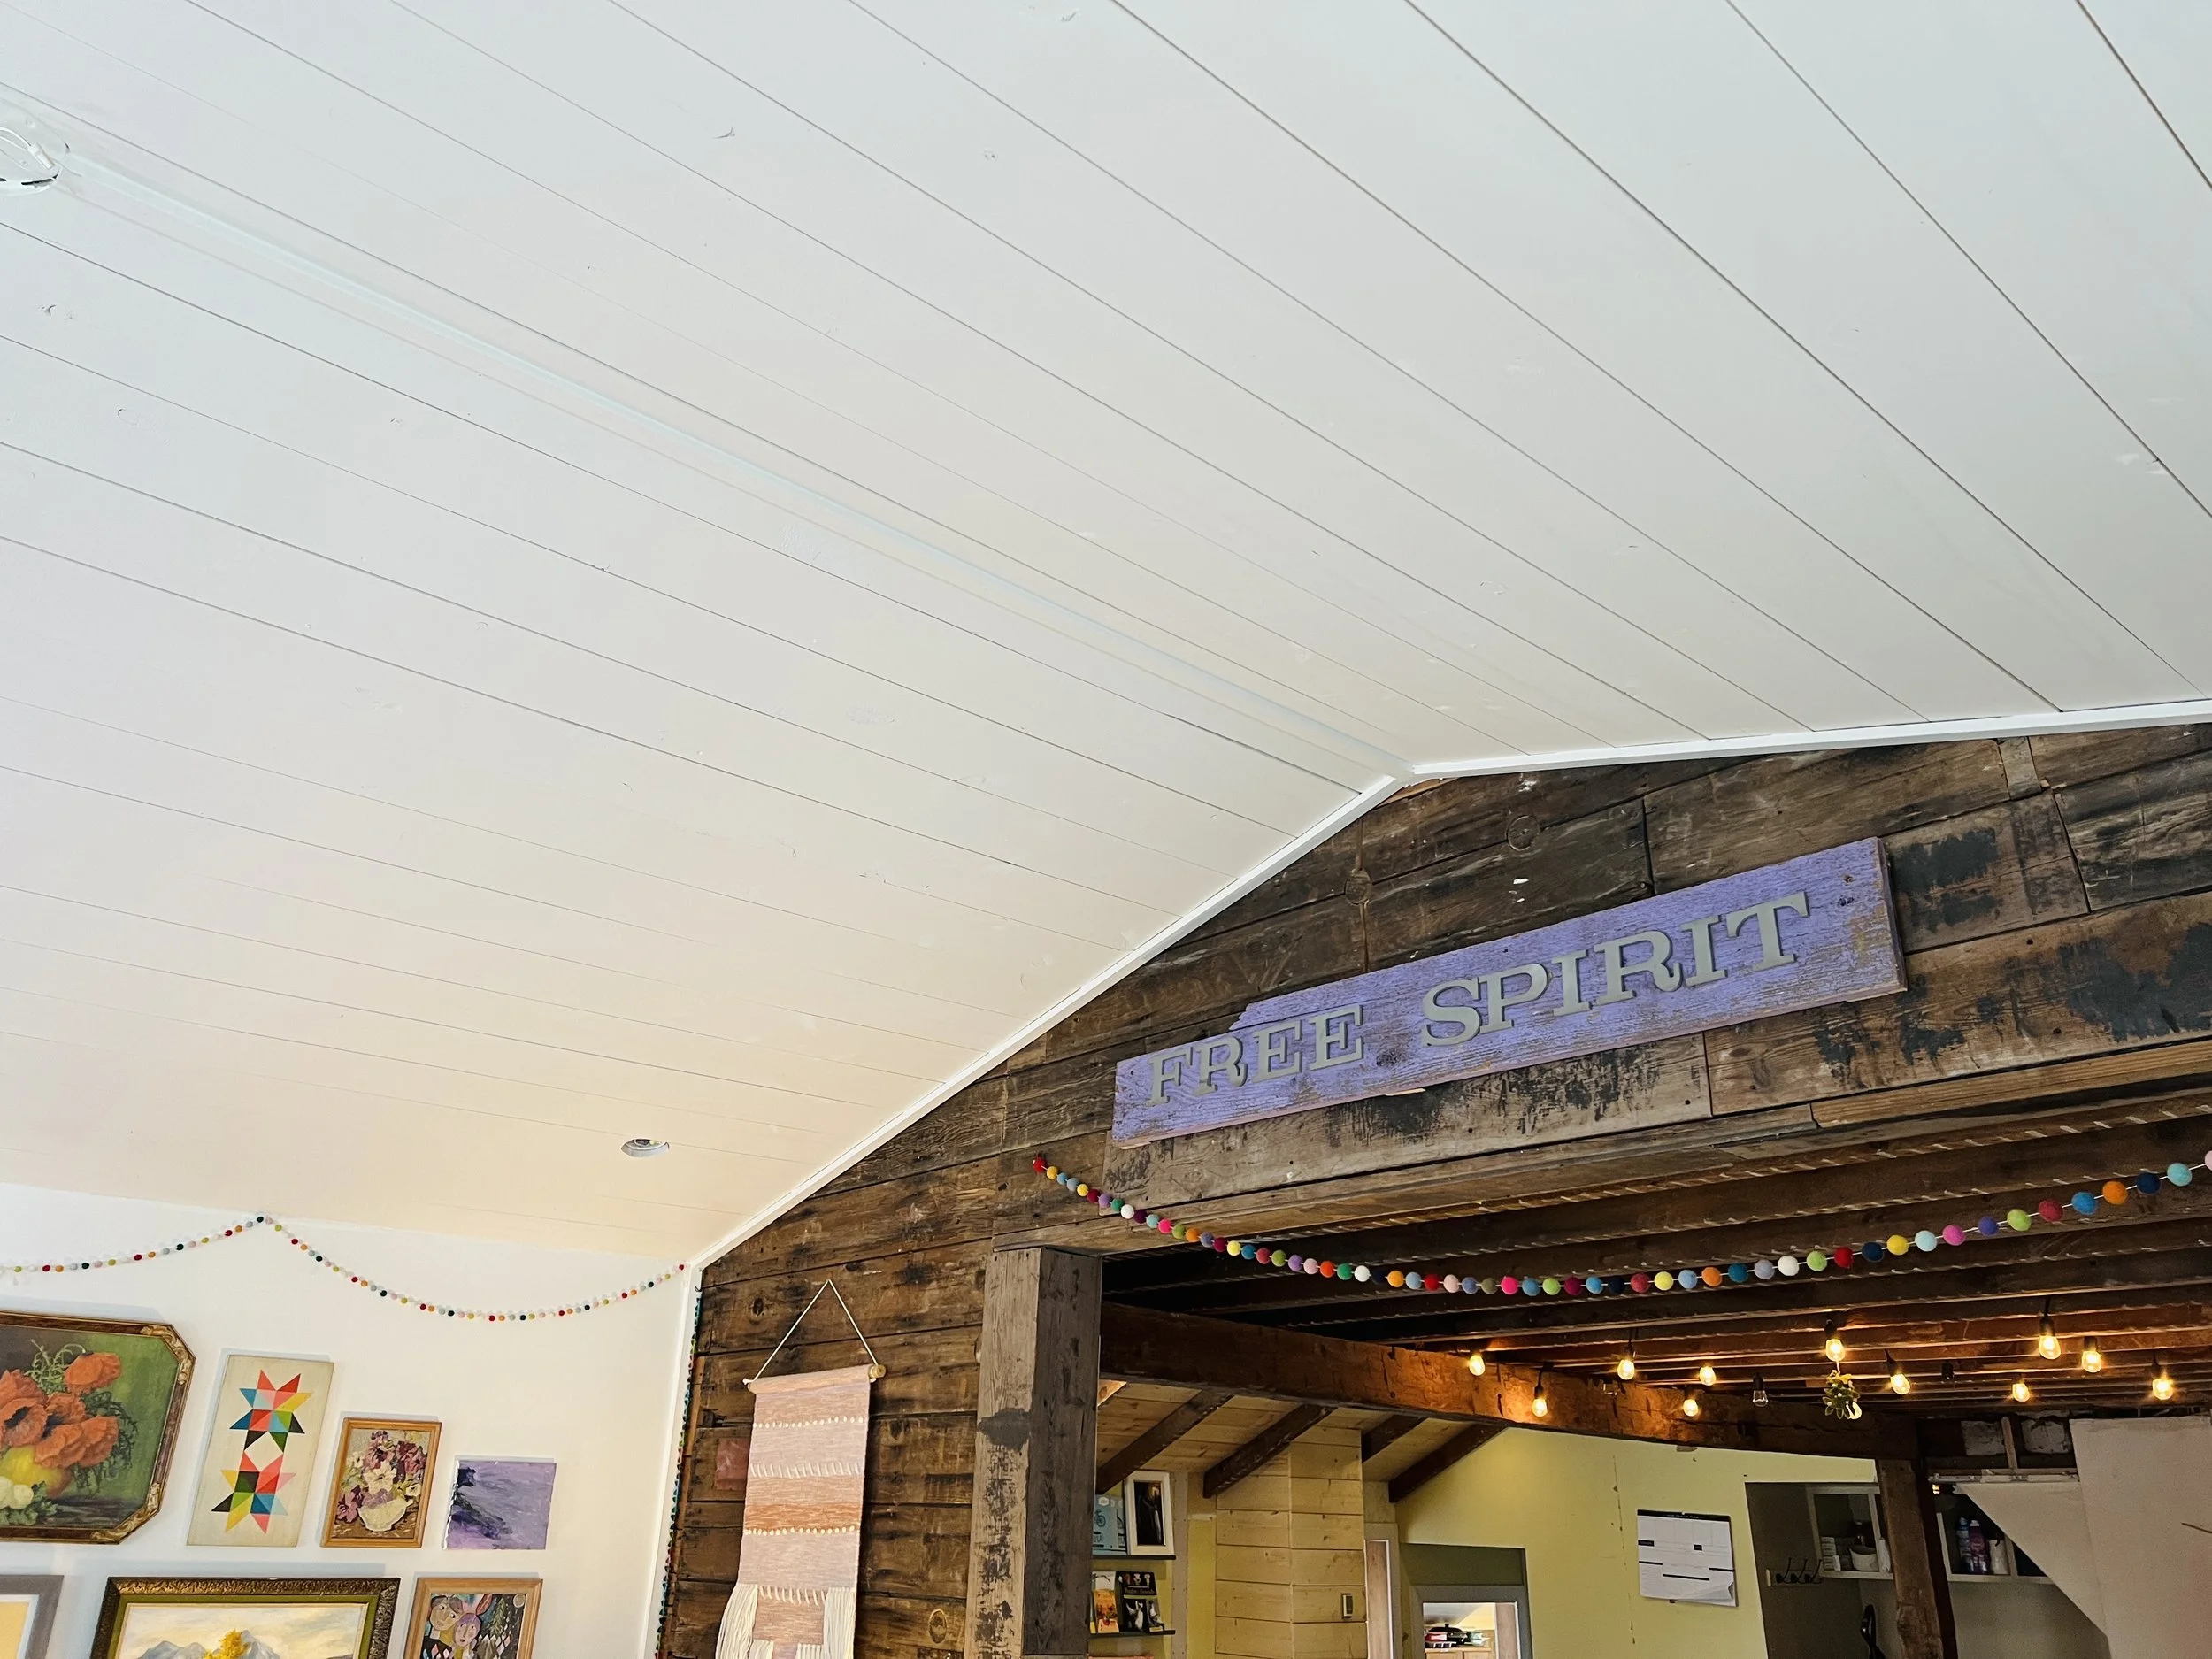
And it doesn’t matter how many rooms we paint white…I’m always in AWE of how quickly it changes a space. We sprayed the subfloor white for now…while we are waiting to put in the hardwood. The beautiful beams came from a barn in Iowa…they are one of my very favorite things in the house! They are from the same era as our house (1895)…we’ve even had people ask if they are original. That’s exactly what I wanted!

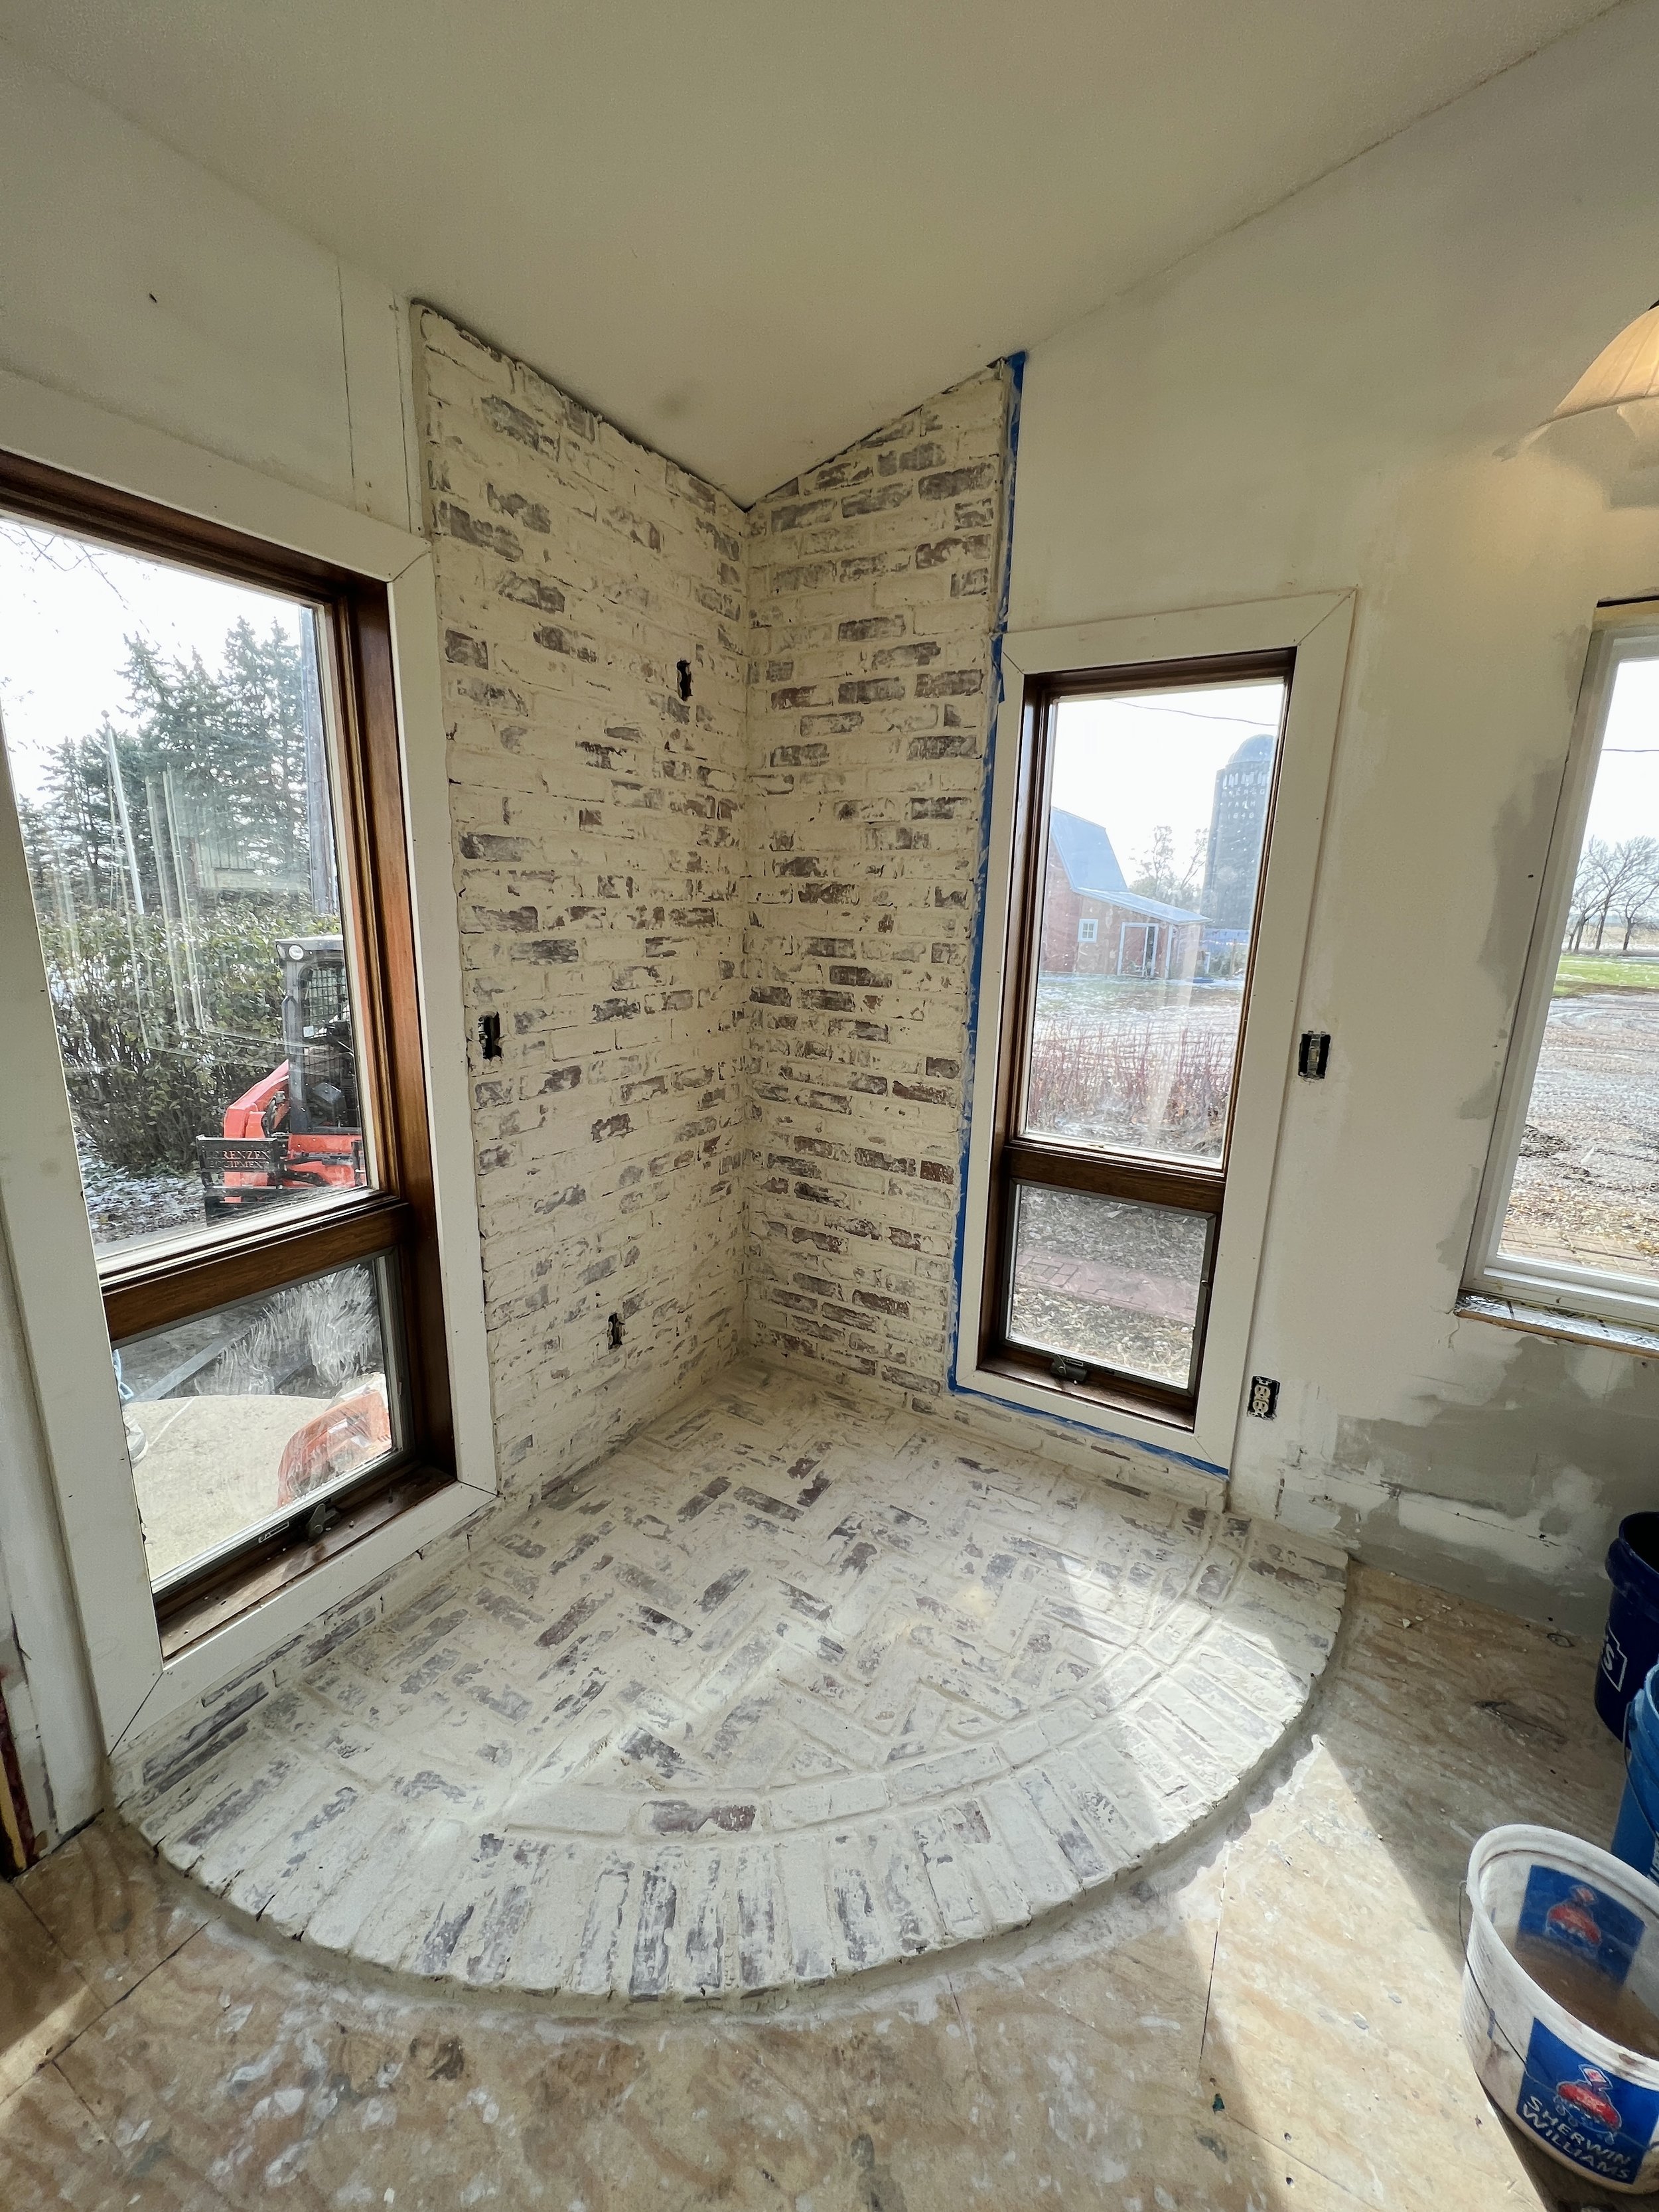
If you look closely right under the first skylight on the wall…you can see where the cook stove pipe exited the original structure. I love that we have these little reminders of the rich history of this home.

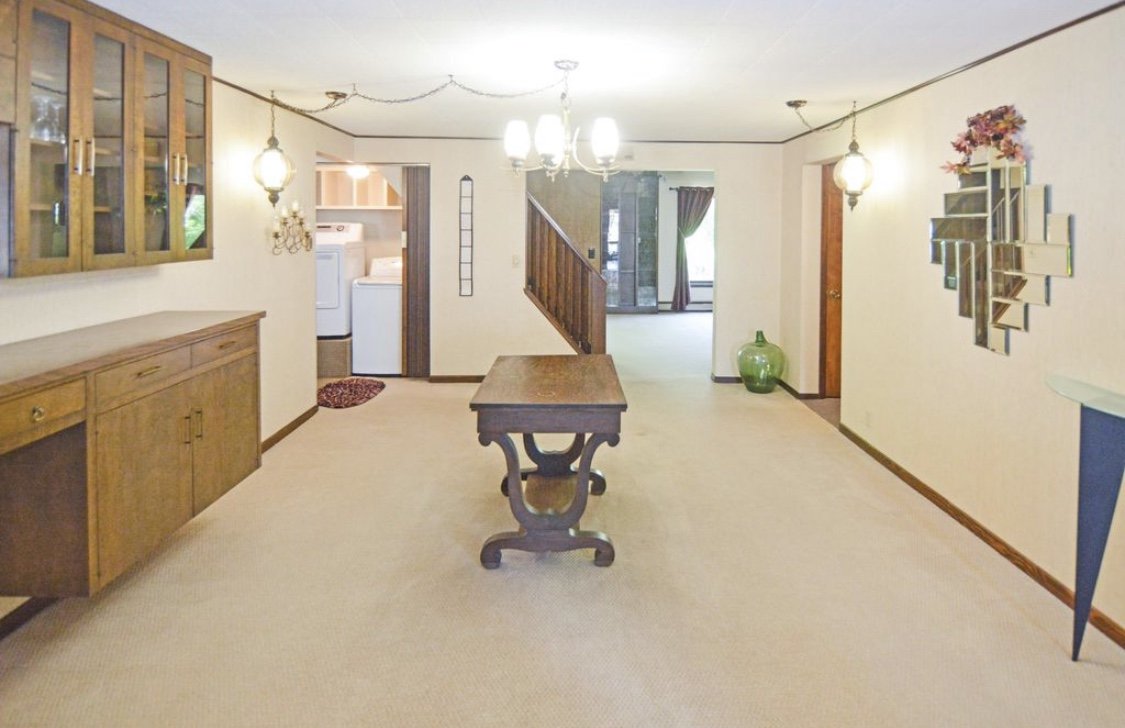
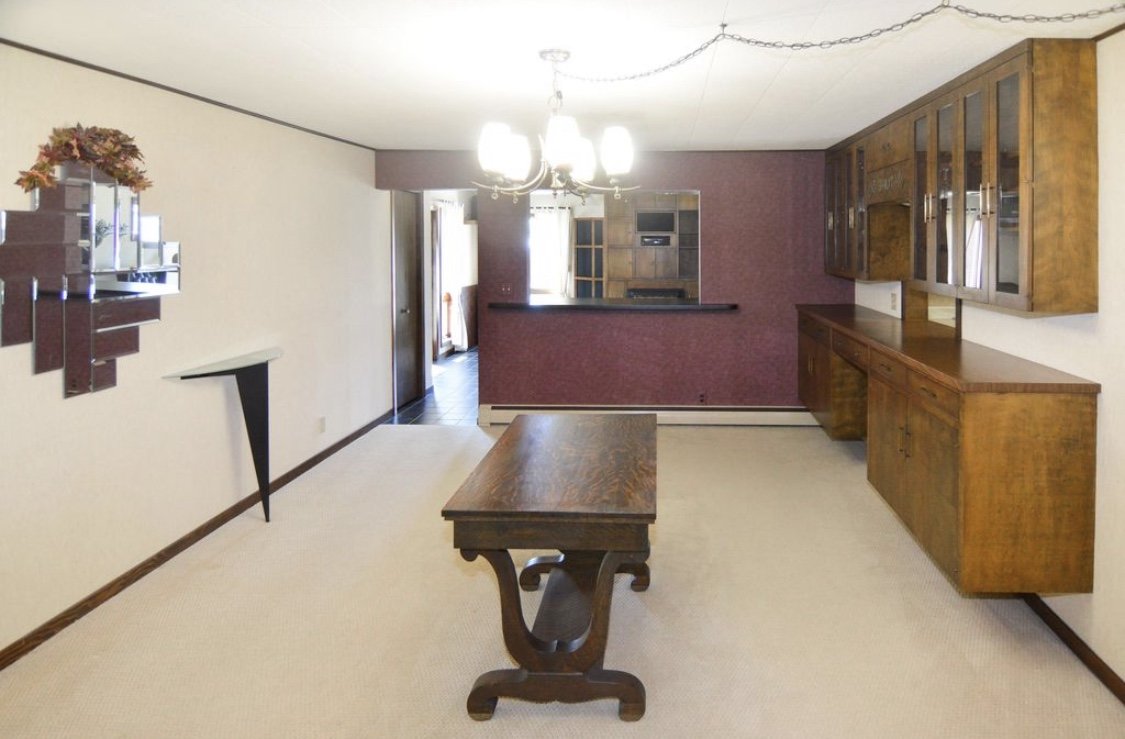
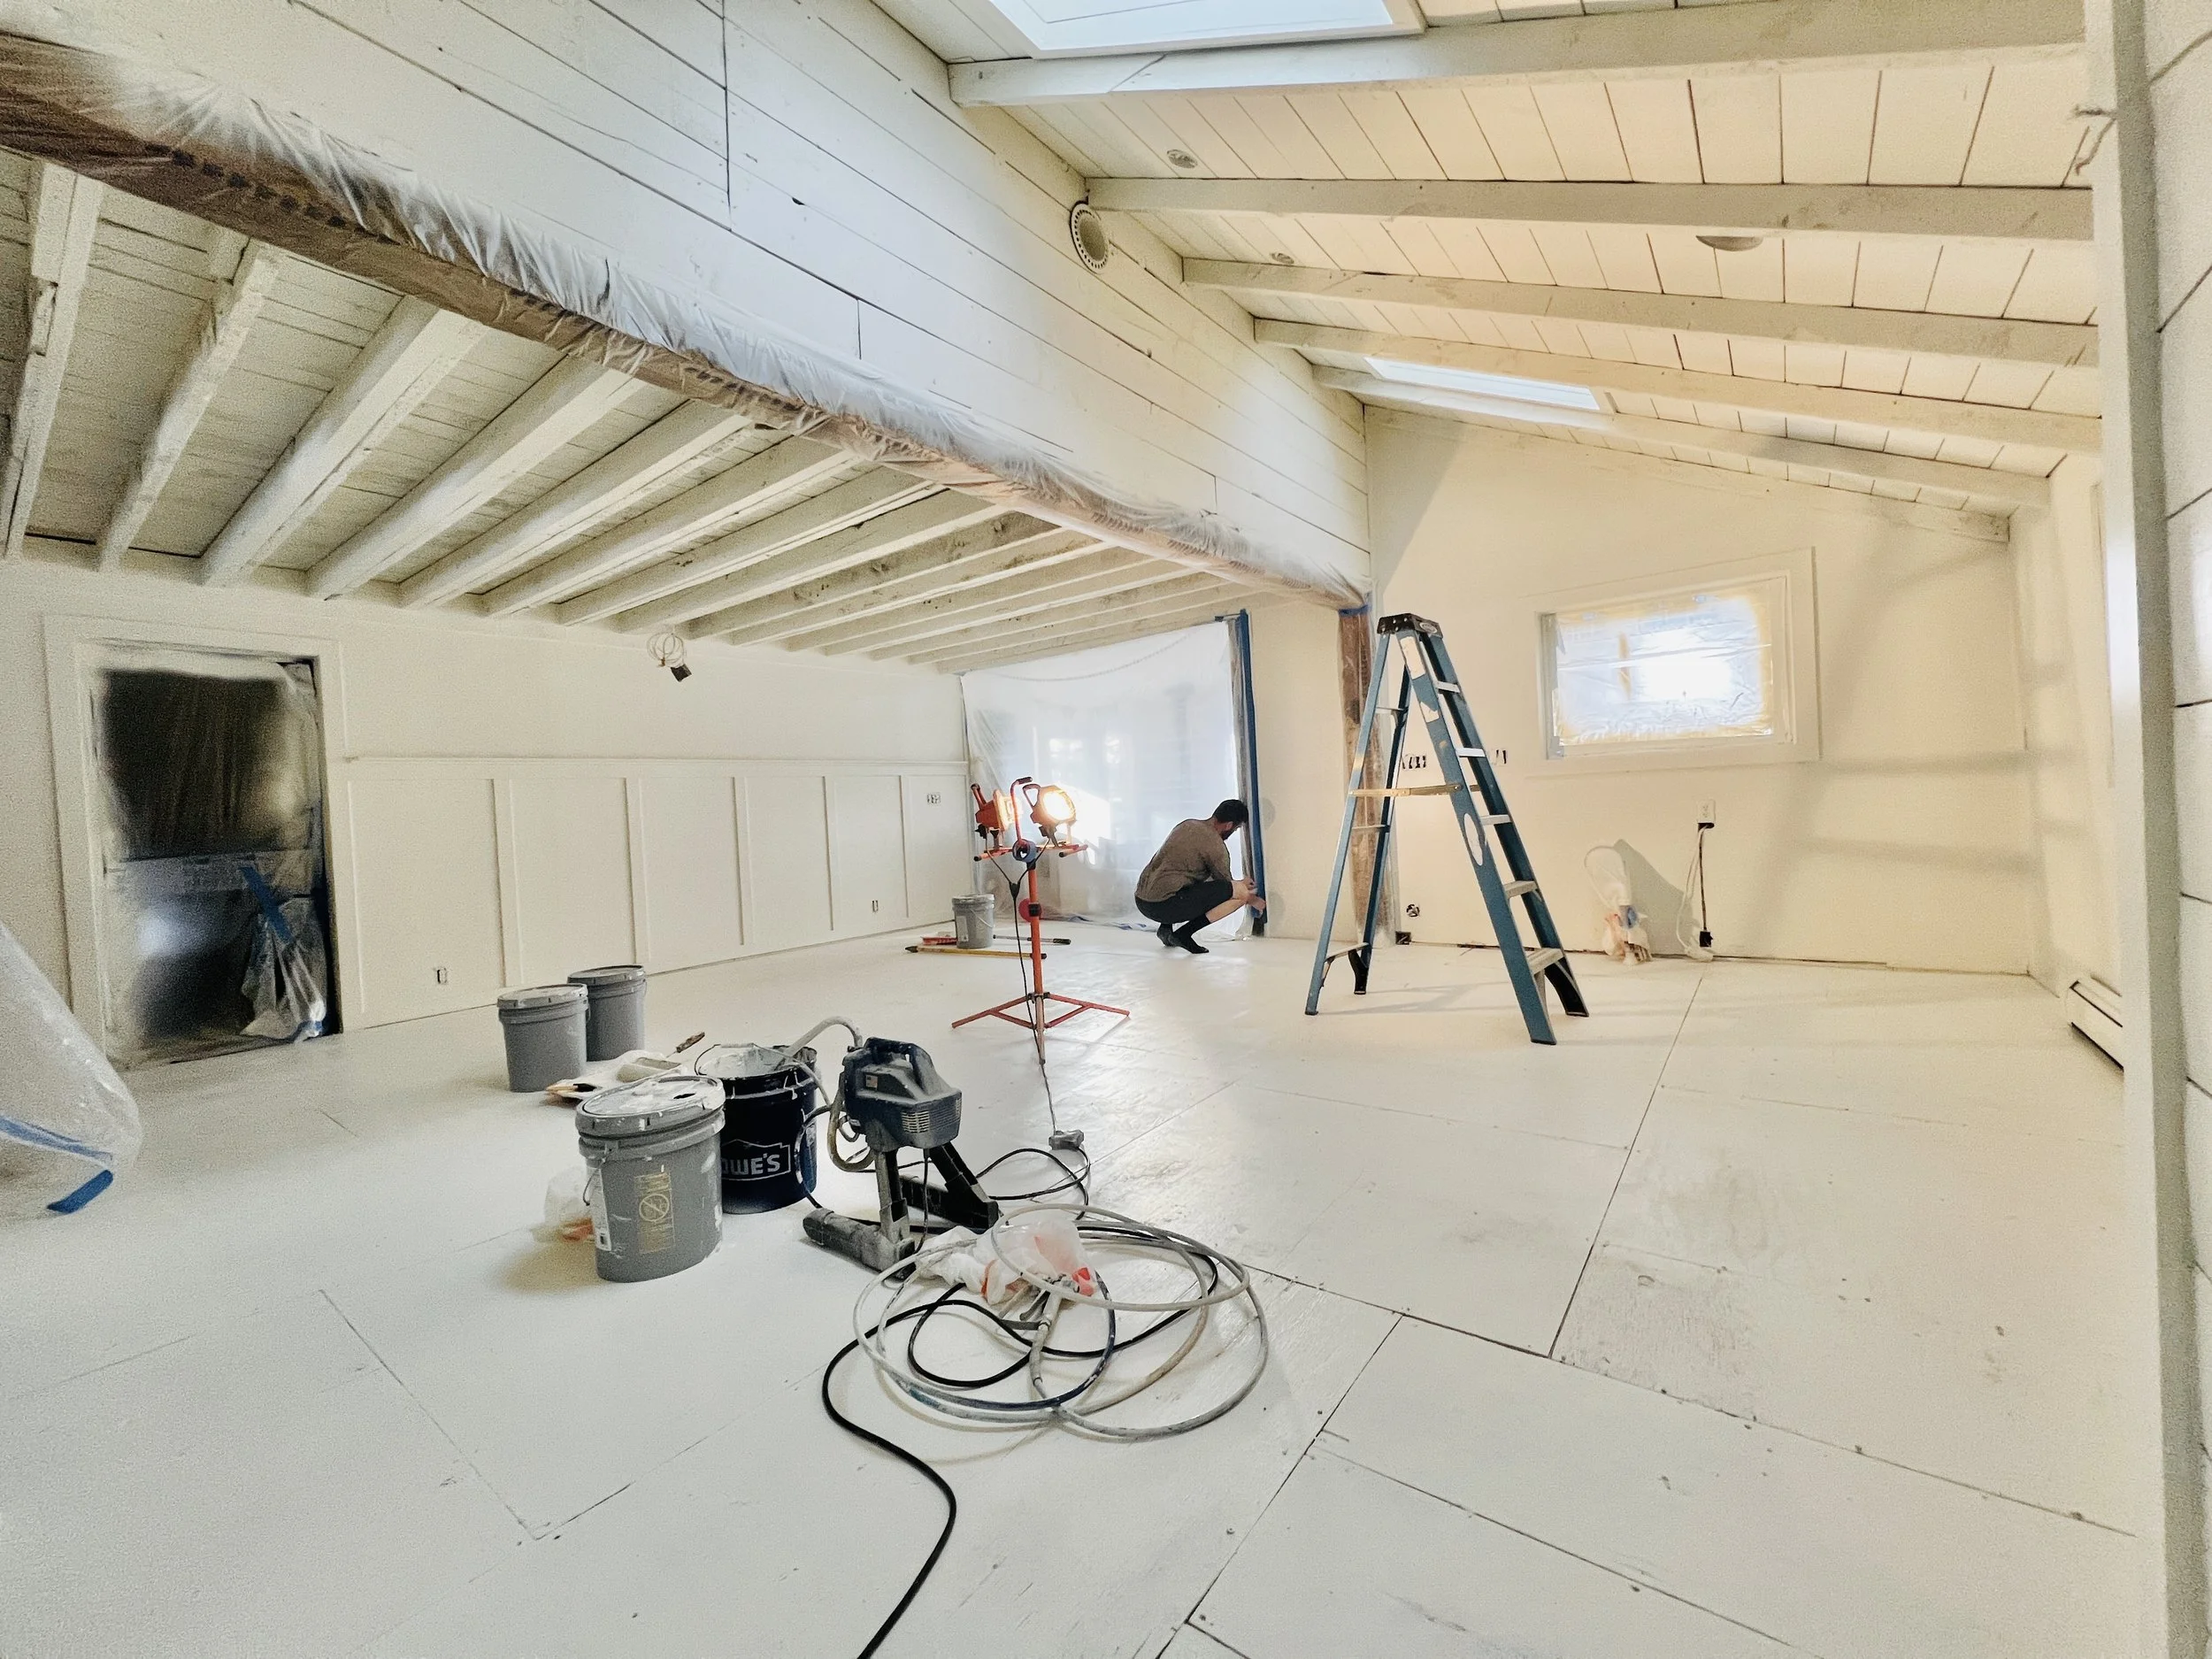
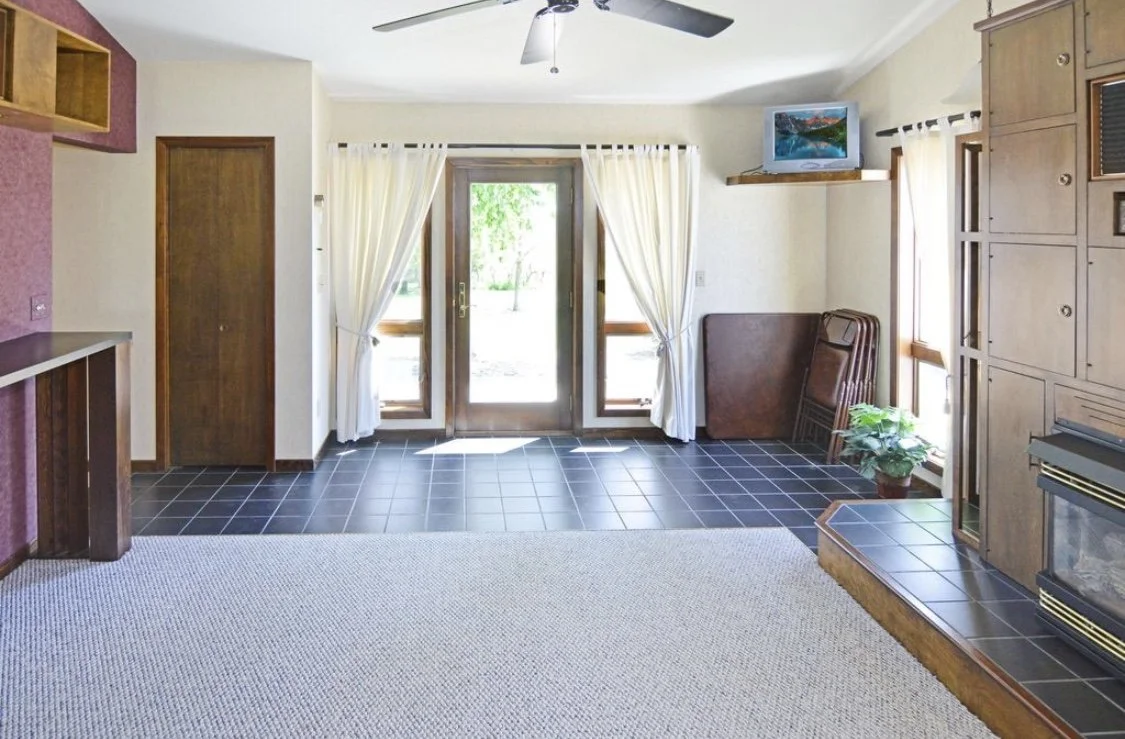
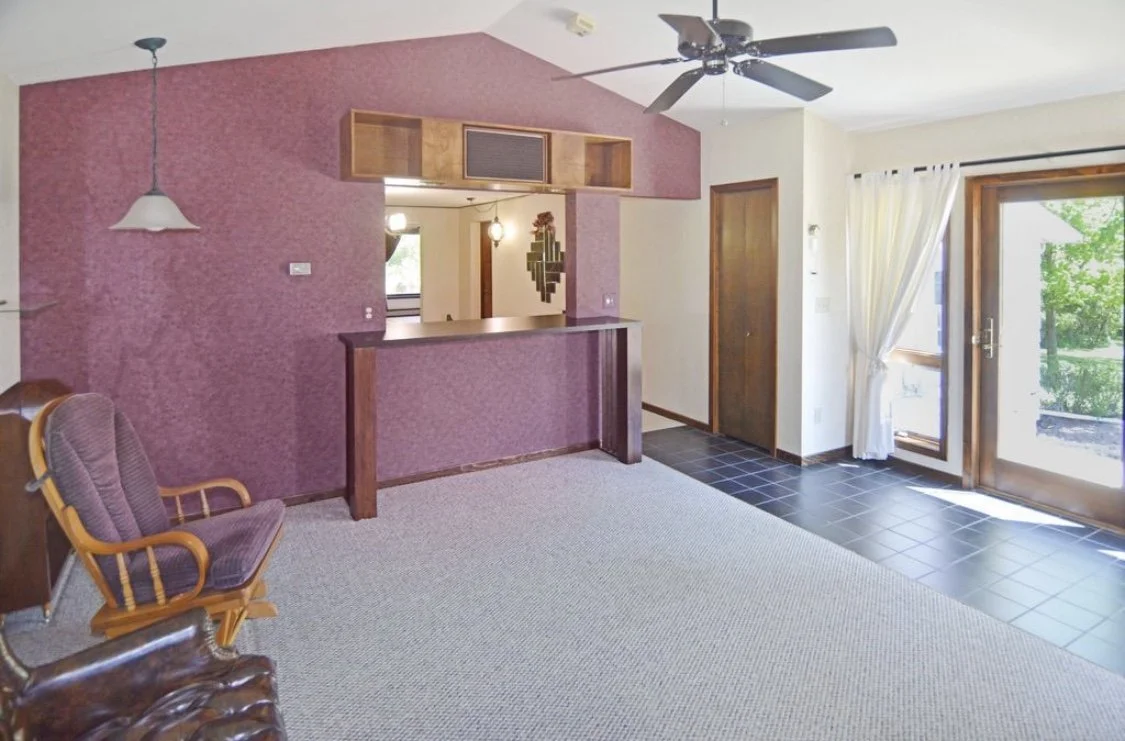
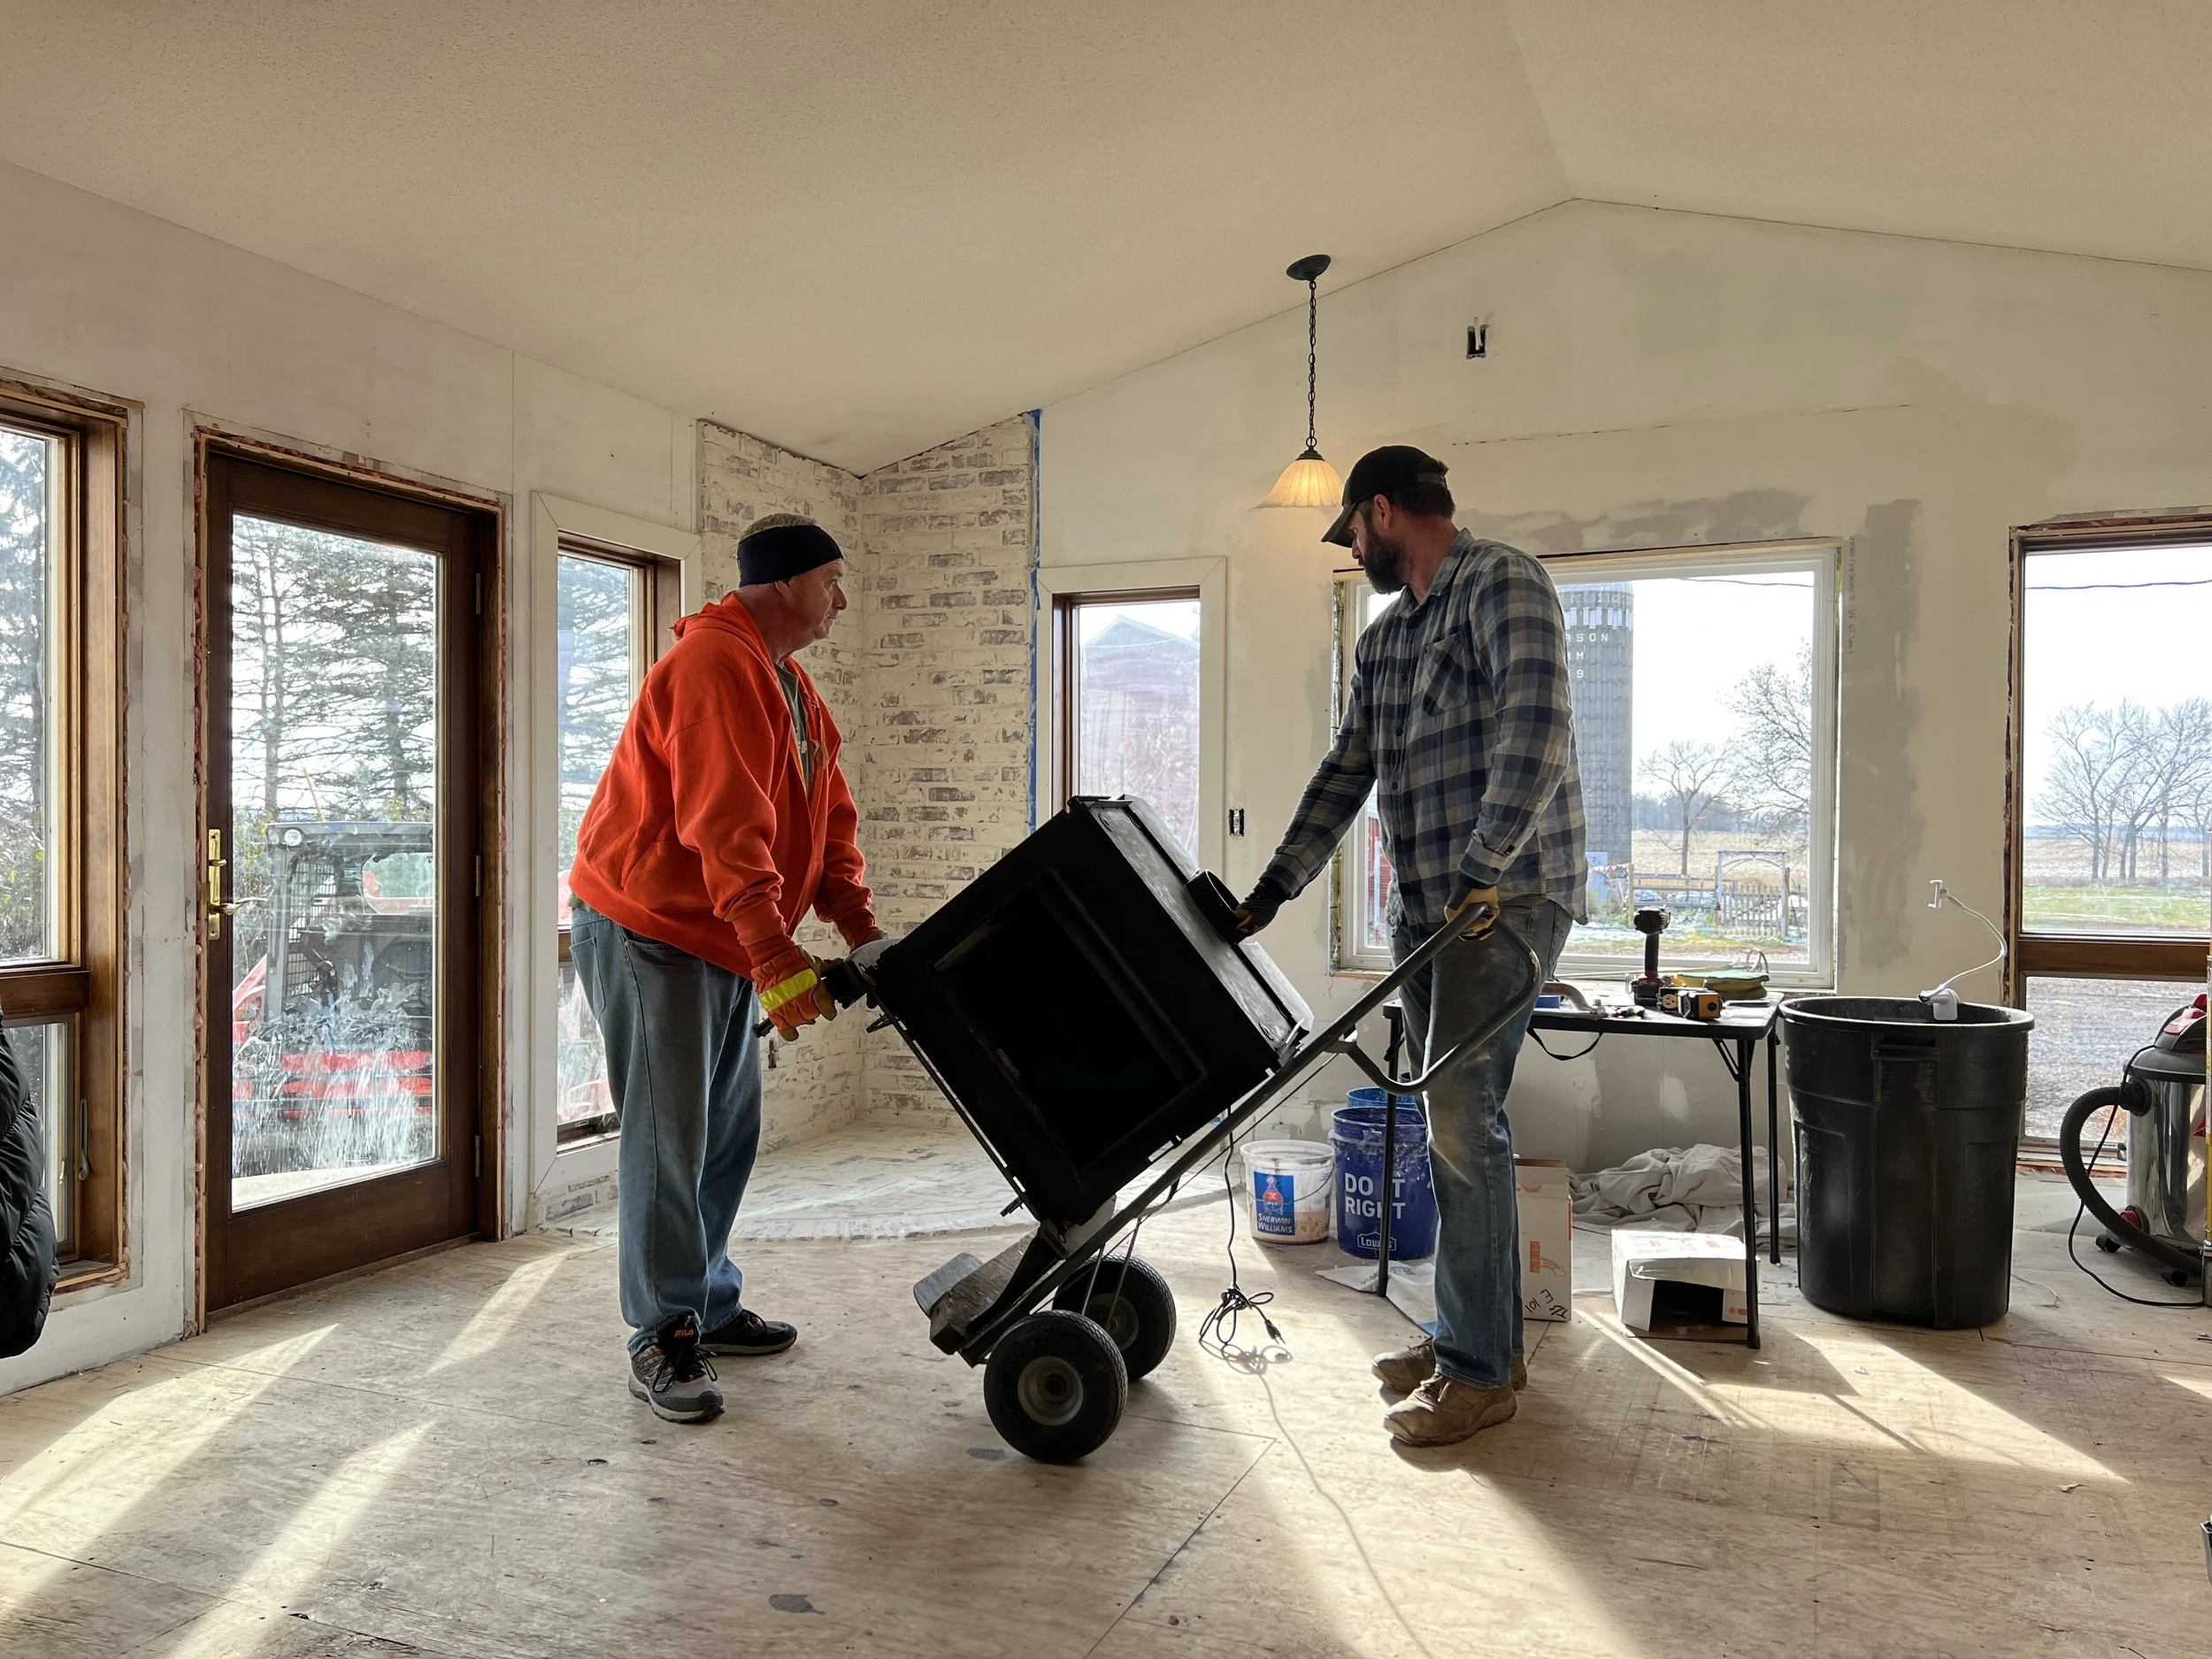
The room with all the stuff in it is our future art/reading room…there will be a field stone fireplace on that wall and we are relocating the stairway around the corner, so the doorway will be completely open. The little opening in the middle will be closed off and will become our pantry. I am probably the MOST excited about this because currently, our main pantry is a short walk outside to the garage. And in -15 degree weather, that’s an invigorating walk to get more beans! ;-) While I’m traipsing out there in my boots and my bathroom, I remind myself that it is the same walk the previous homeowners took to reach their outhouse, which was located right next to it.

Before I go further…I should tell you that we use Sherwin Williams Alabaster White for EVERYTHING. It’s my favorite perfect neutral white. Flat on the ceilings, satin on the walls, semi-gloss on the trim. We used this color for the exterior of our house in Texas and it was perfect there too. You can’t go wrong with it! And trust me…I’ve had some paint drama in my life. Ha!

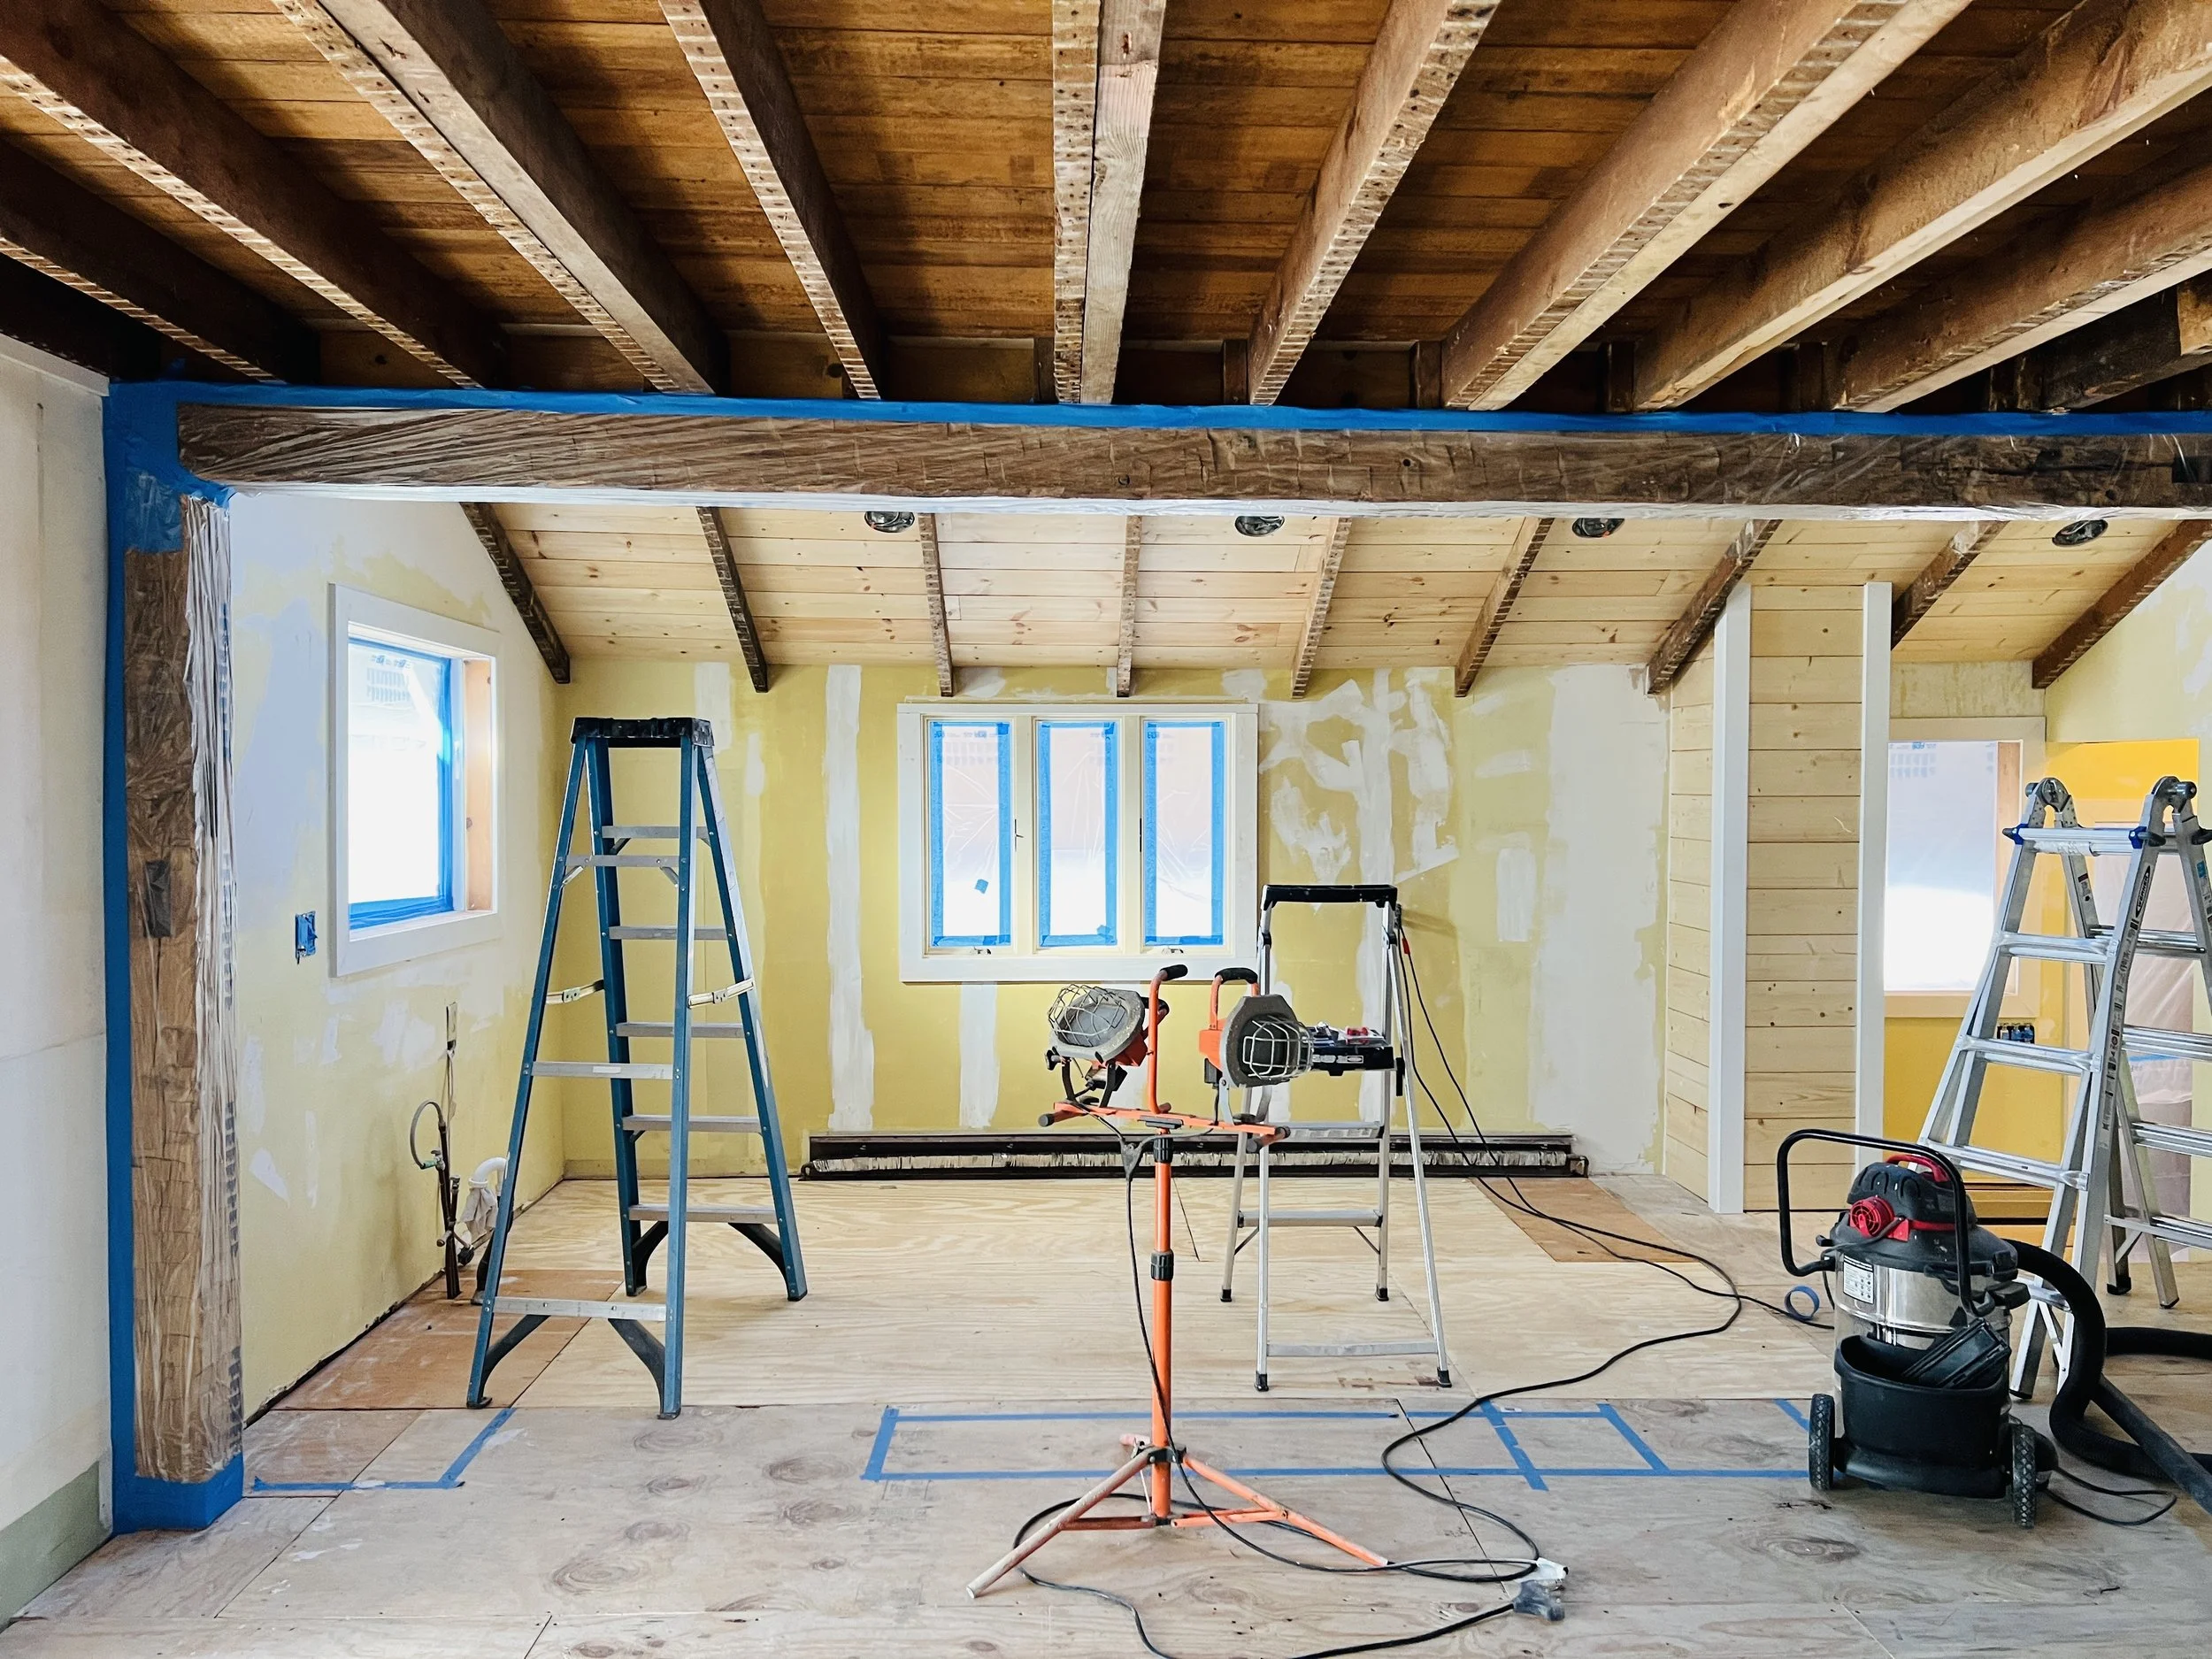
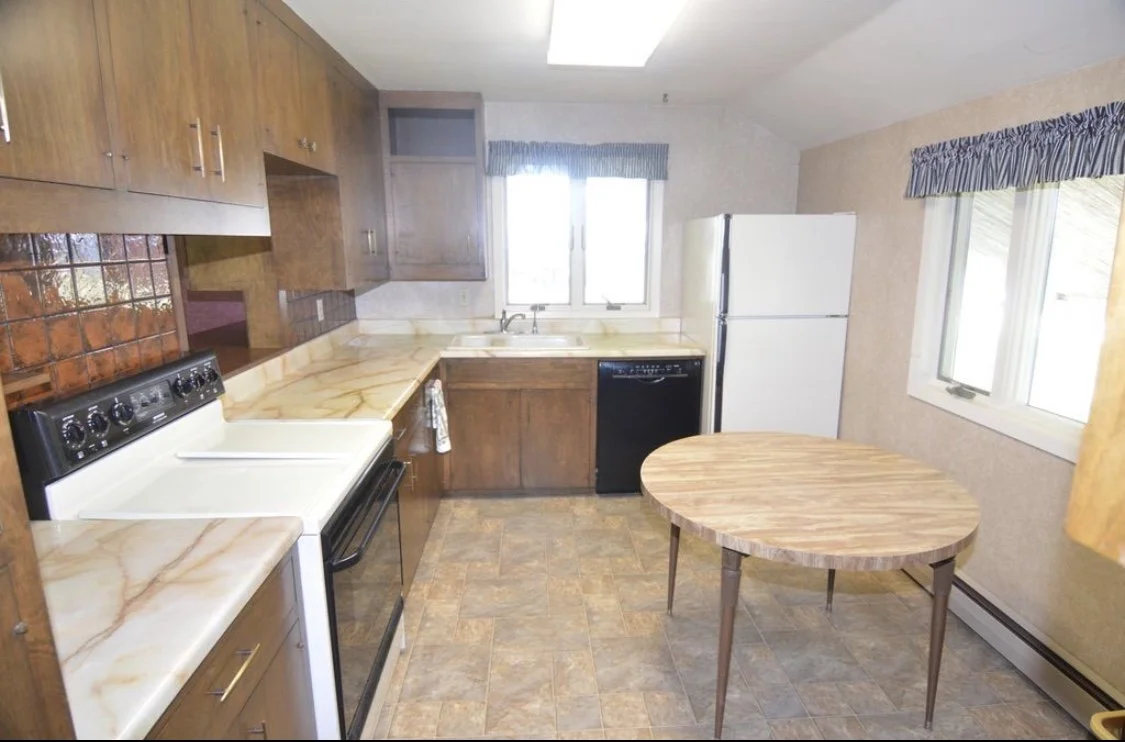
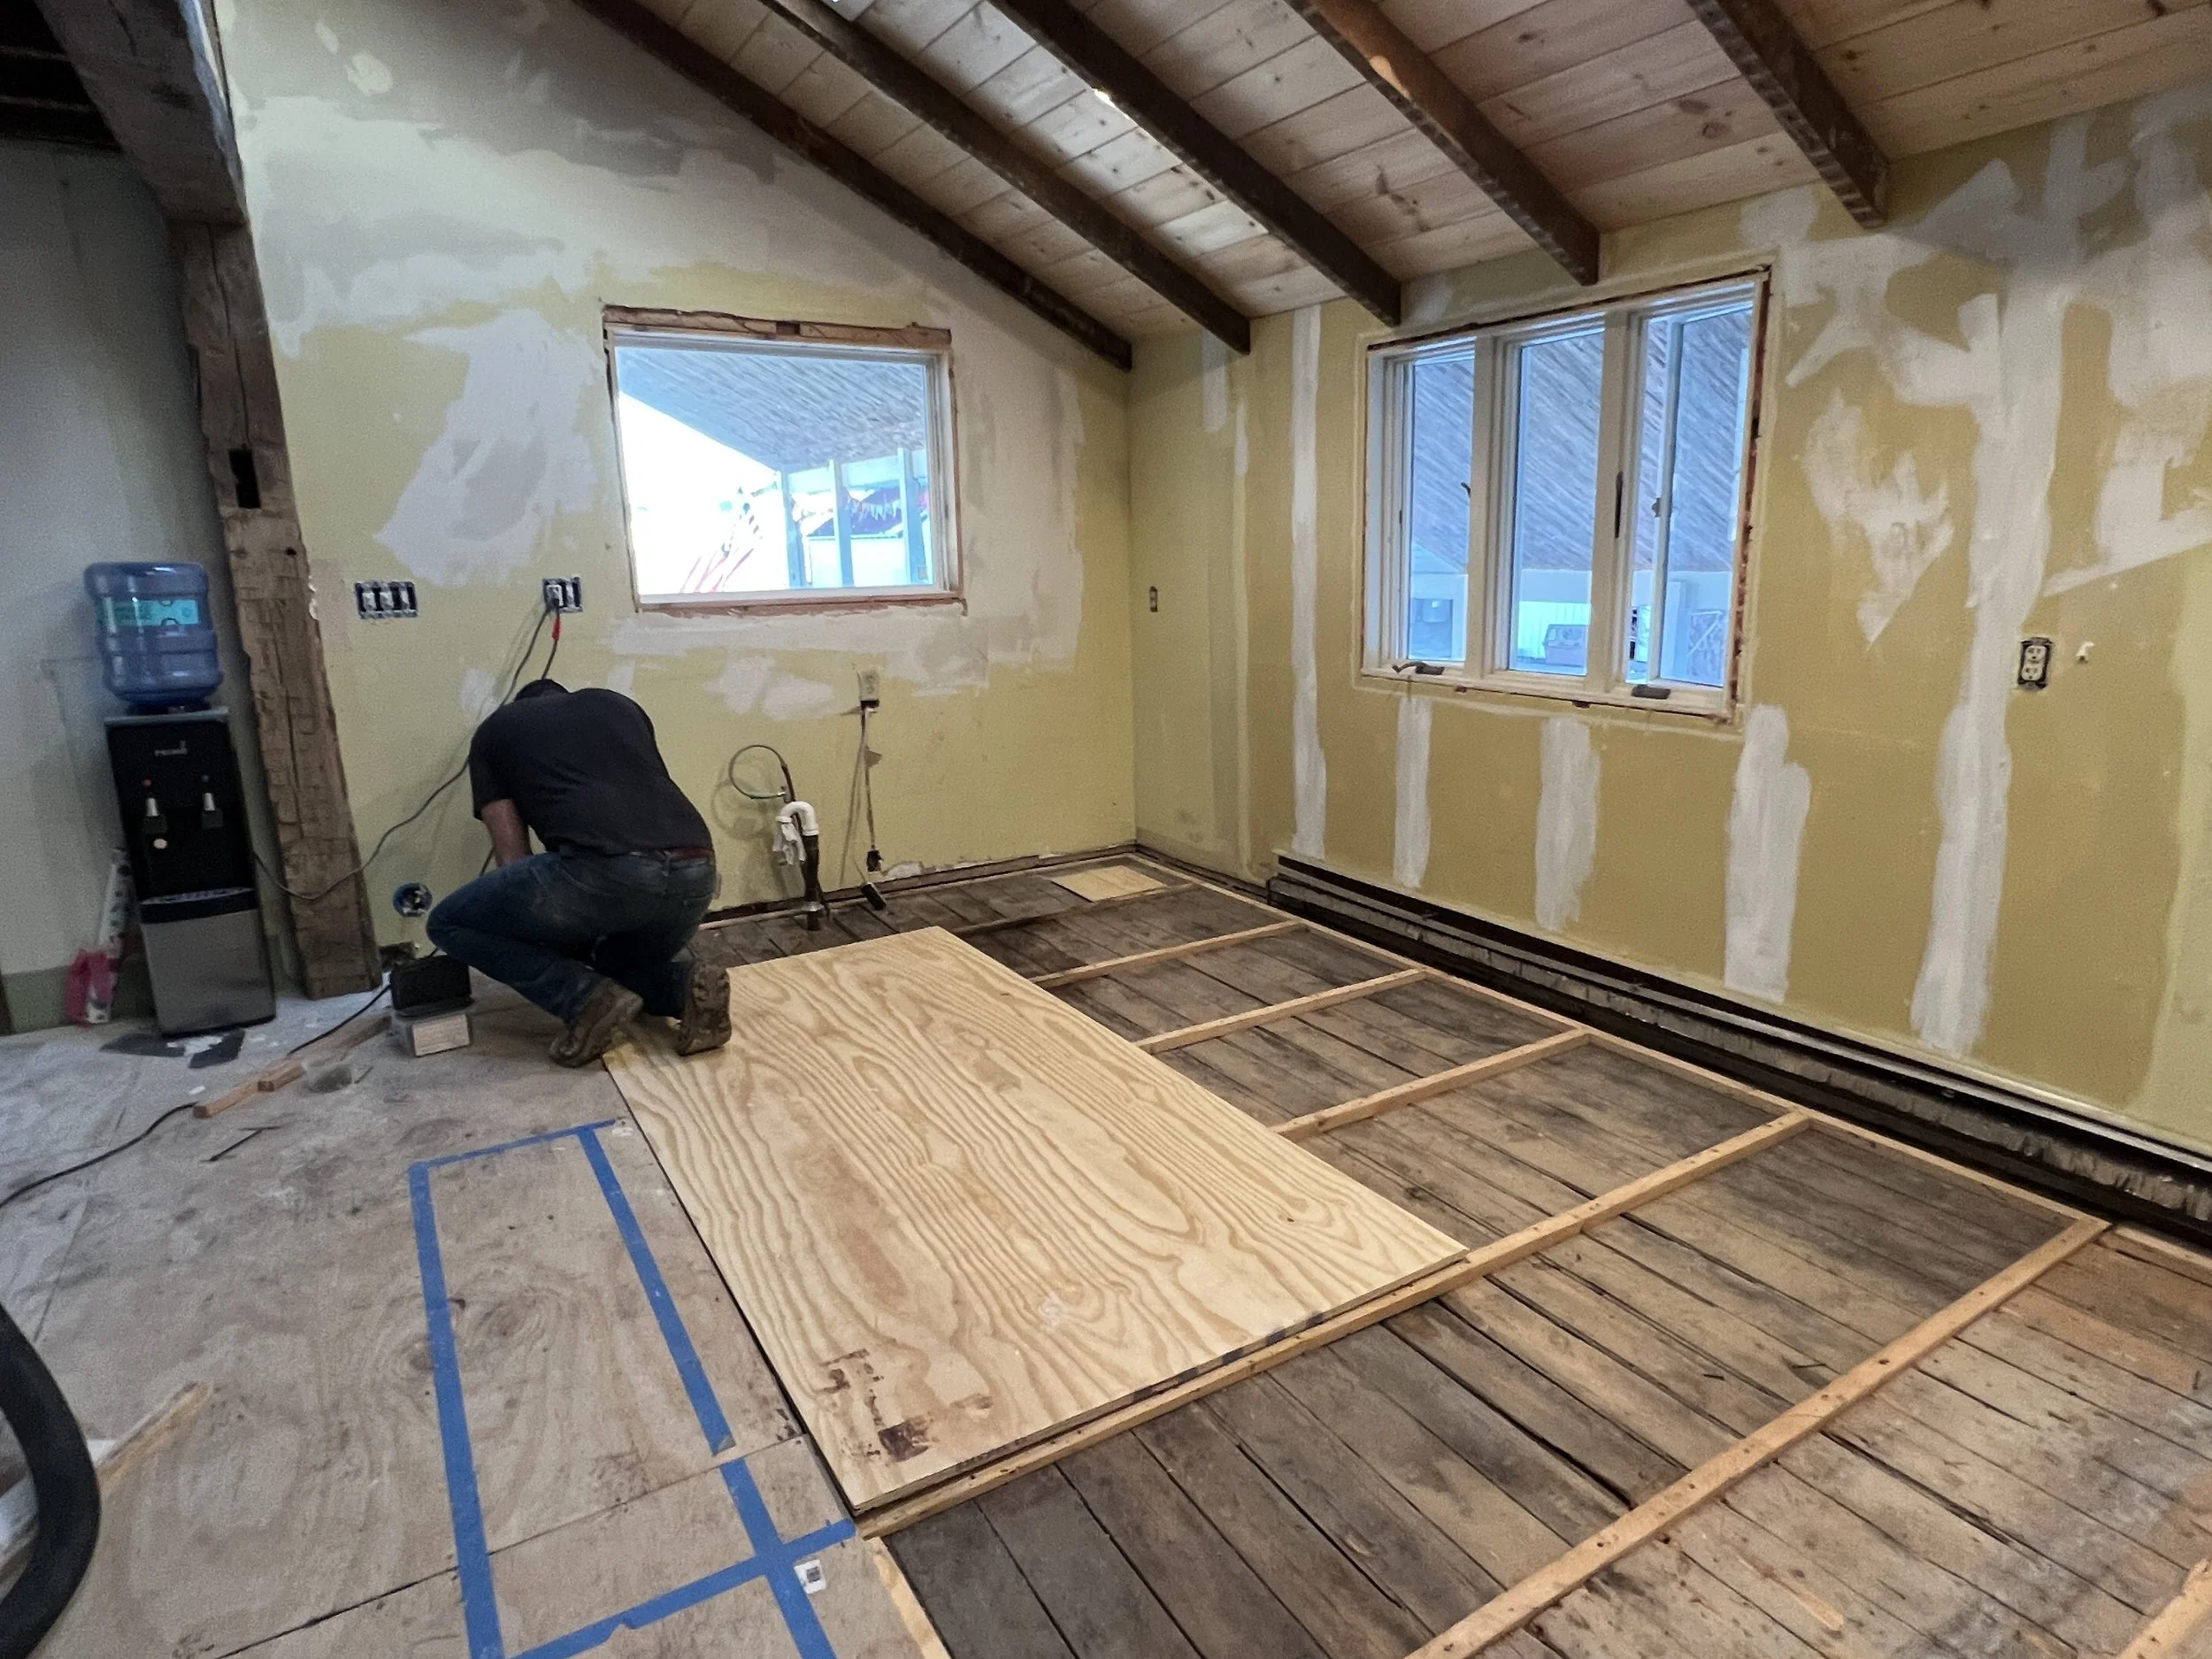
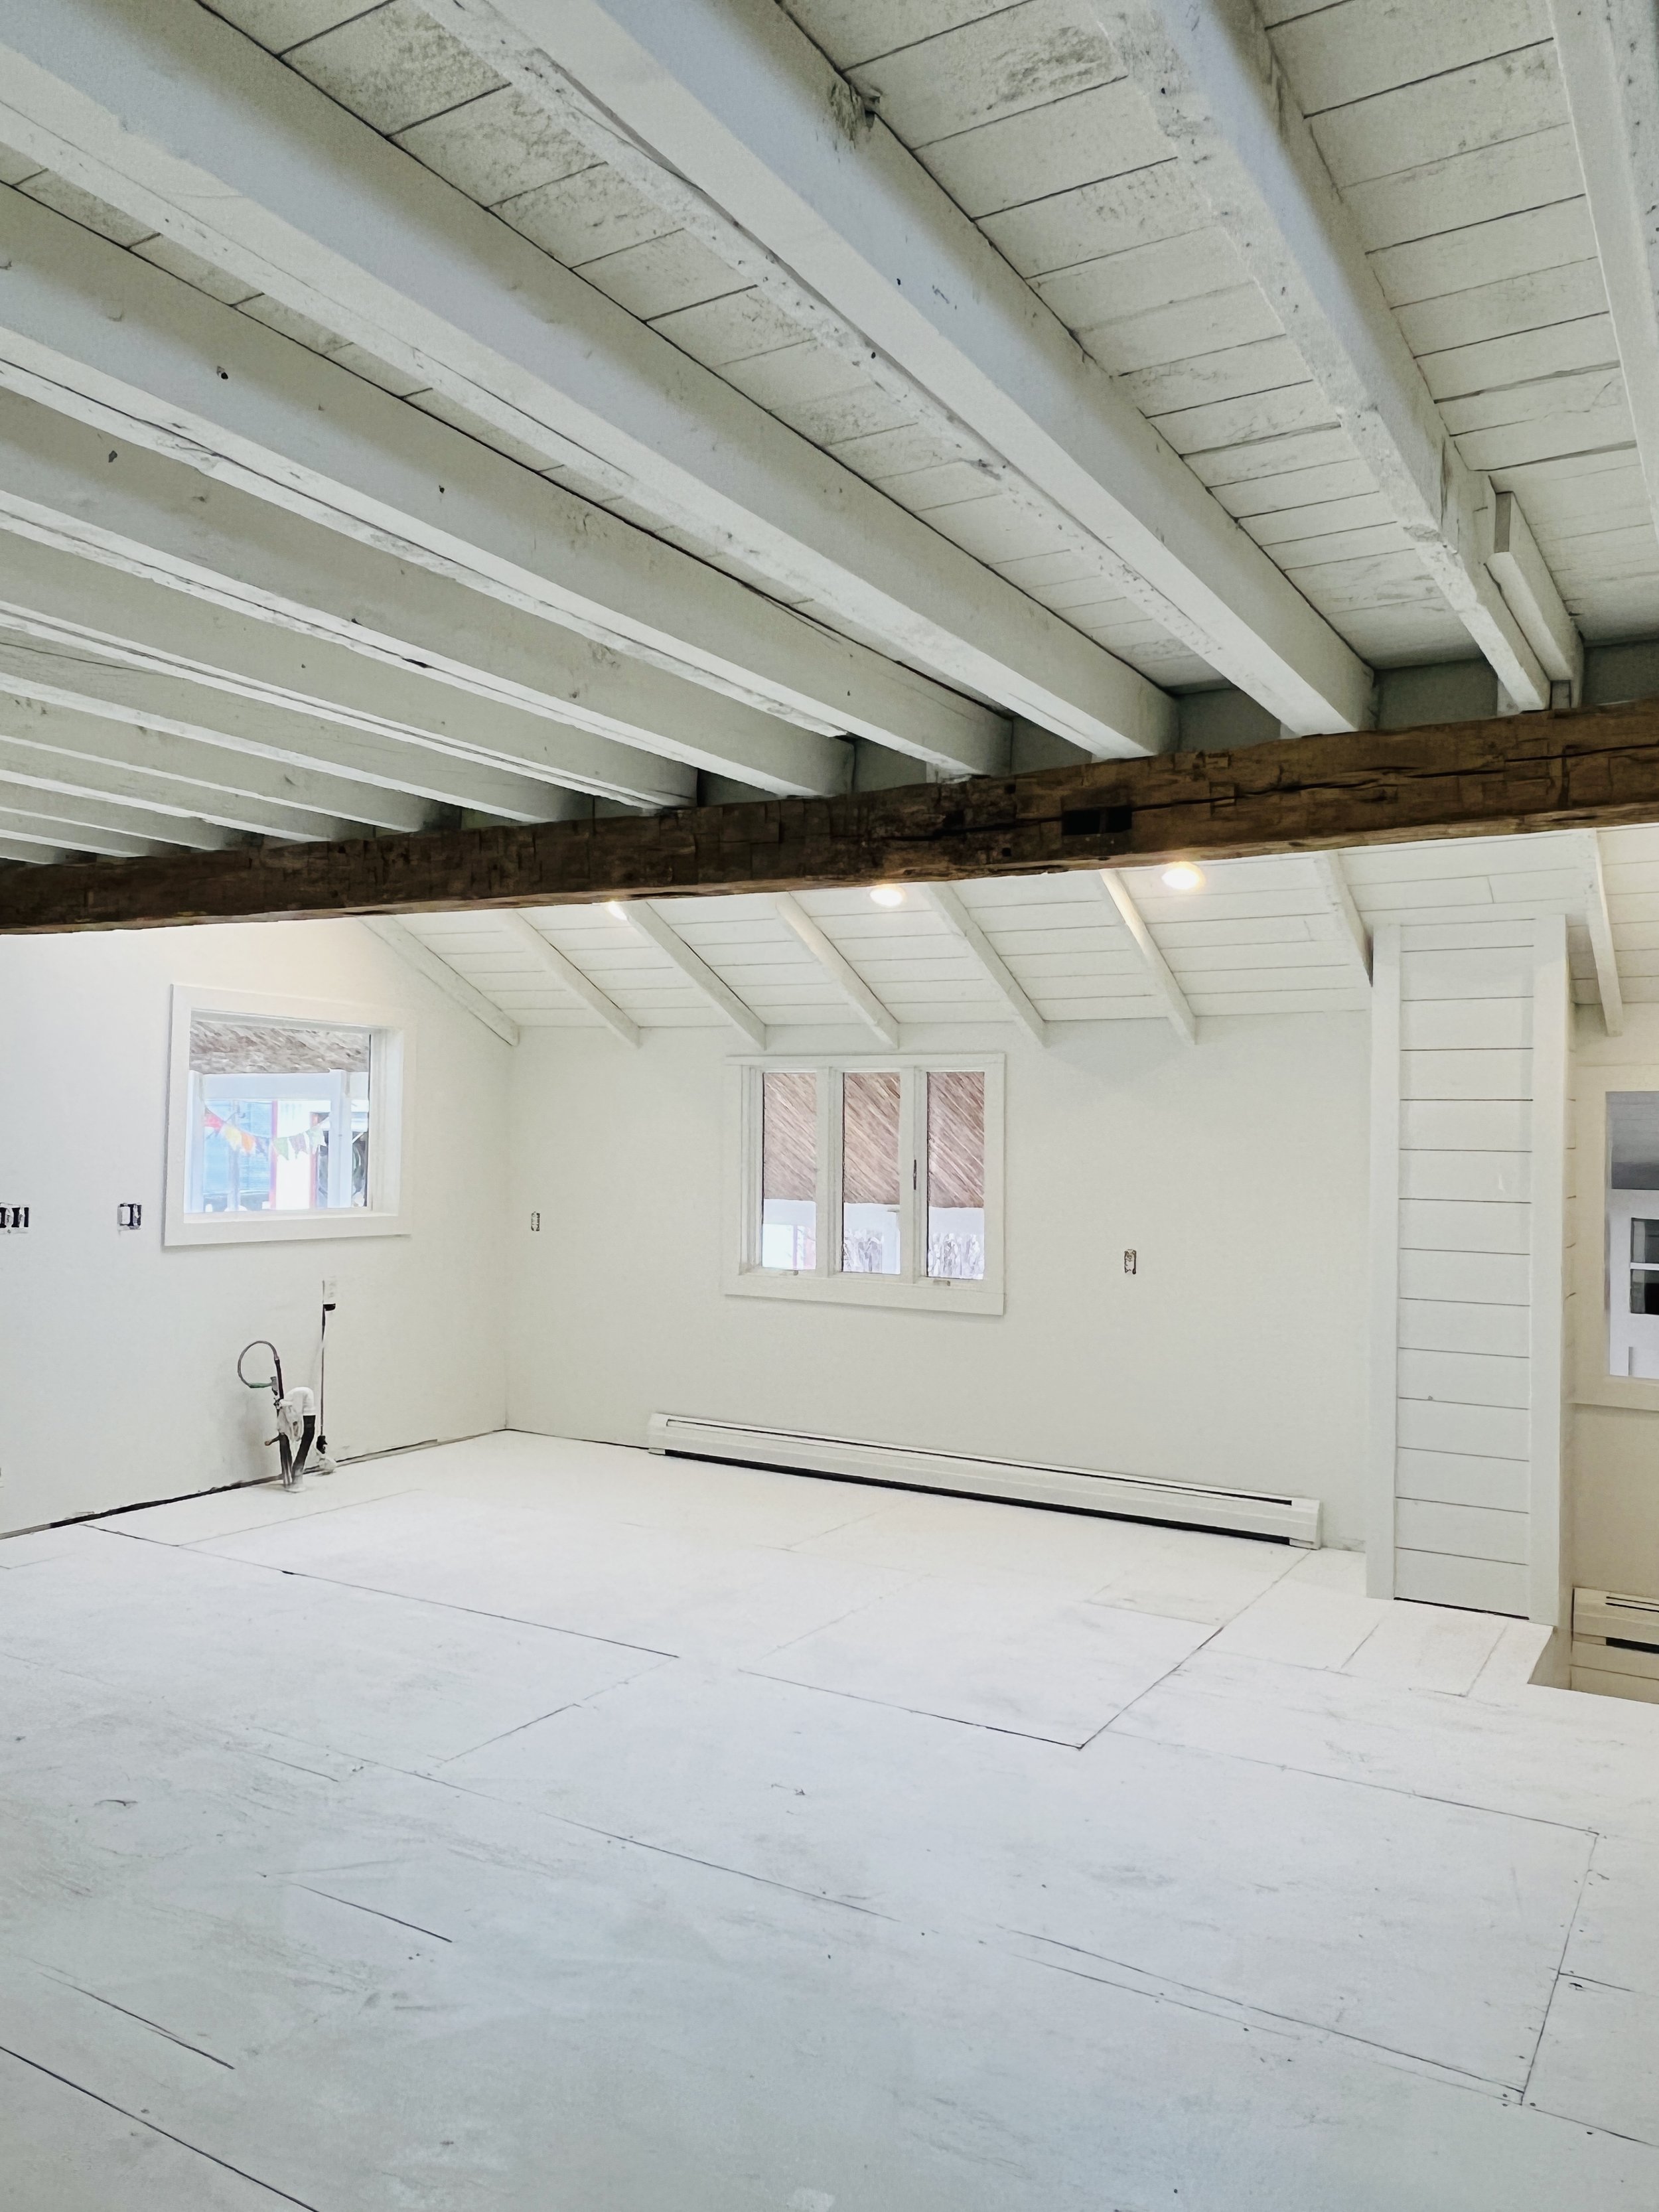
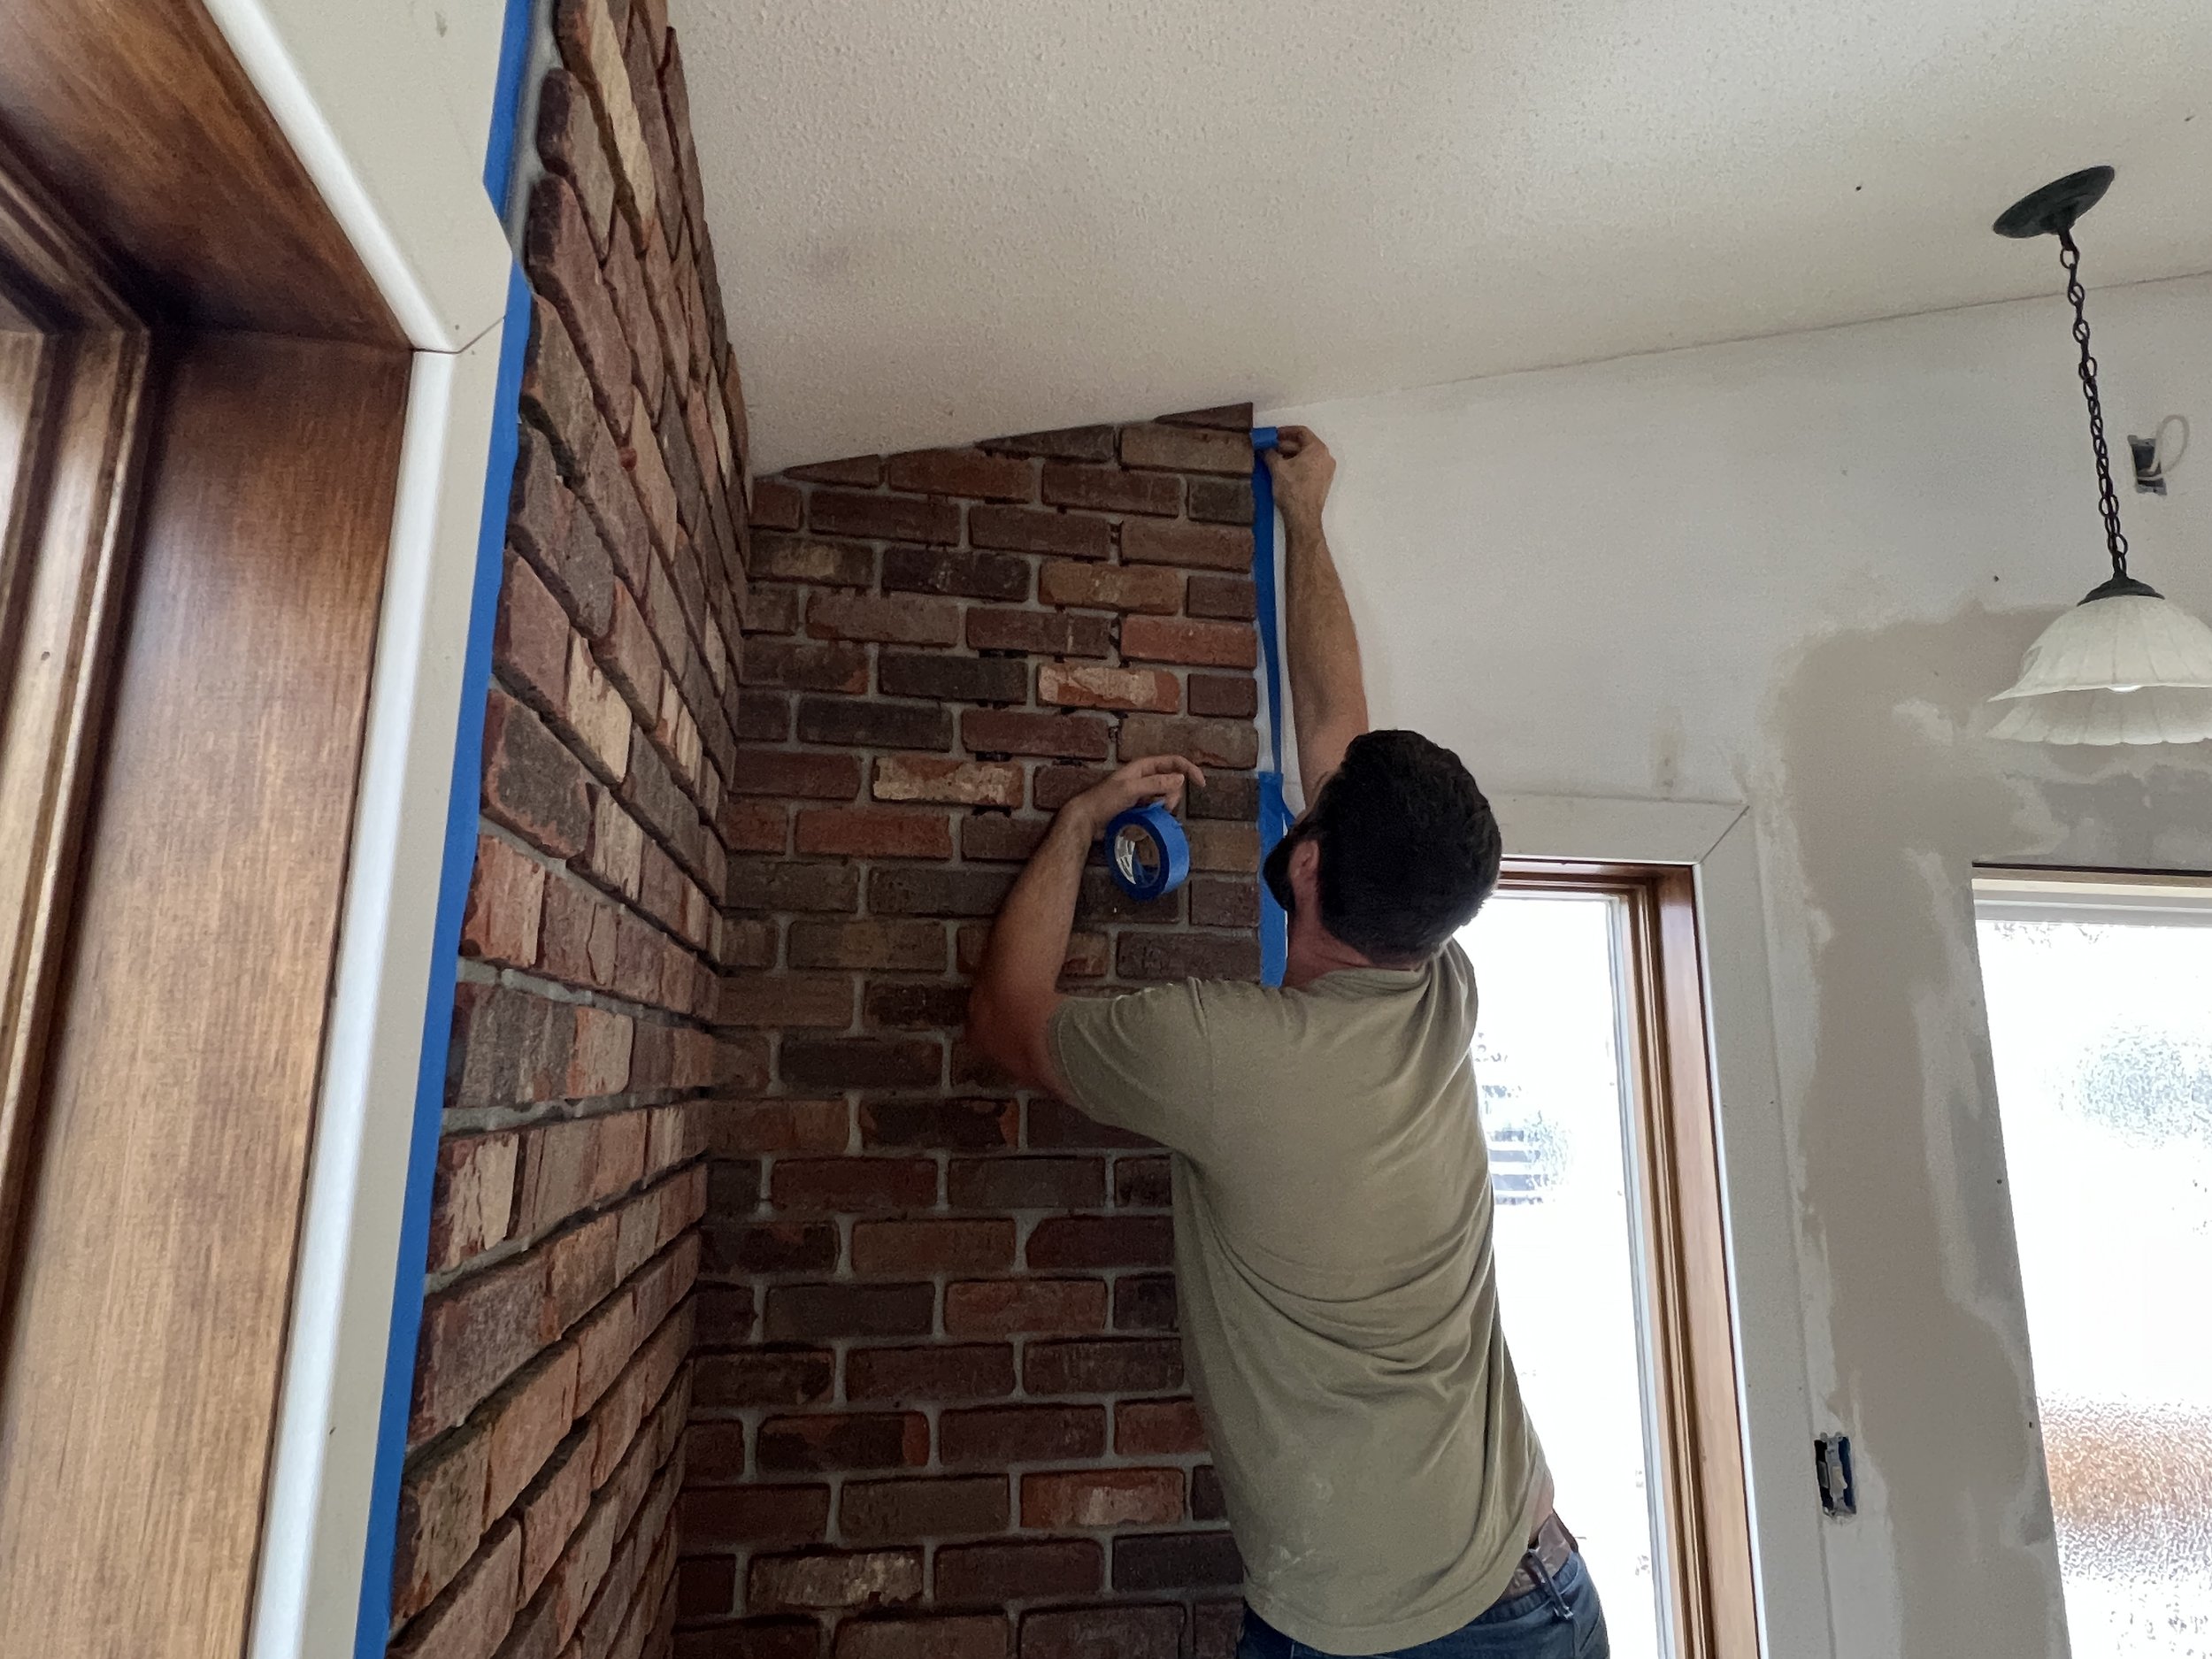
Here is the future kitchen! That window straight ahead will be going away or changing shape because our range will be going there. Our sink will be under the window to the left. The blue tape is the edge of the island.

Shazam! One step closer to the kitchen being done! This makes my heart happy. I am truly content with my sweet little kitchen in the mudroom…but I’m excited to see this one transform into my dream rustic cottage kitchen. There are lots of Pinterest boards currently being populated. :-) Being that we have so much white…I’ll be anchoring it with some wood pieces. Can’t WAIT to start putting it together!

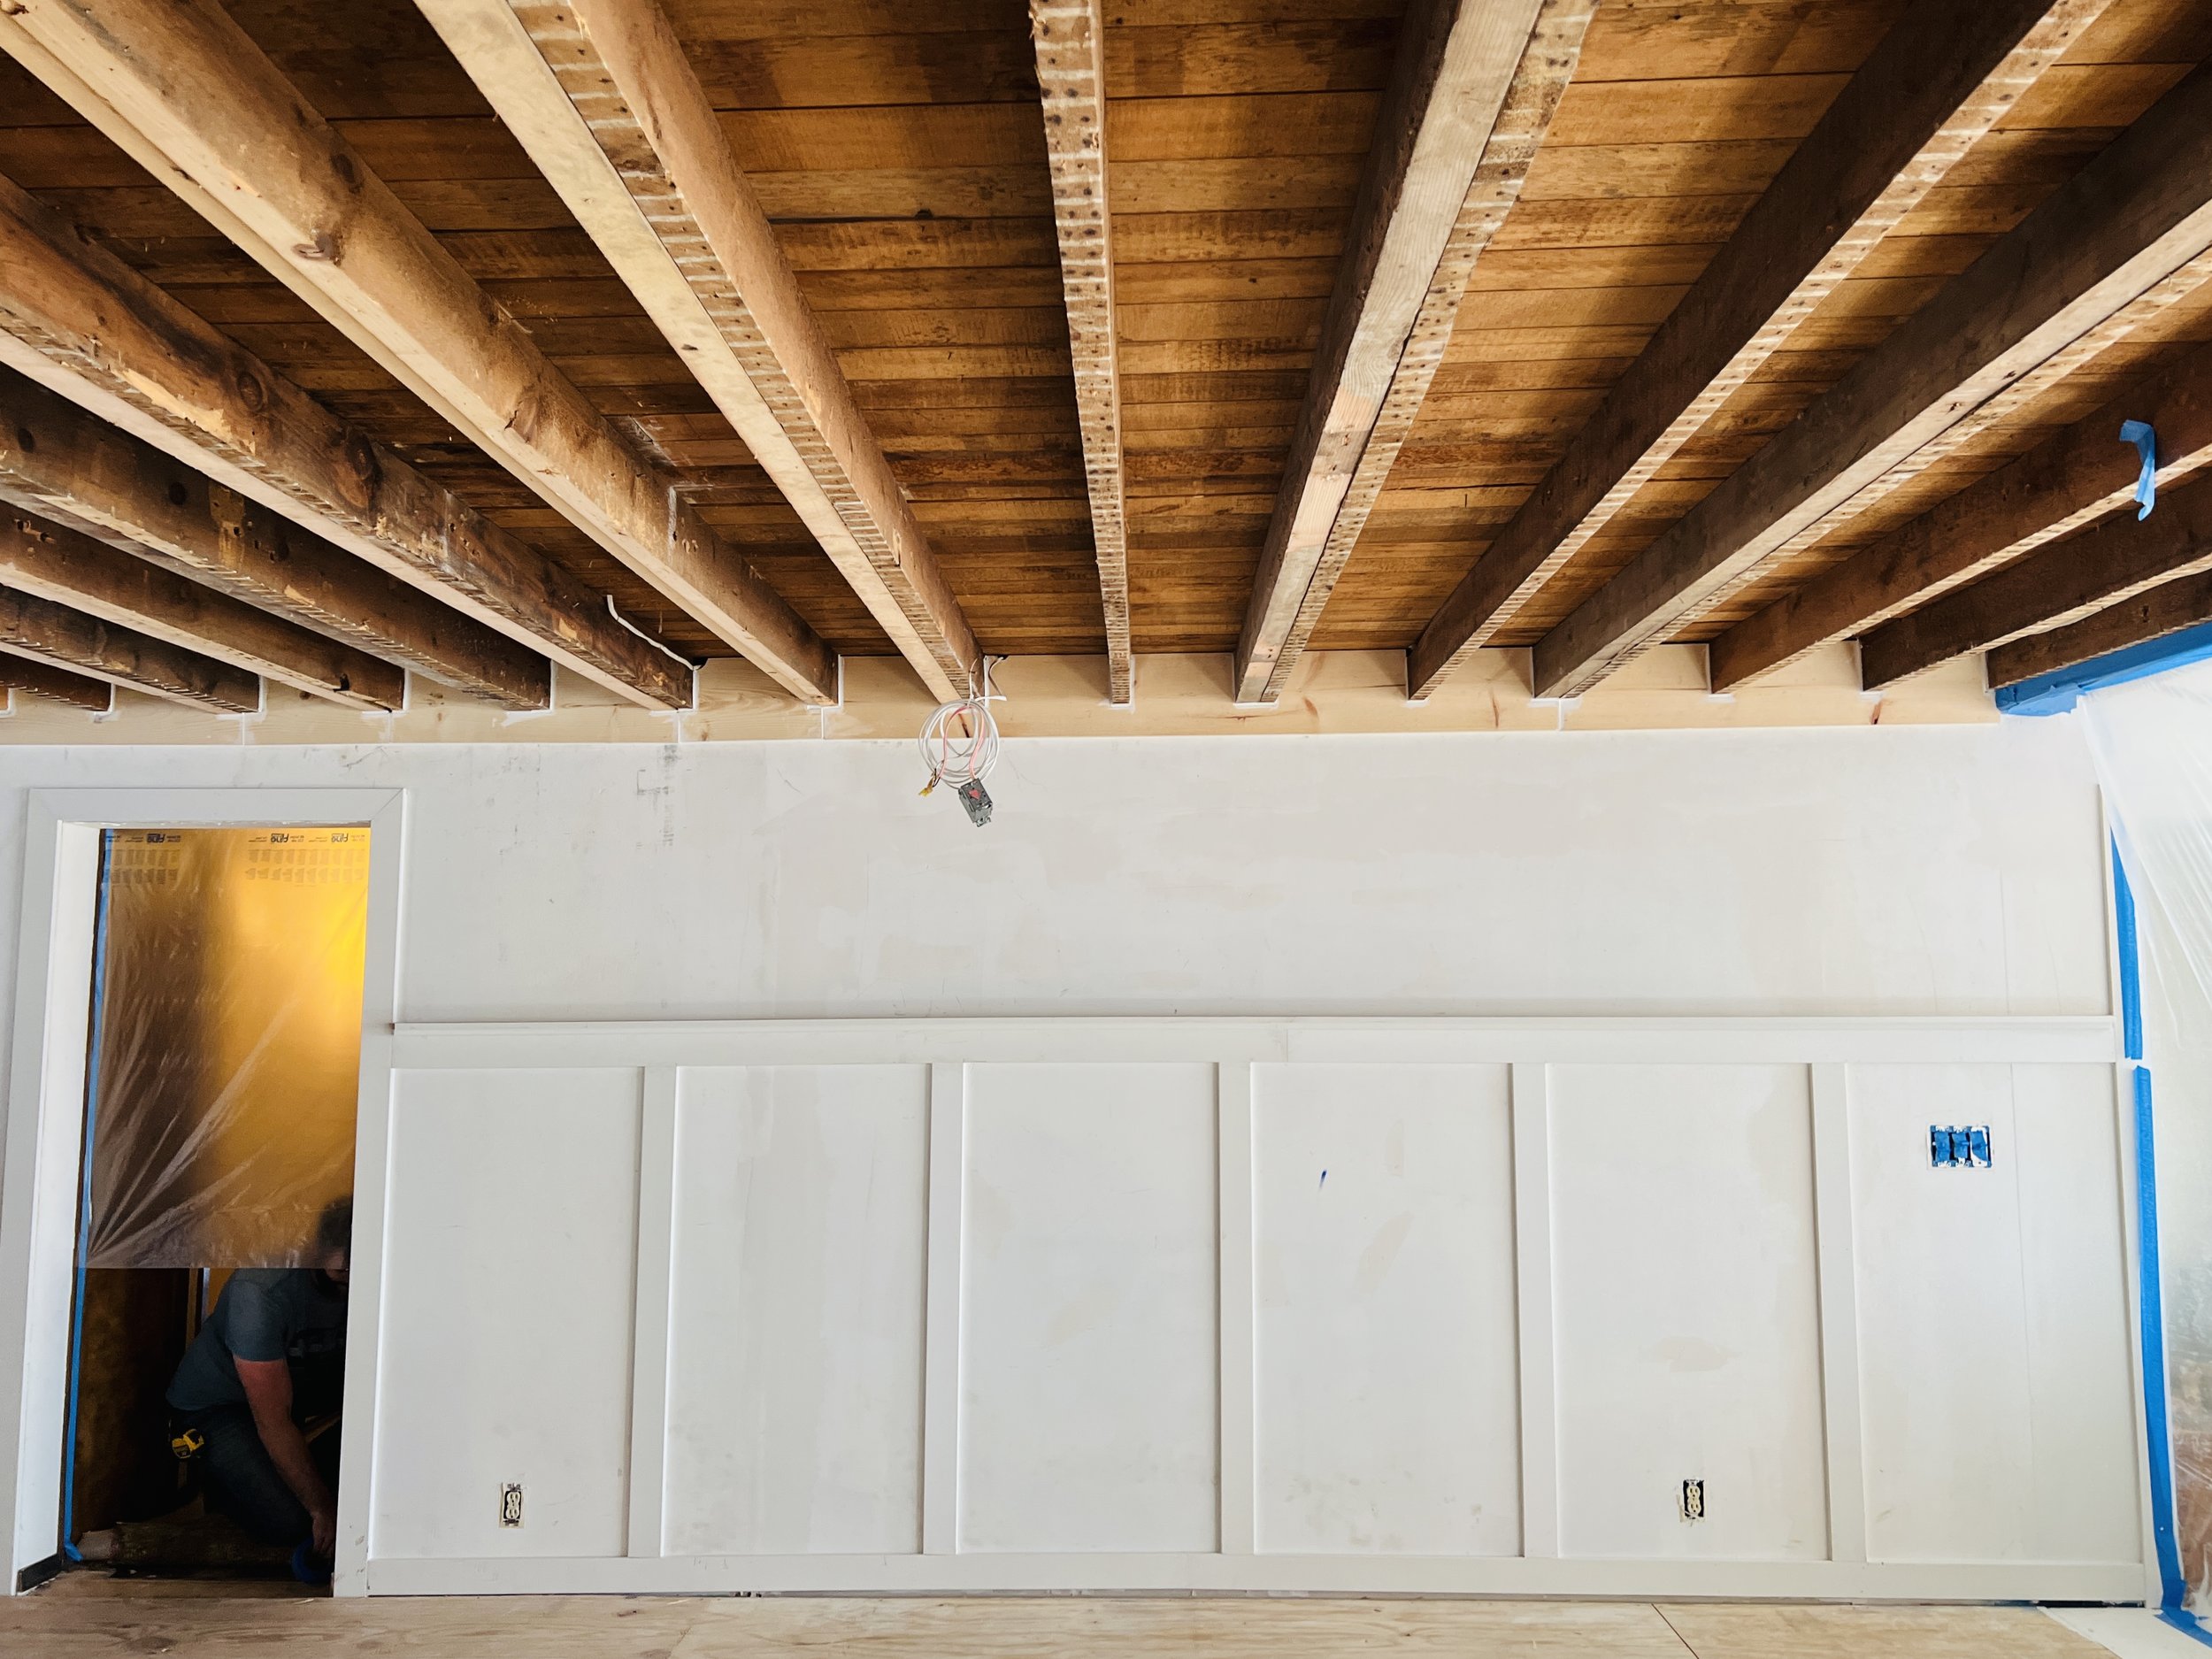
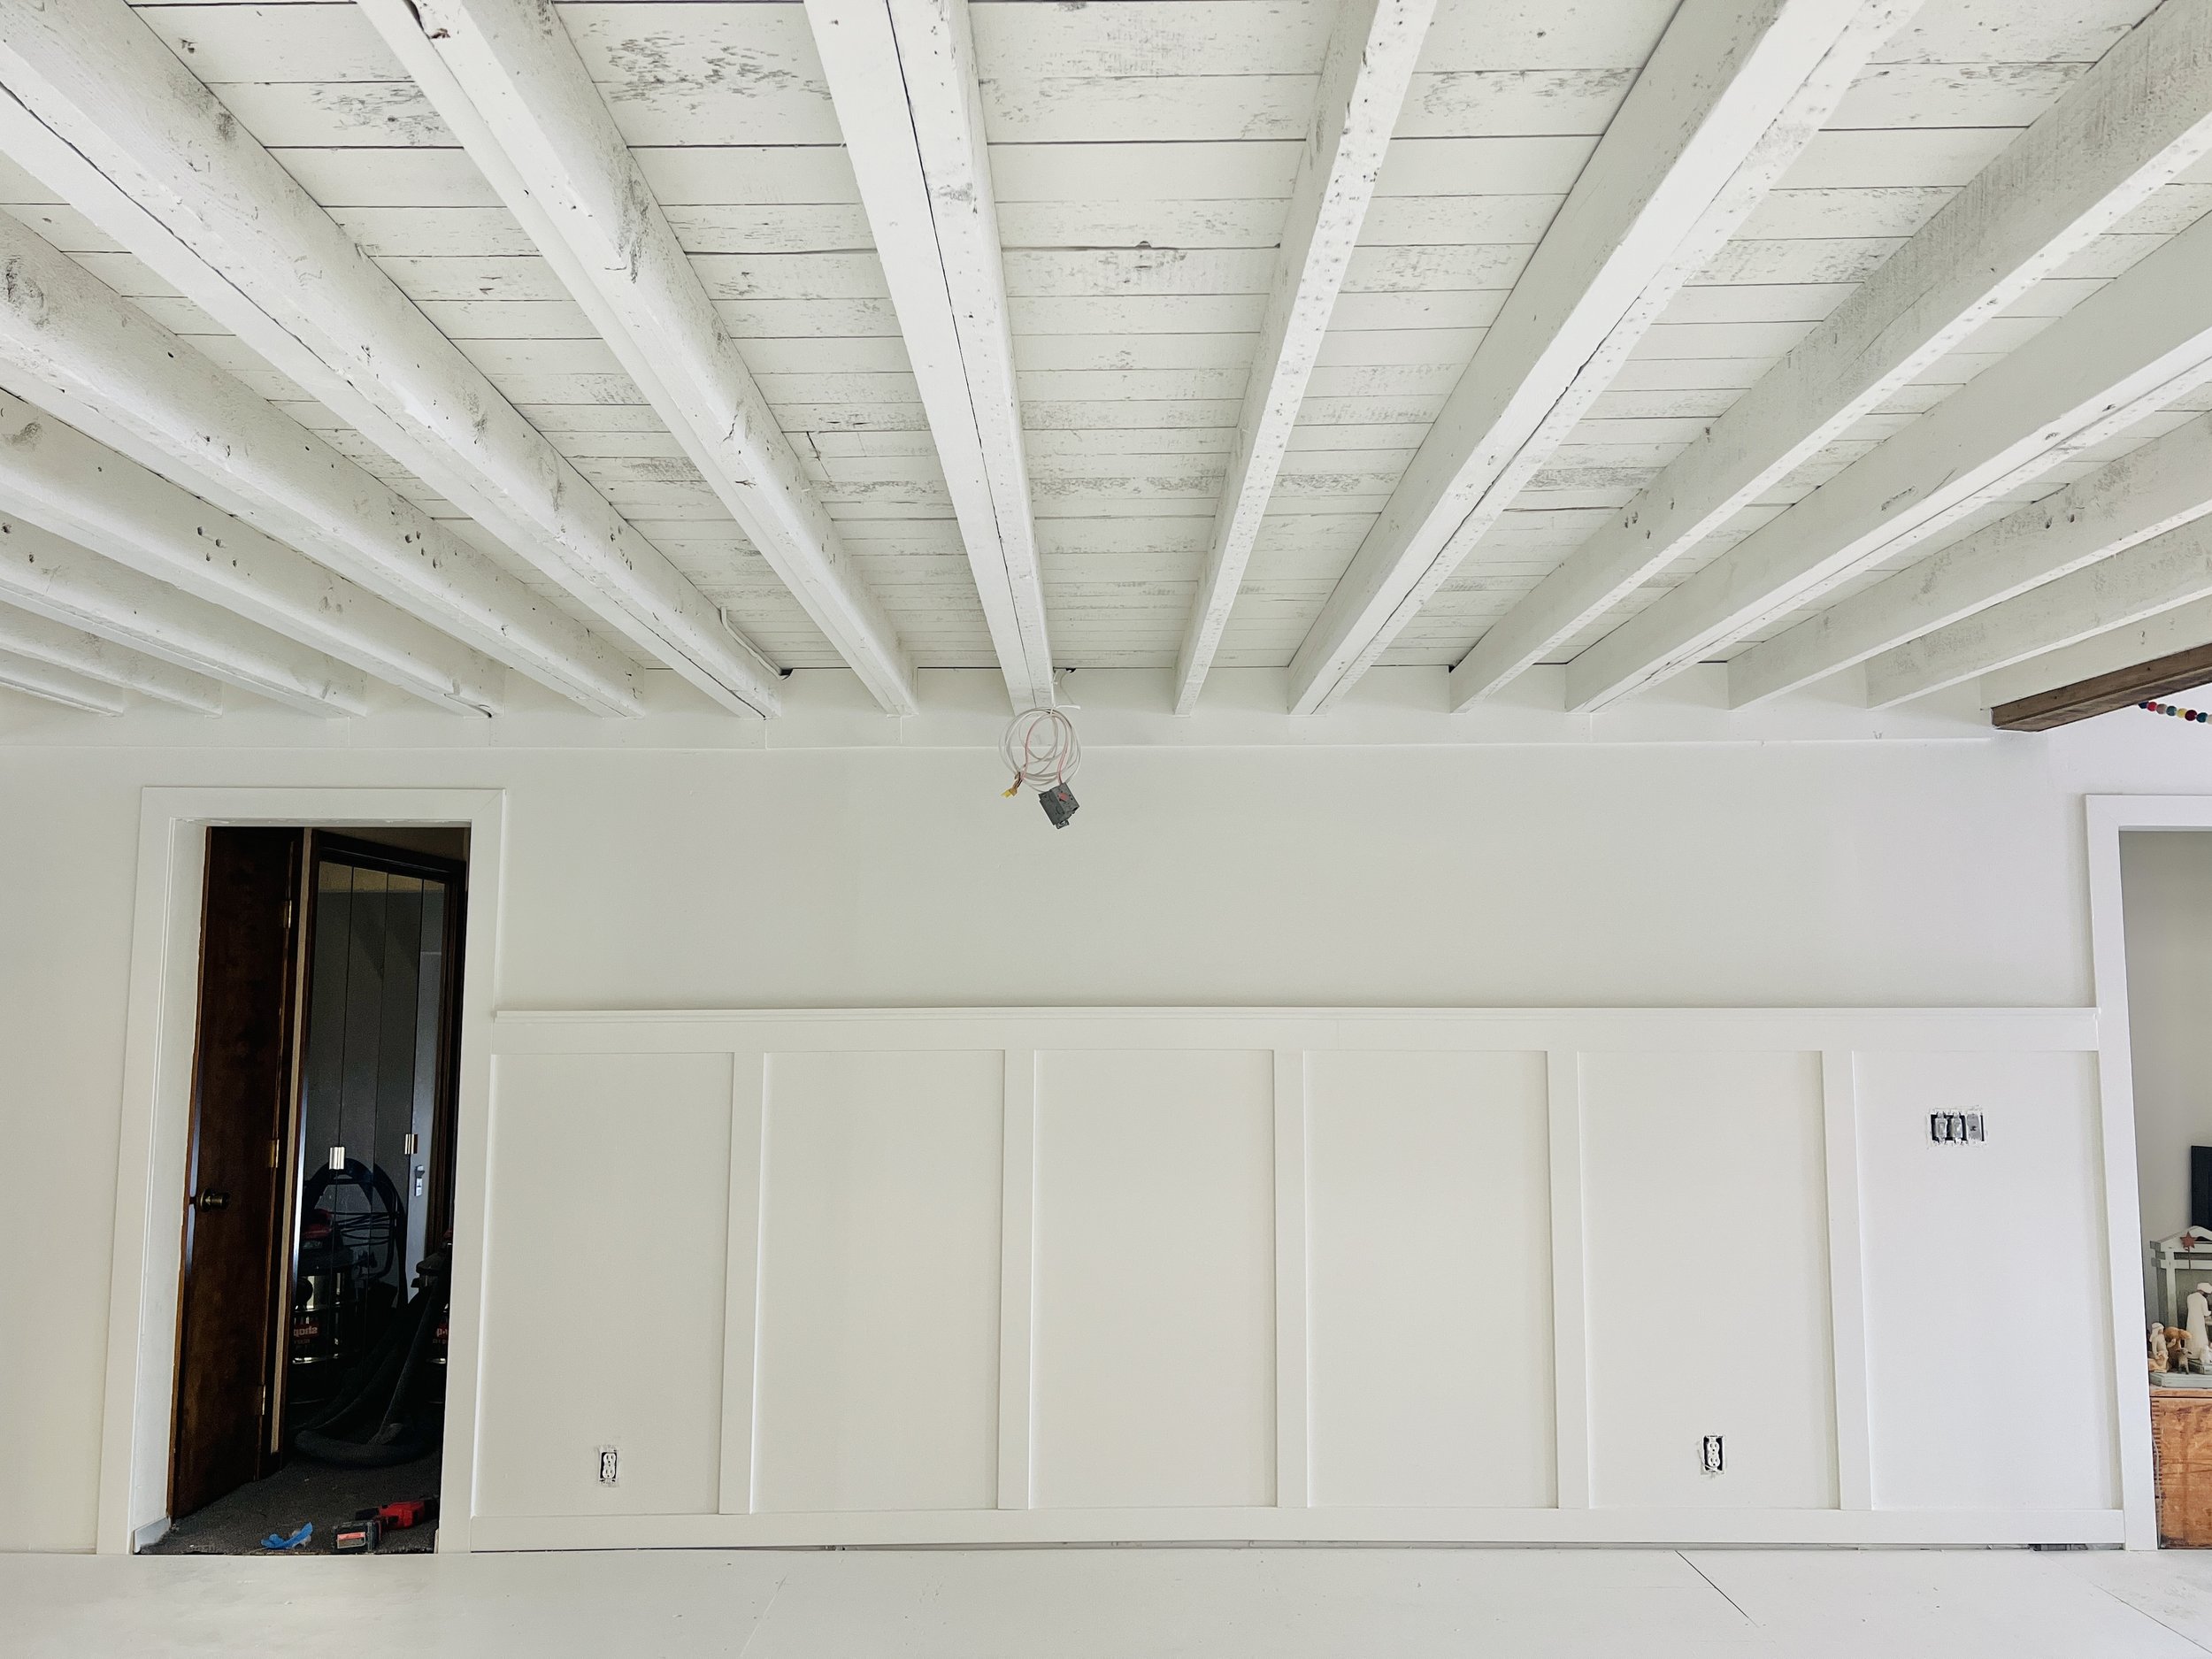
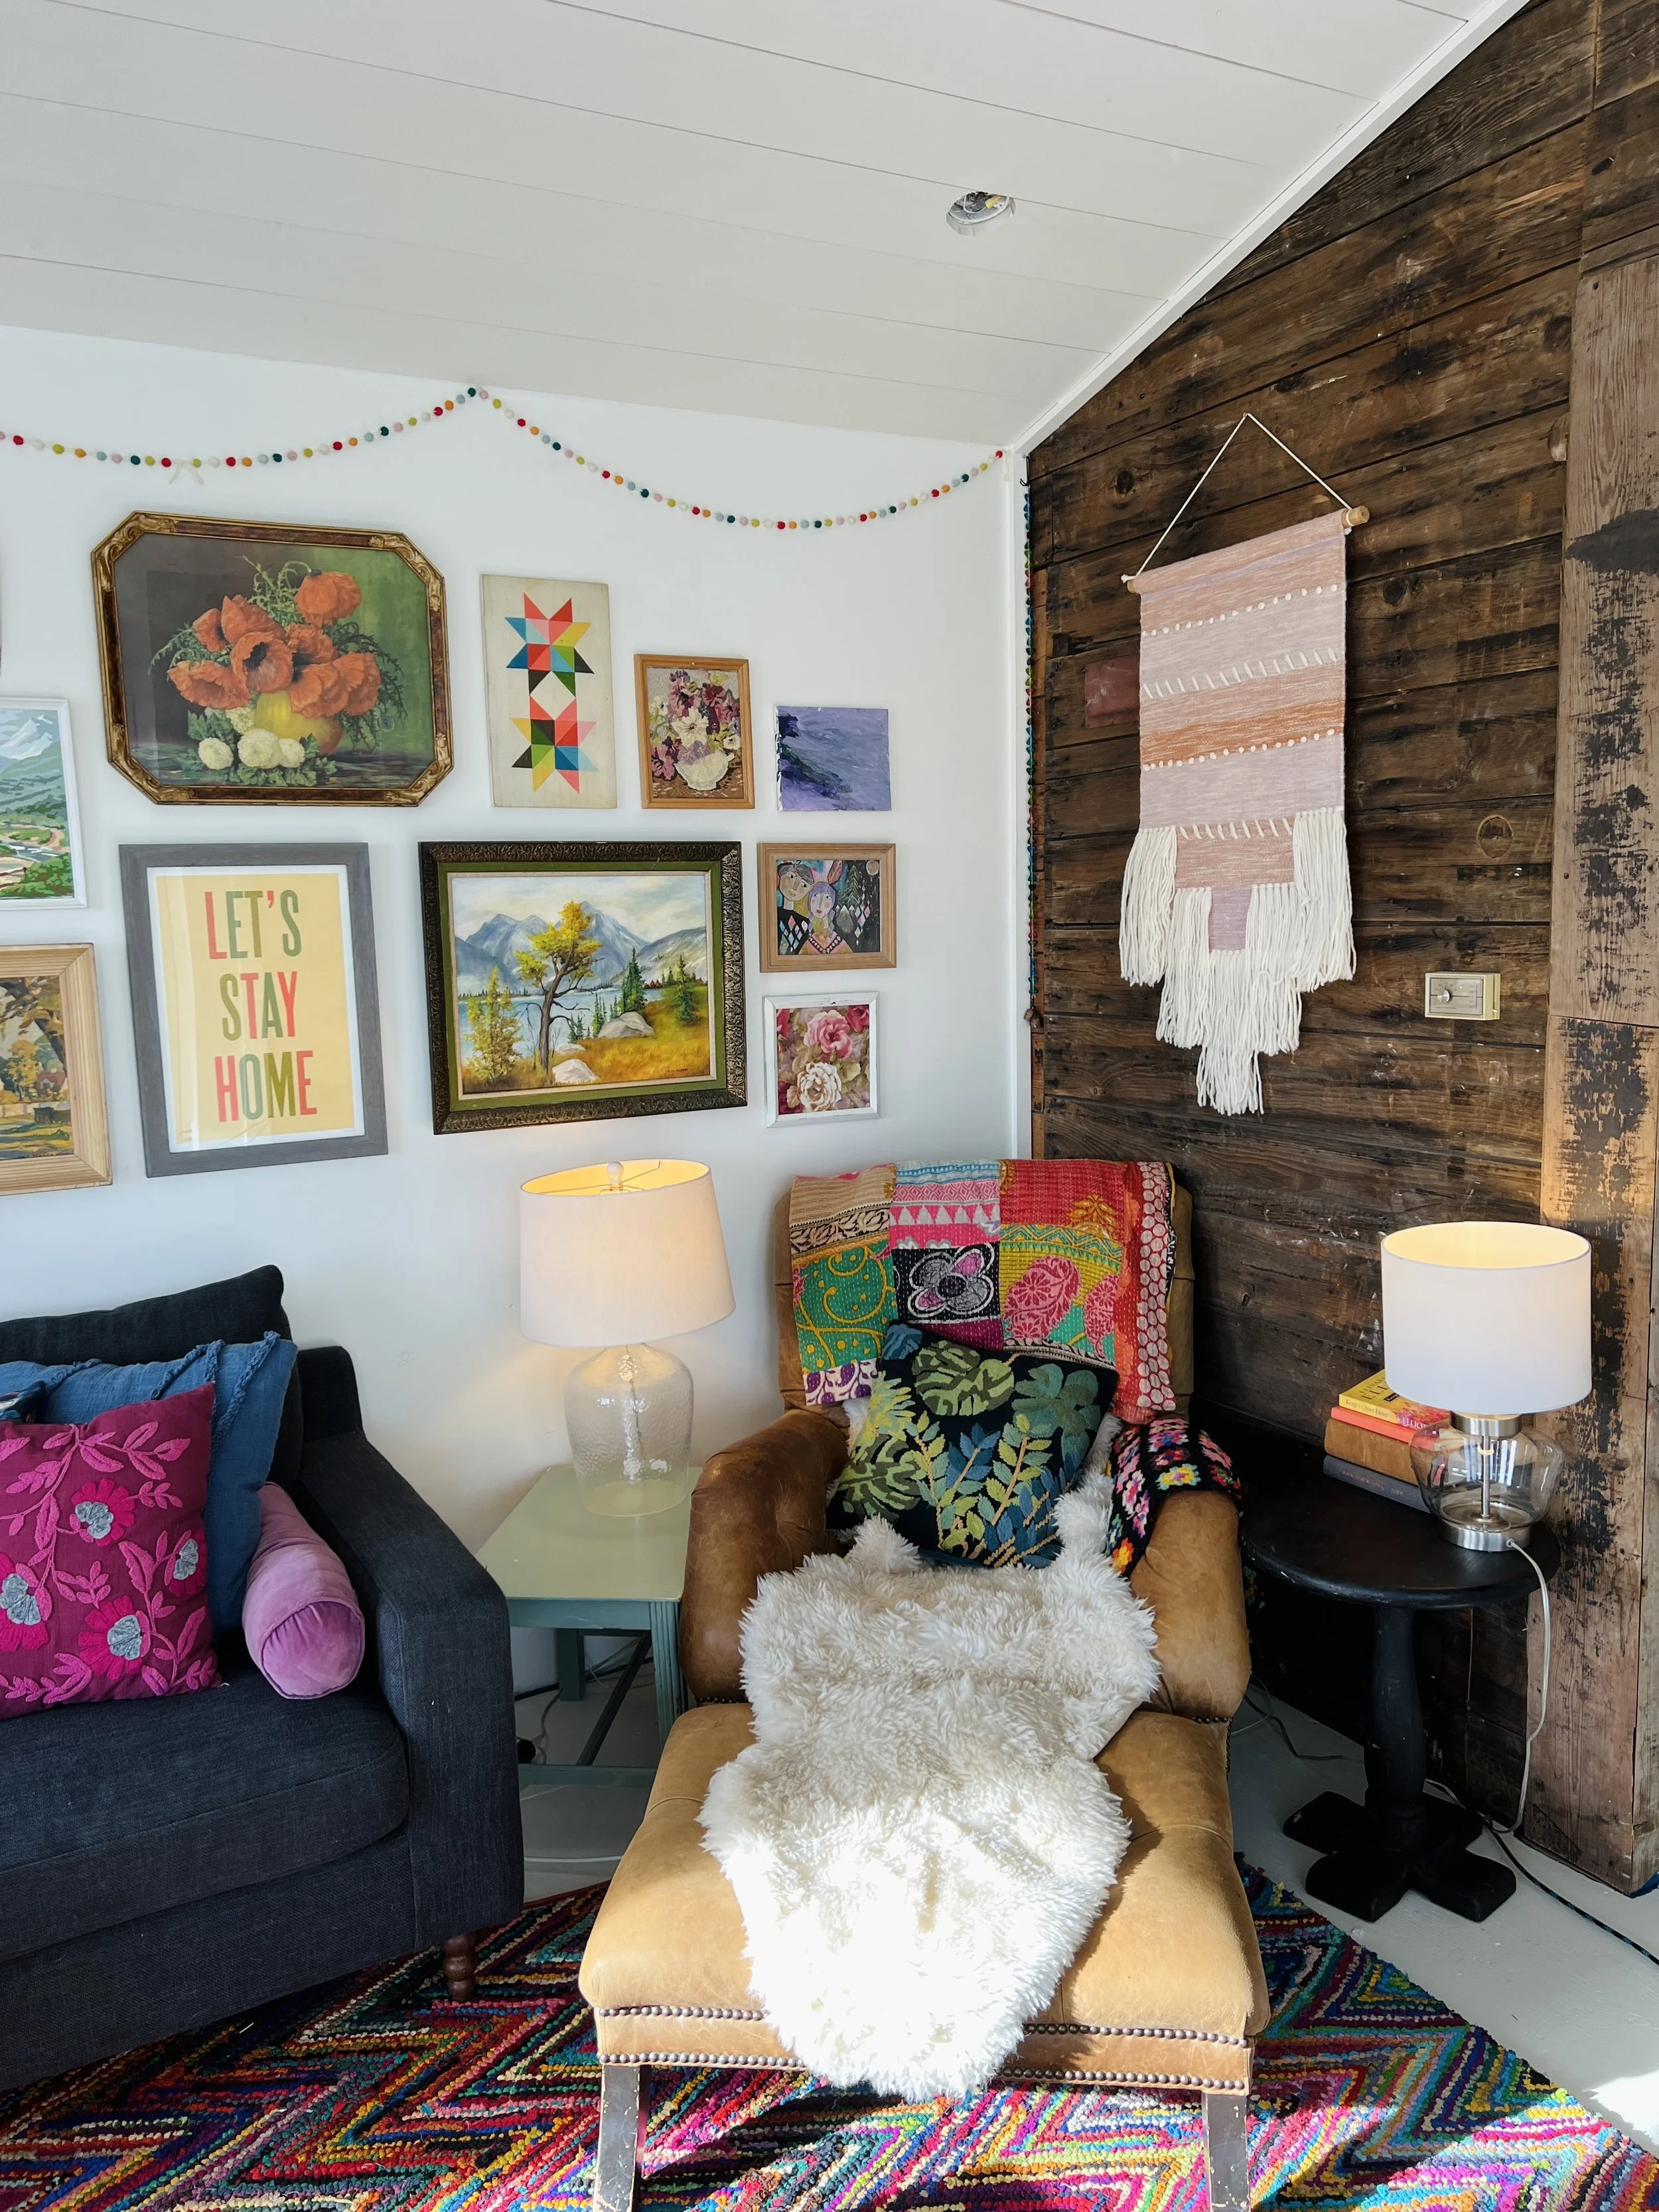
At the last minute, we decided to add a board and batten feature to this wall…and I am SO happy with how it turned out! It looks like it was meant to be there!

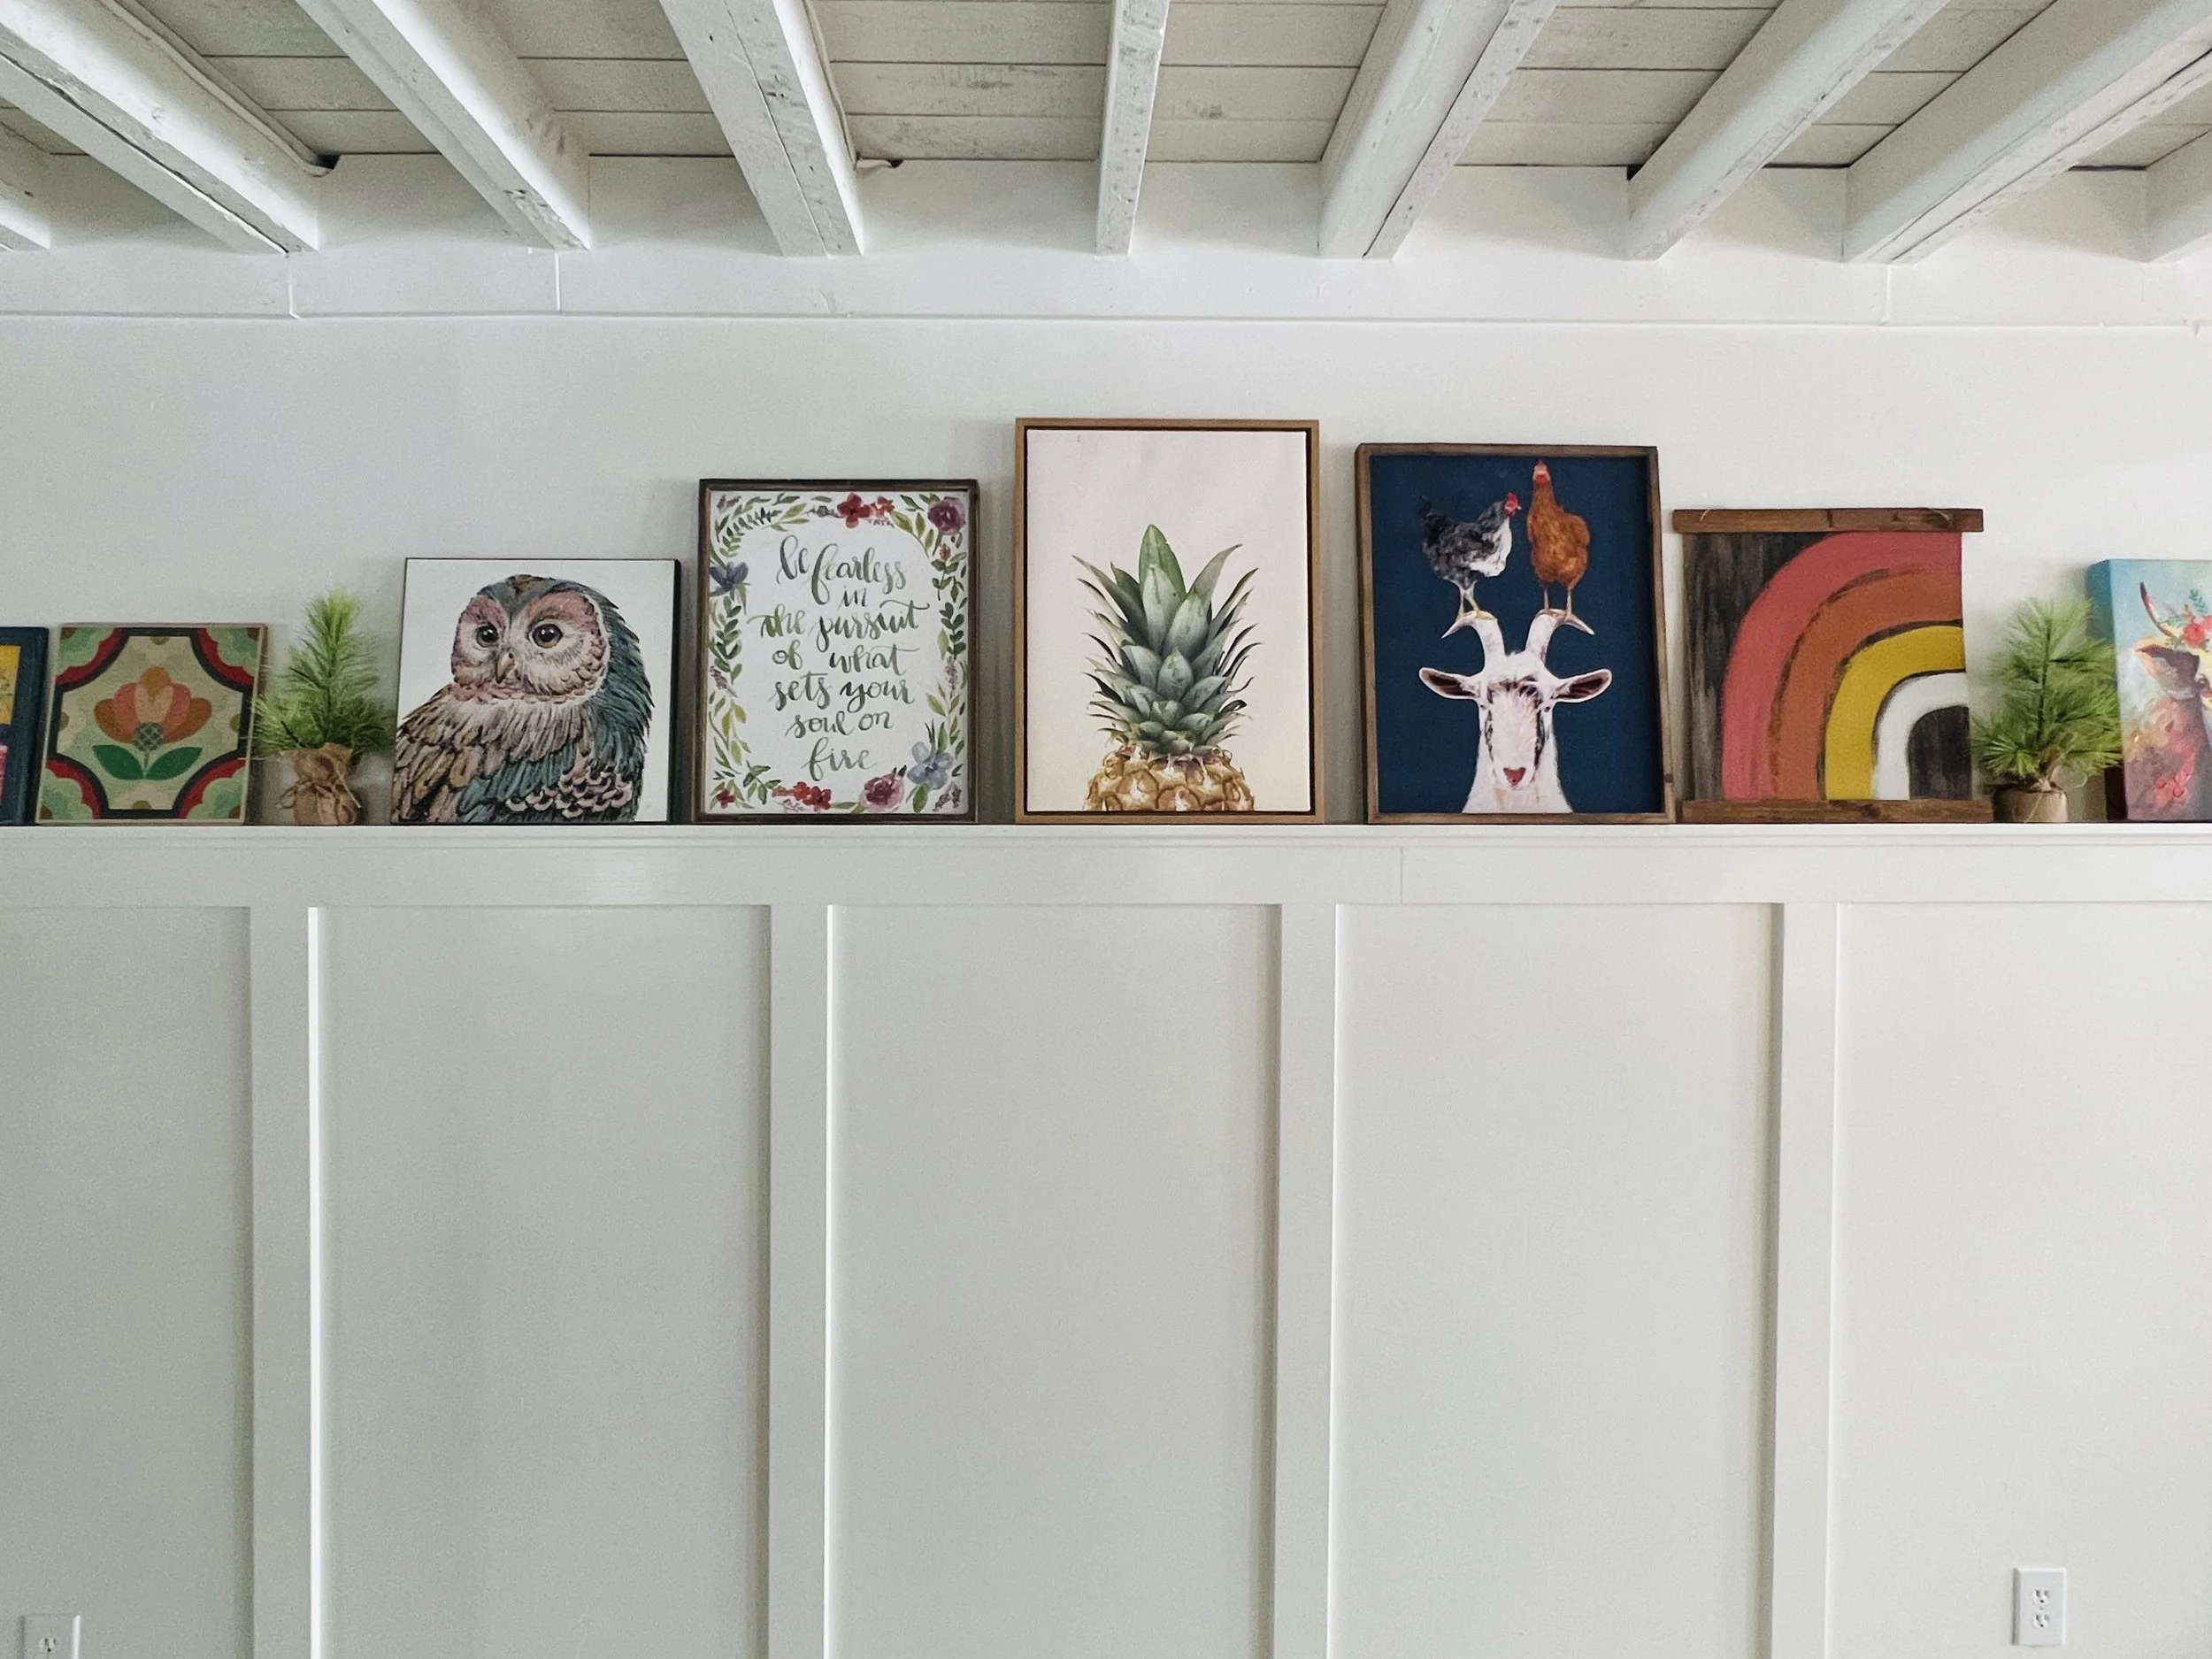
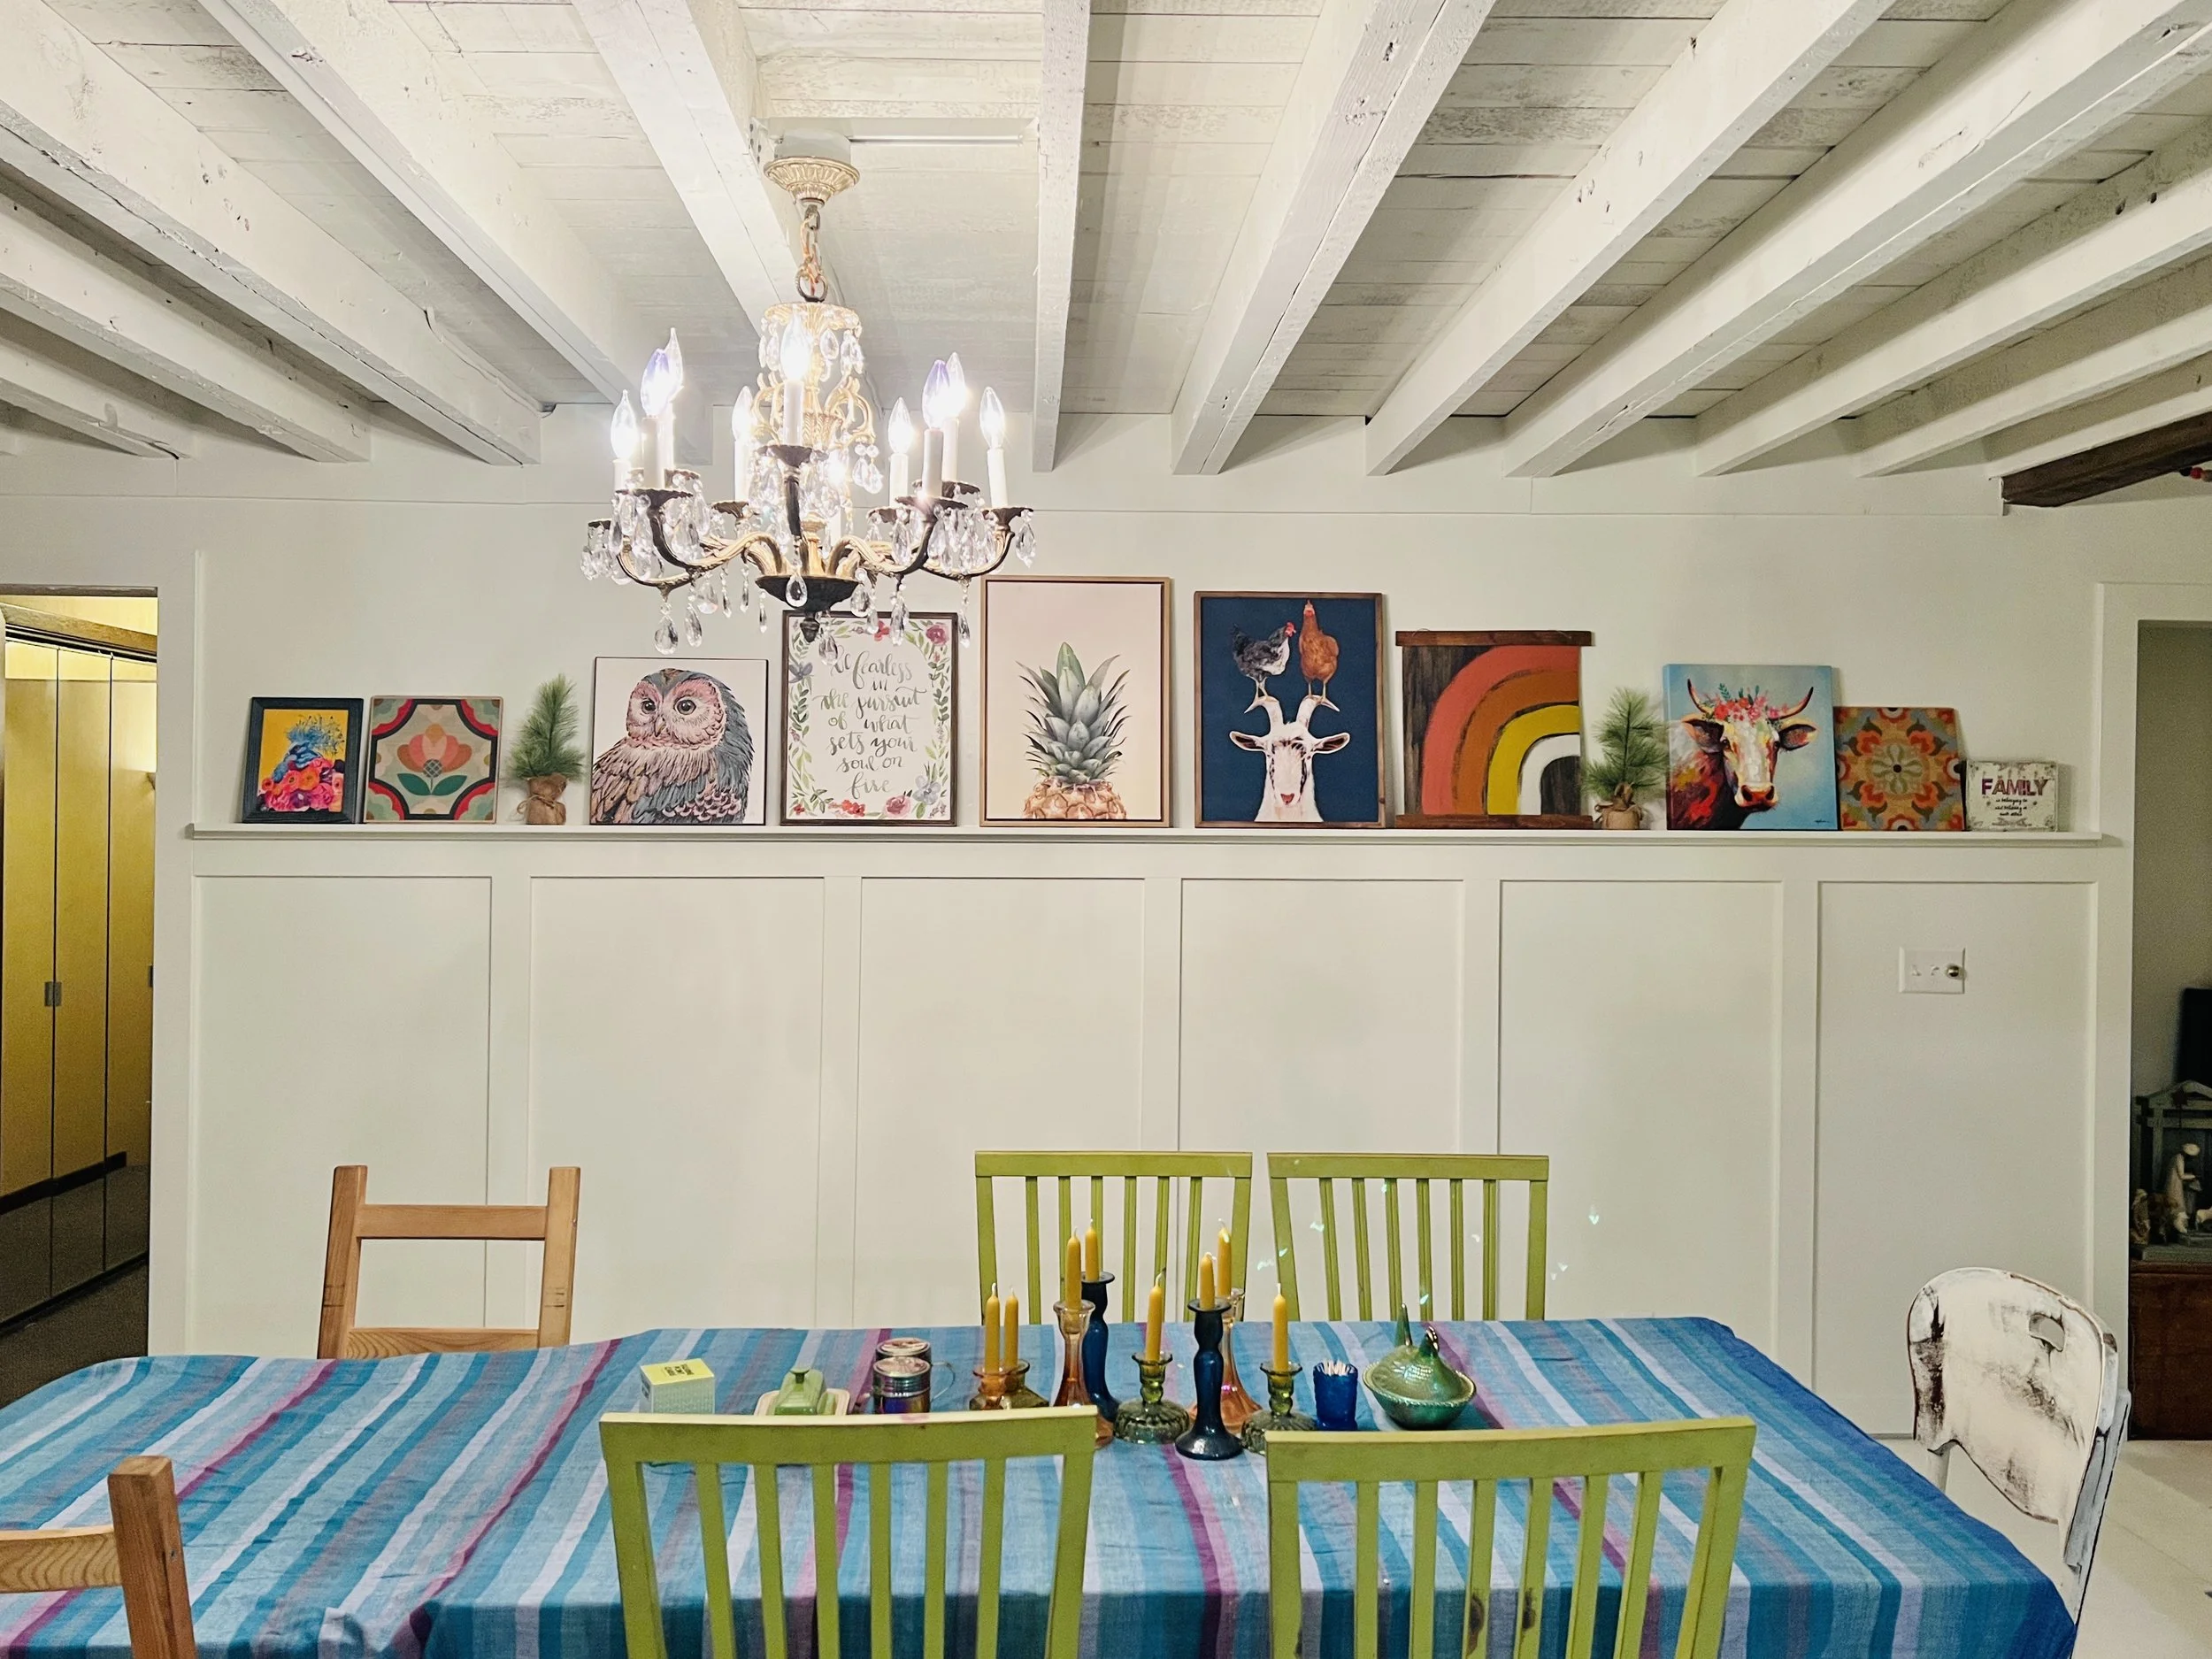
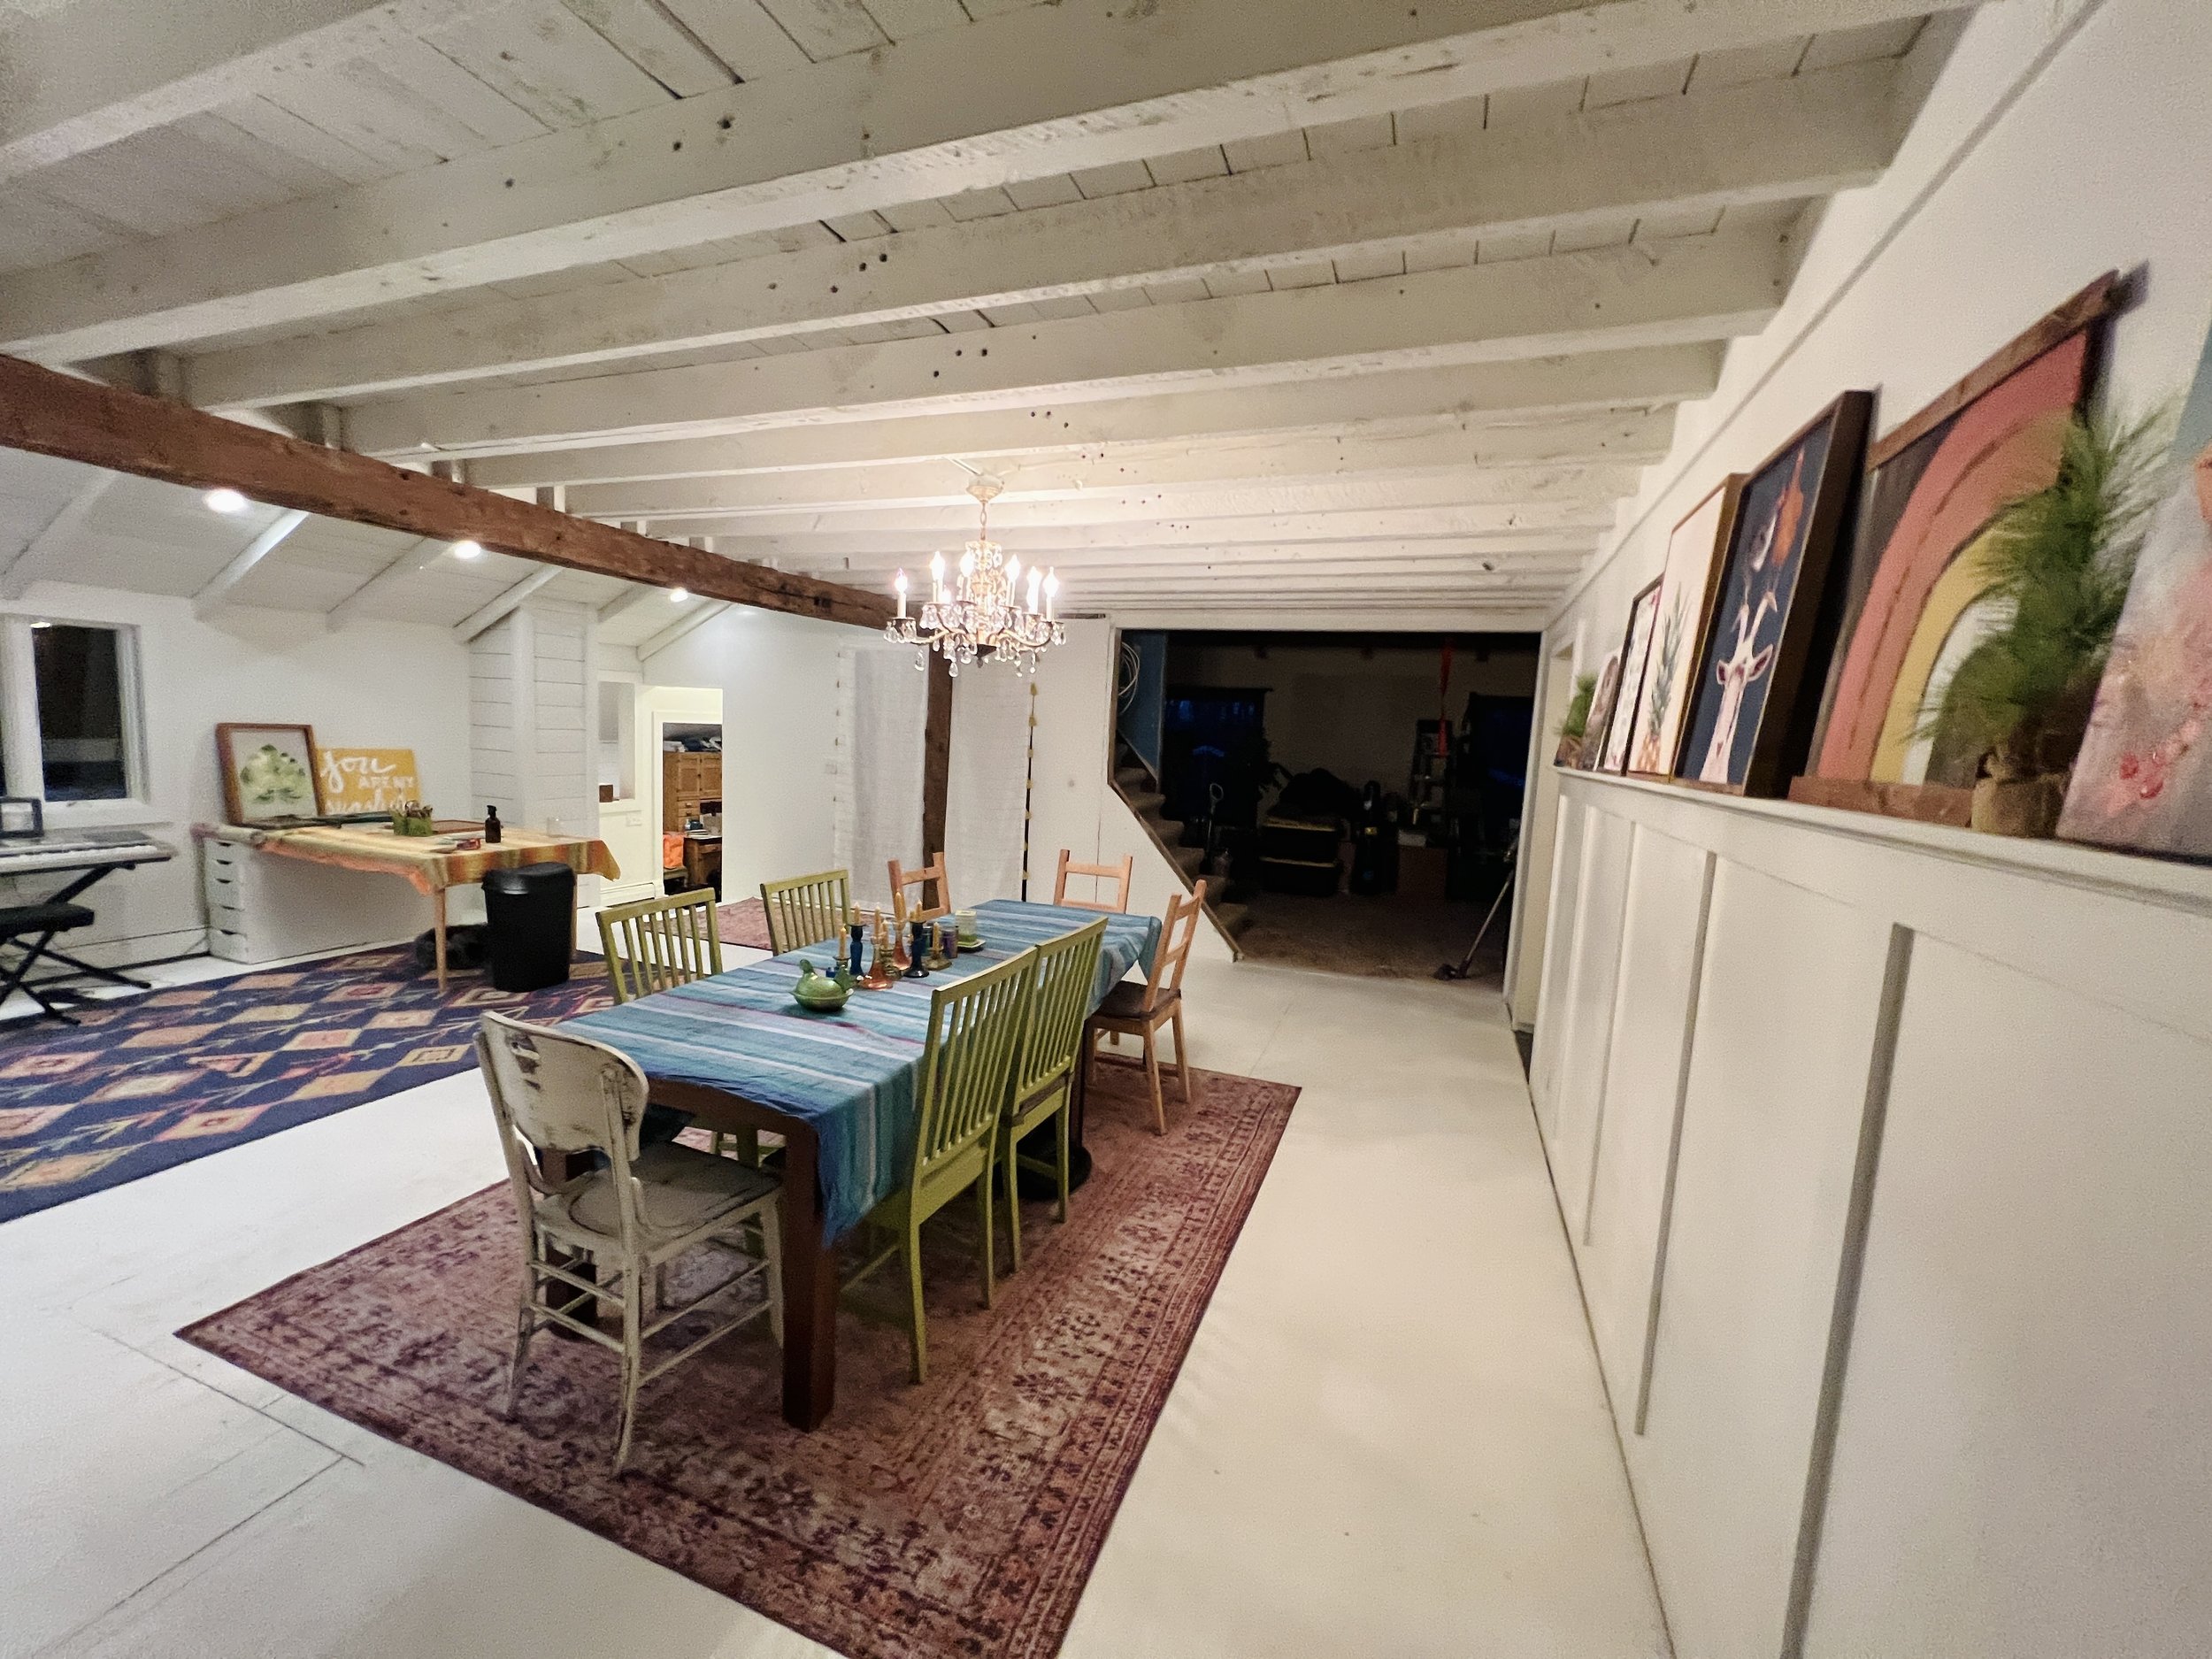
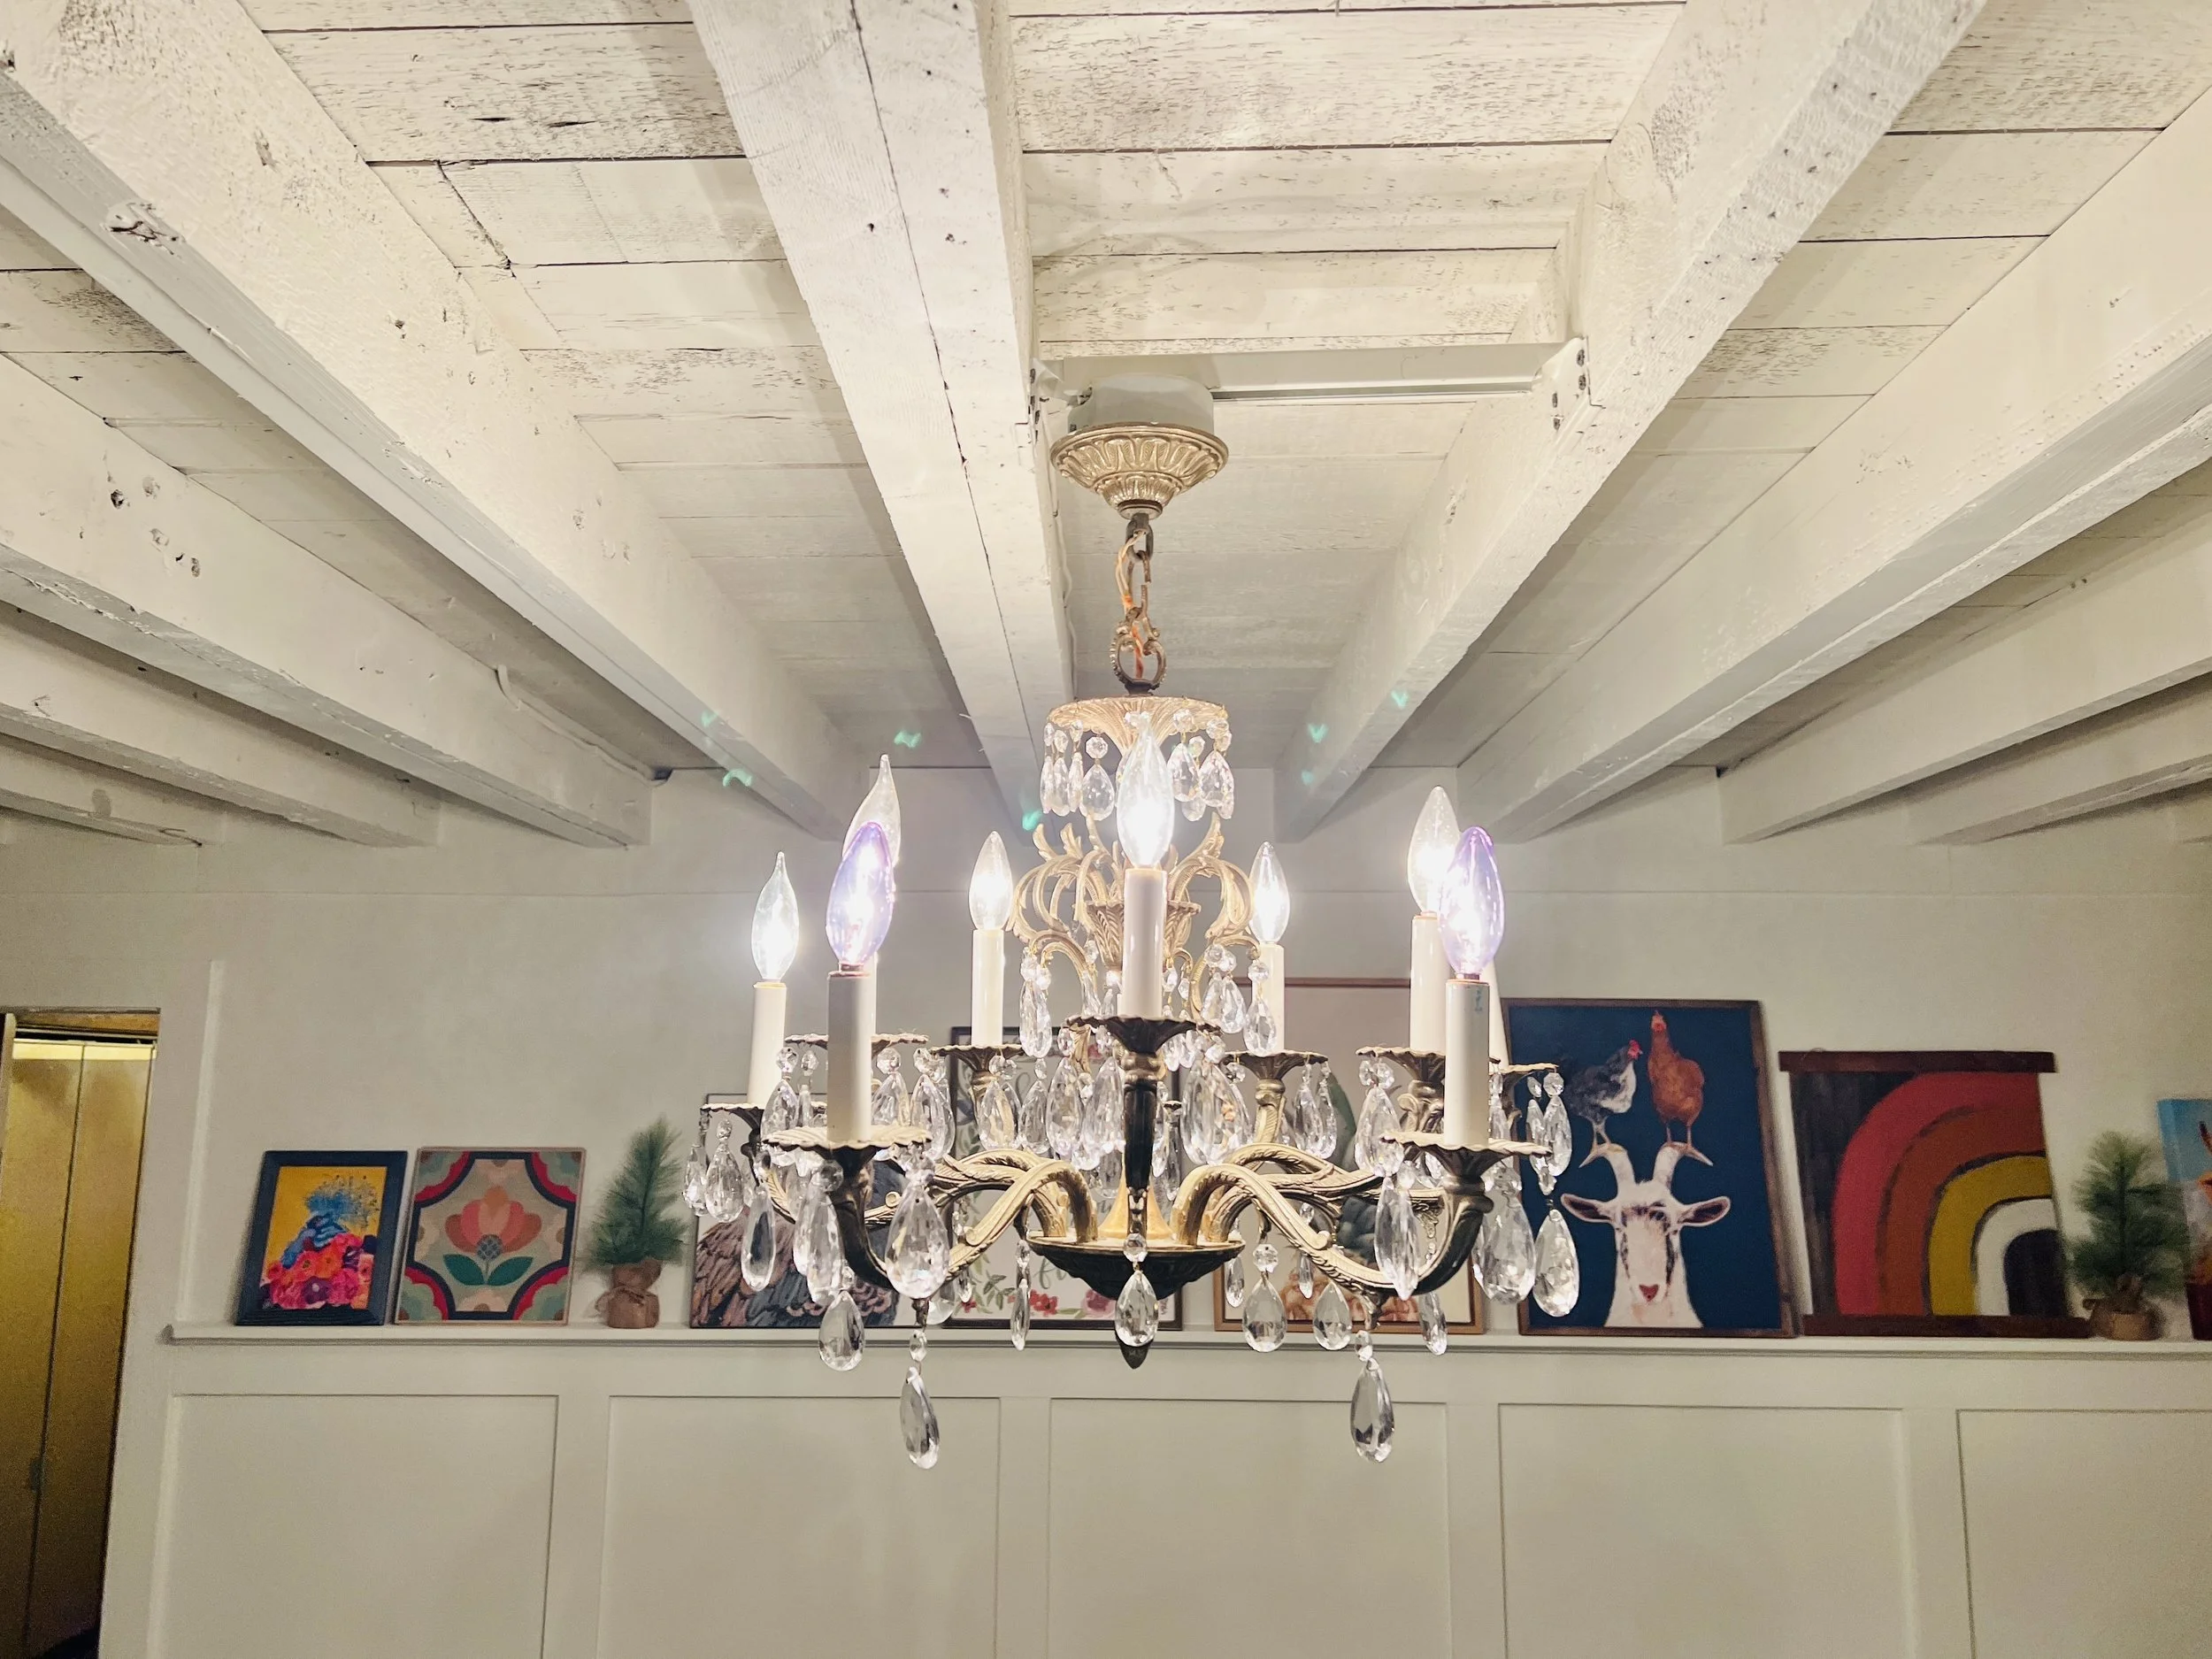
We found this chandelier at a local antique store and I fell in love with it! It’s SO heavy and puts of tons of light. I love the juxtaposition of “fancy” with rustic. Eventually we’ll have a 9 foot farm table here…perfect for entertaining.

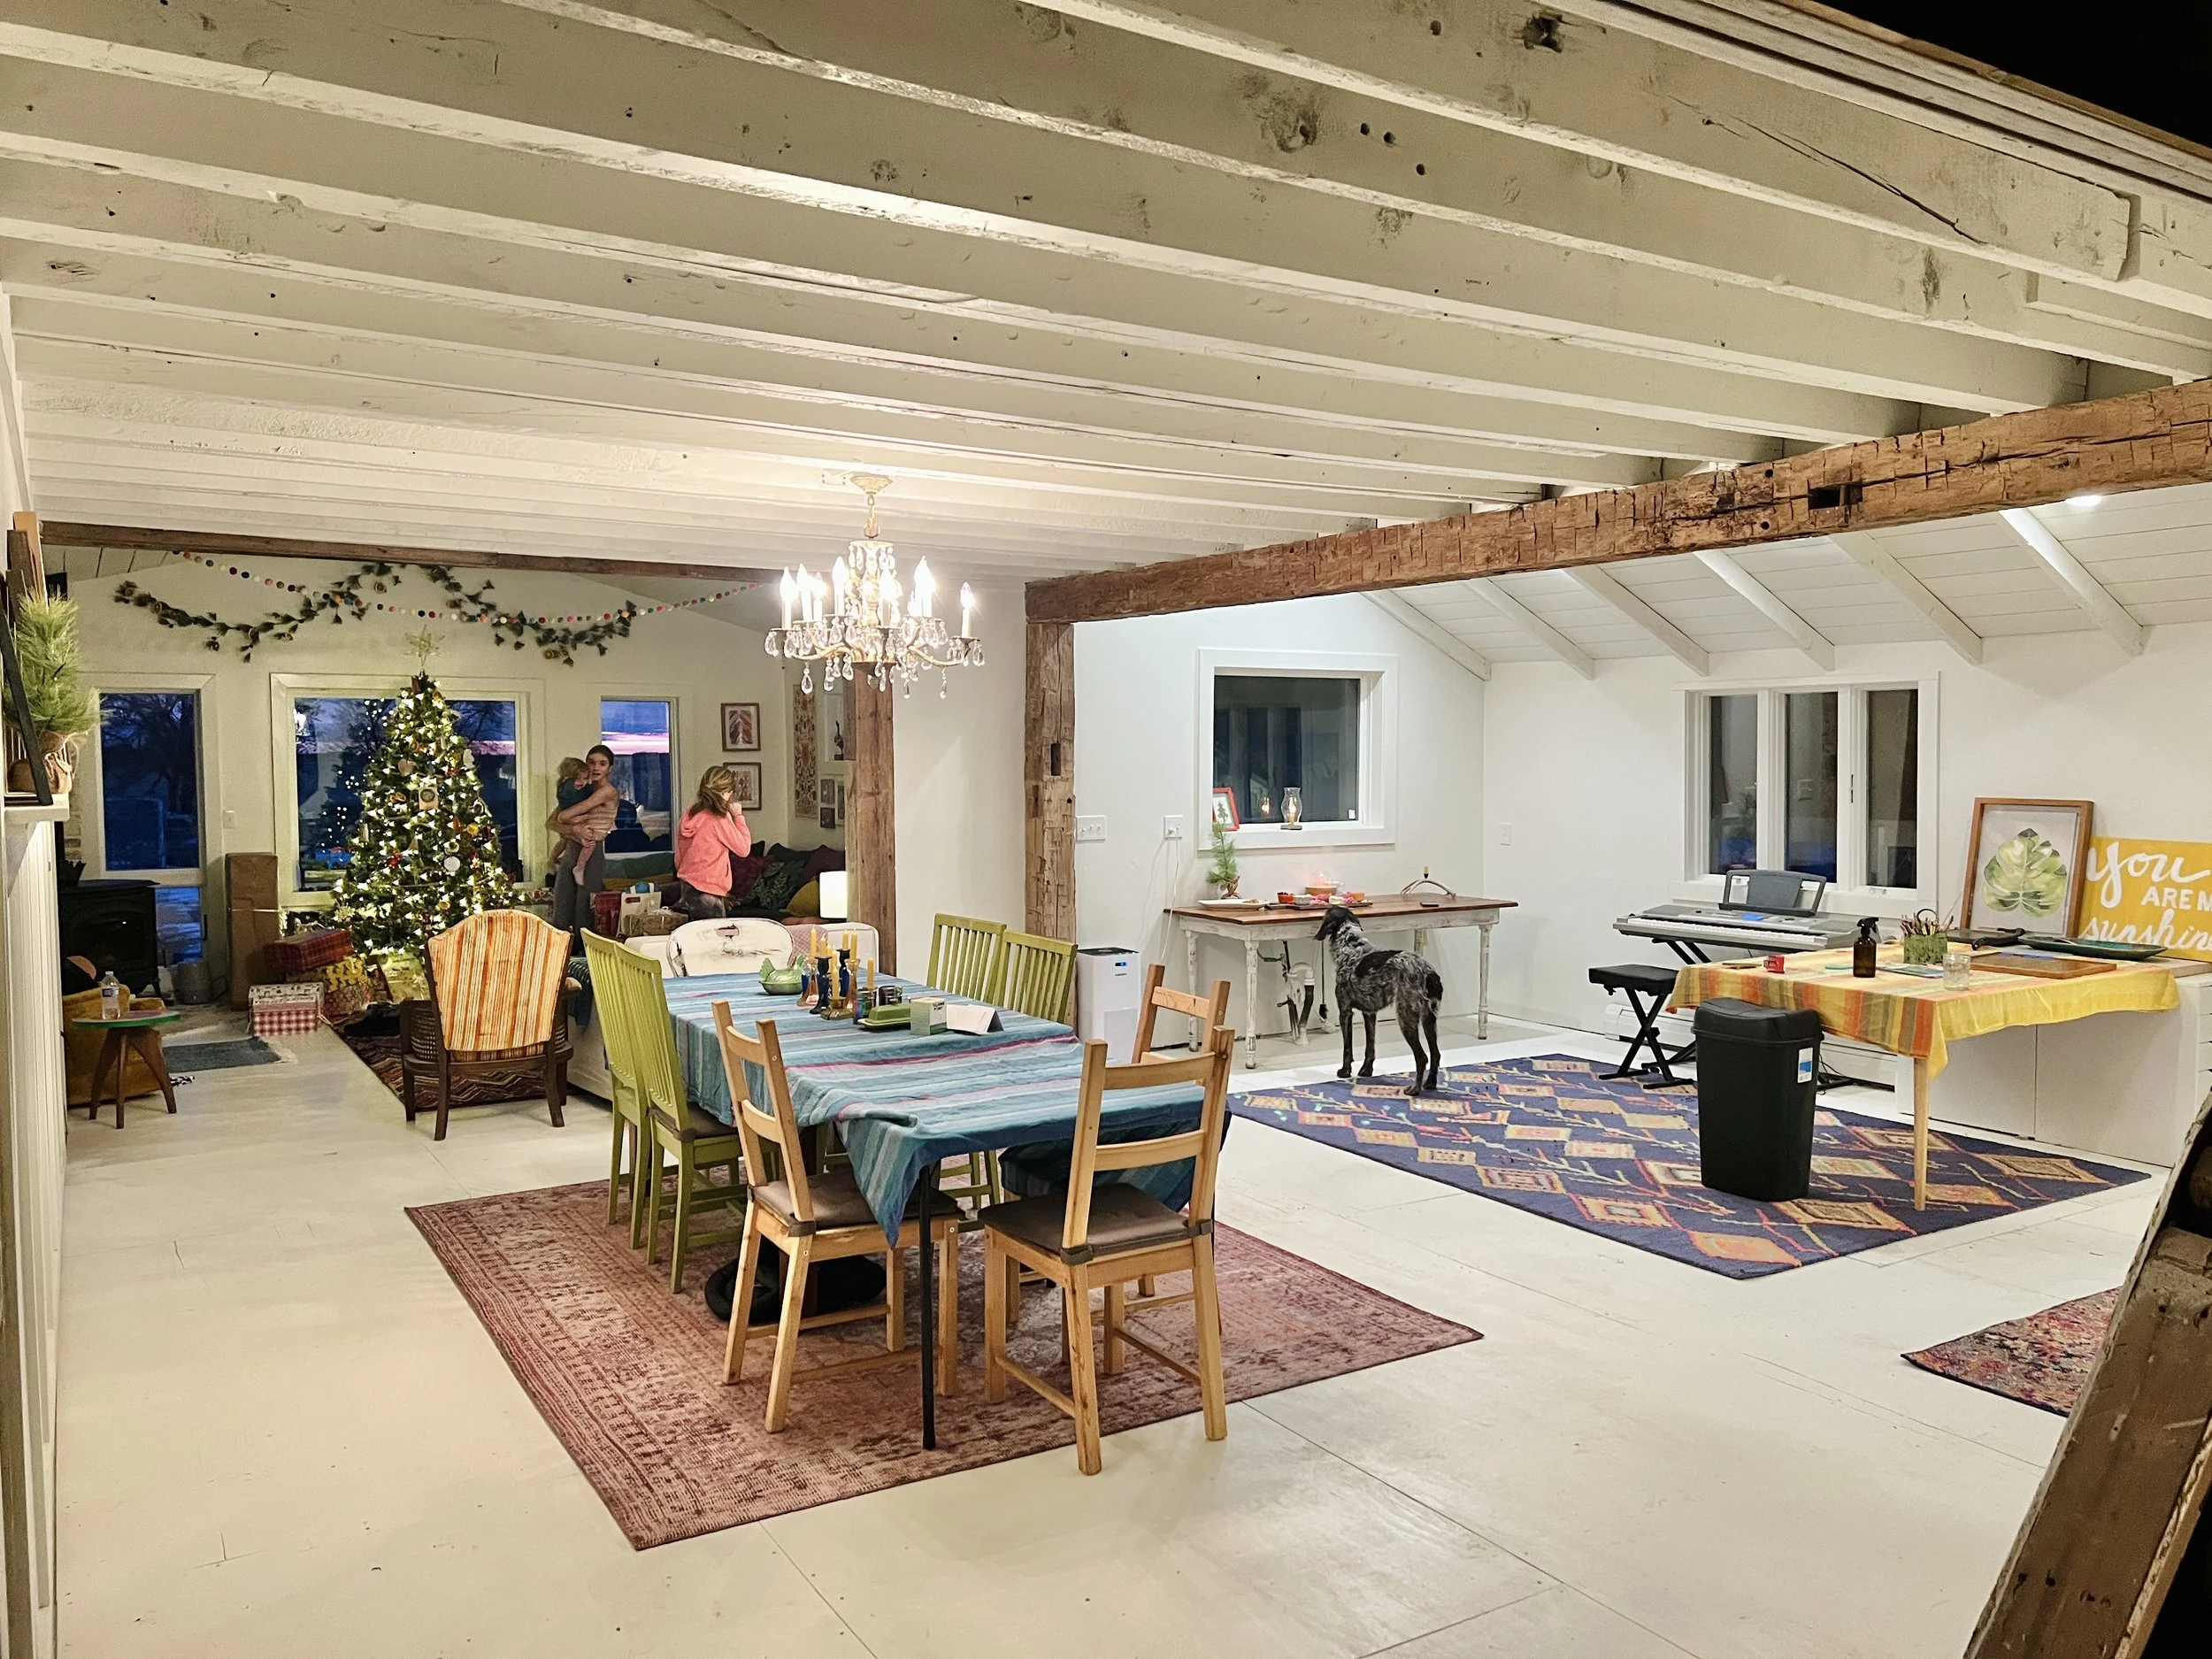
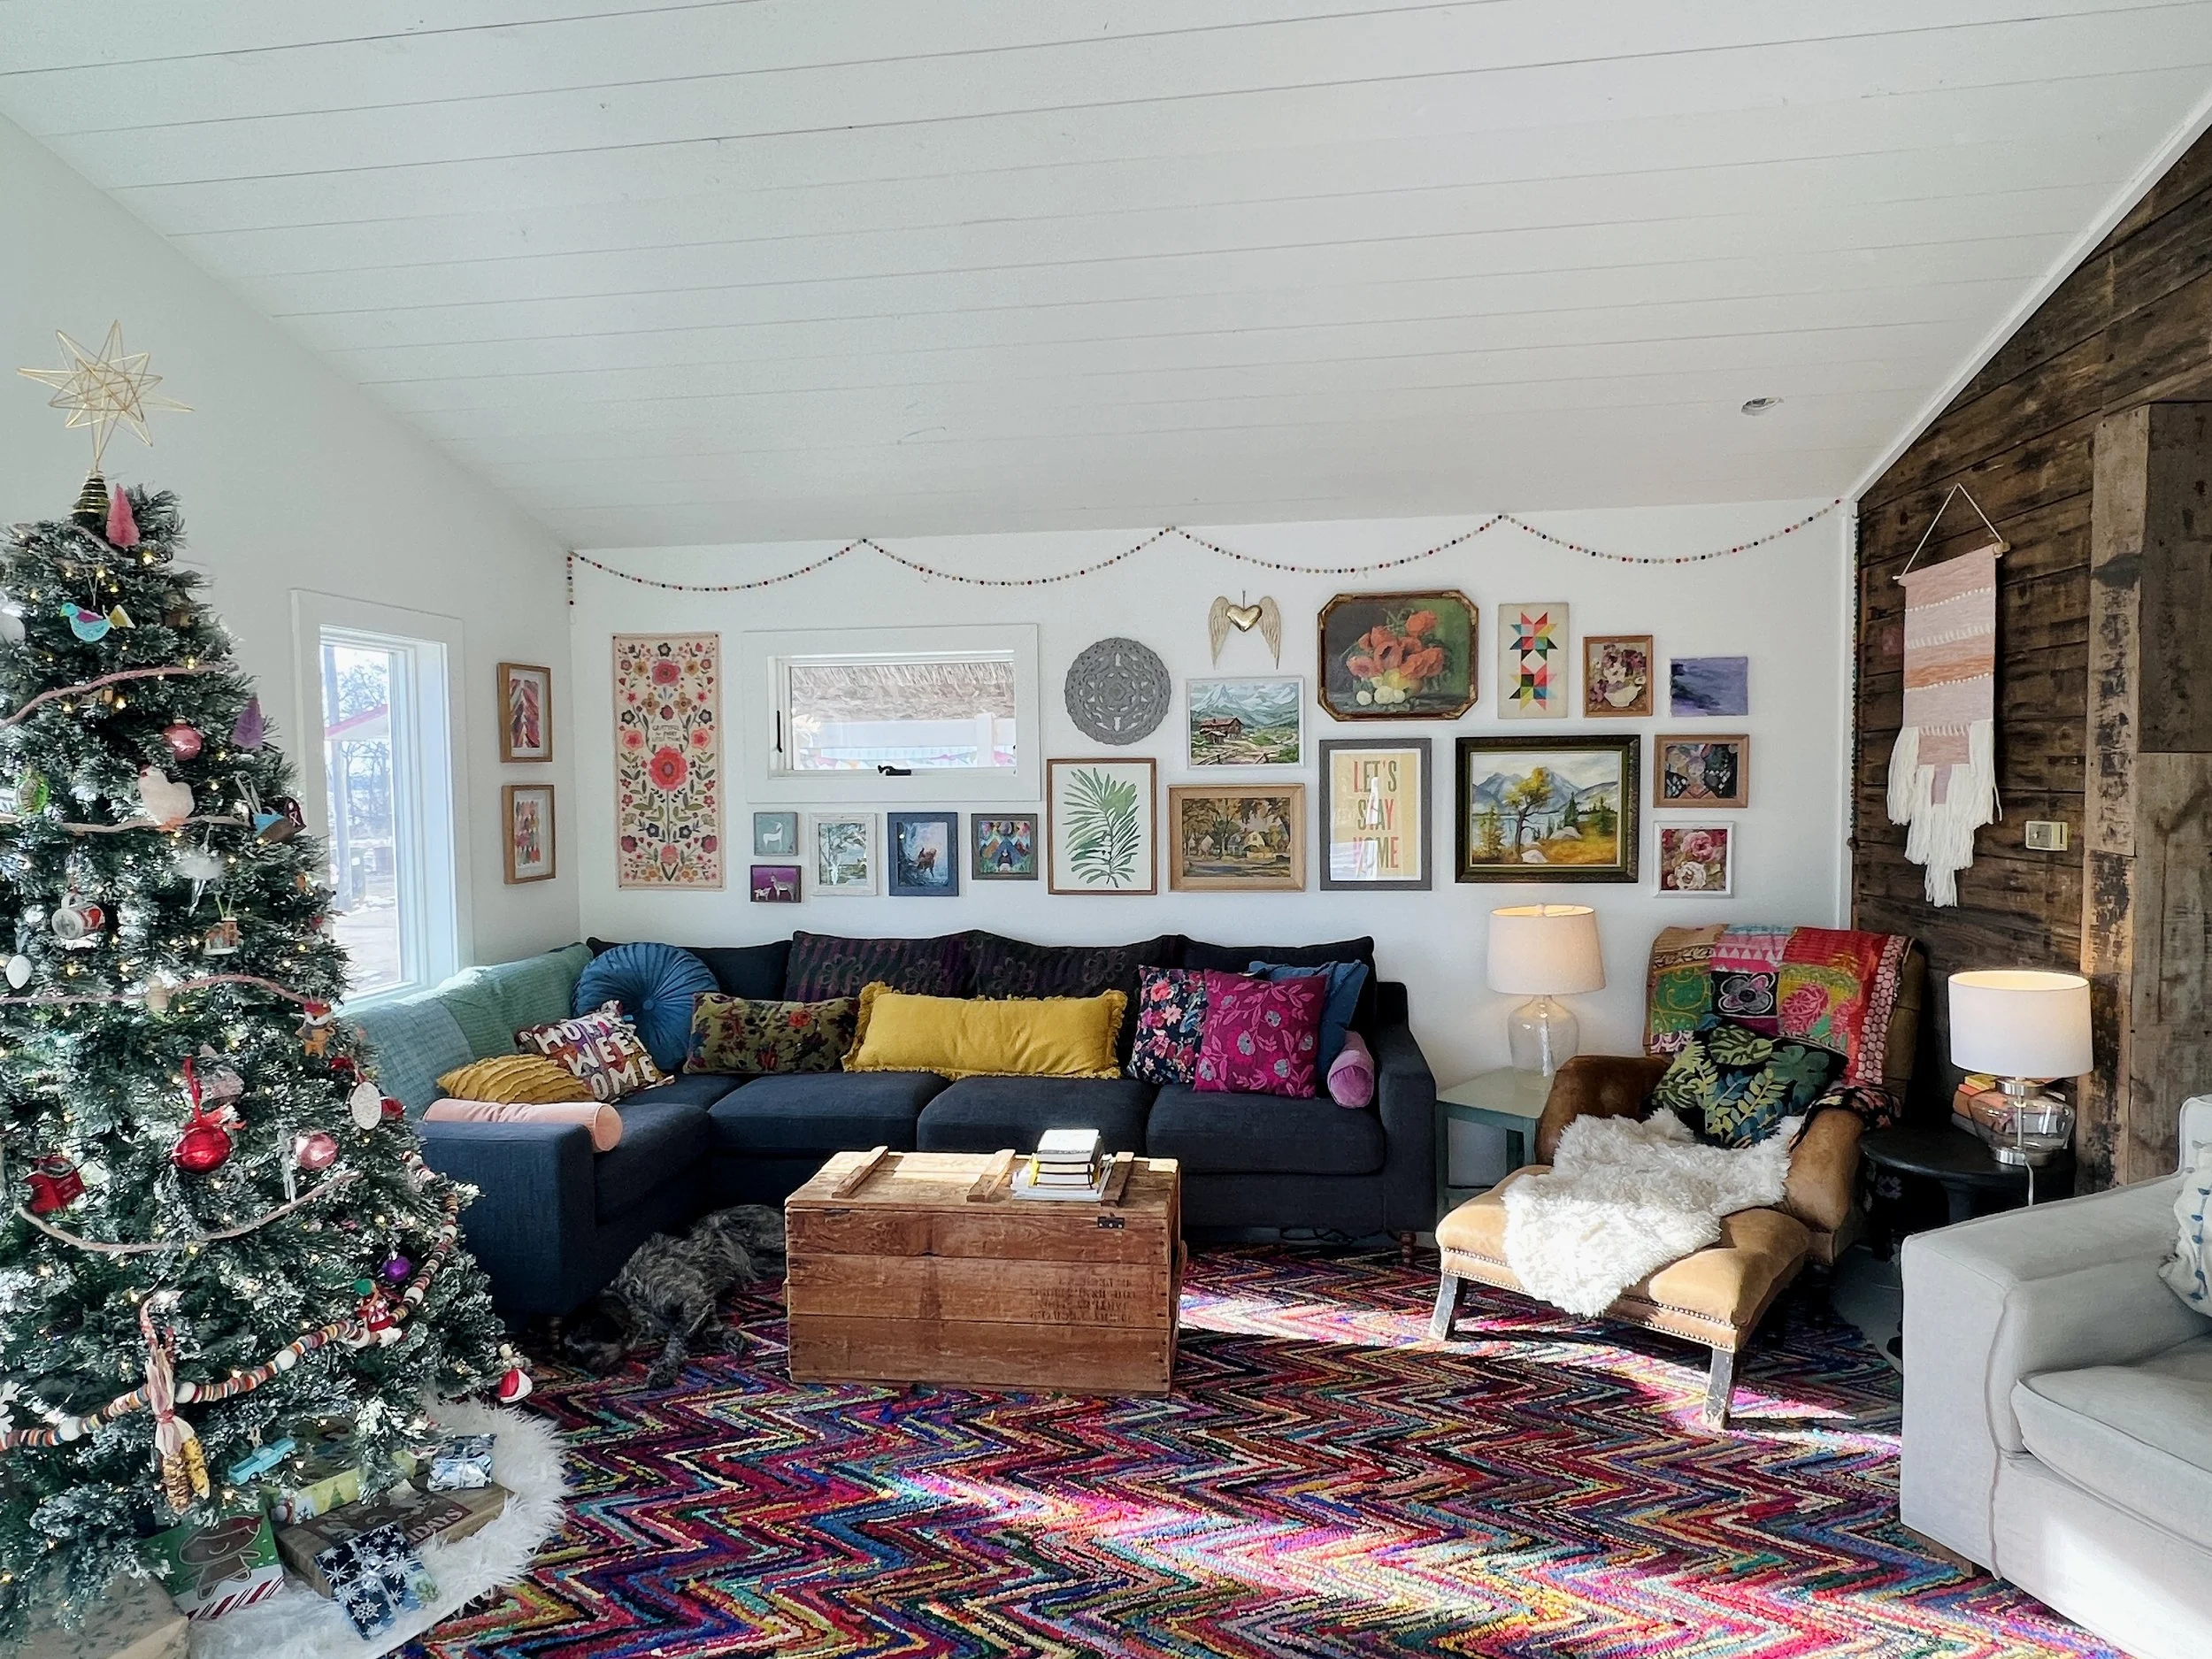
I snapped this photo right as everyone was arriving. This was our temporary set up for Christmas…and it worked out perfectly. This area has seen lots of “in between” phases…but we’re getting closer to permanent all the time!

Below, you can see a few of the “true” before and afters…there were a lot more walls and a lot more wallpaper! It’s so fun to see our vision come to life…day by day.

Sun Room Progress (Before & After)

It’s AMAZING what a couple of coats of white paint can do! I’m in love with our new (and almost finished) sun room. We are constantly in this room now…whether it’s for the sunrise or to snuggle by the fire and the twinkly tree, it’s the heart of our home at this point in the remodel. Technically, this isn’t our “main” living room”, as there is another room on the opposite side of the first floor that we were going to make into that. But I’m re-thinking that now that this room is complete! (Oh, and the tree looks sad and naked without it’s gifts! We had just opened all the presents with Ama and Grandmpa and replenished it after this photo! LOL!)

Matt’s giant chair won’t be staying there forever...LOL! But it’s there for now. I’d like a more open space to the kitchen/dining. If you have a super comfy, but smaller lounge chair that will fit a 6 foot 5 inch man…please comment. Ha!! Does such a thing exist?!

We painted the plywood subfloor white for now…we will do the entire first floor in wide-plank hardwood sometime this coming year. But I don’t mind it like this either!

The white paint color for our whole house is Sherwin Williams Alabaster. We used flat for the ceiling, satin for the walls, and semi-gloss for the floor and trims.

This is the original shiplap from the exterior of the 1895 farmhouse. How cool it that?! We decided to keep it exactly as it was to honor the history of this amazing house! You can see into the kitchen and dining area here…that’s our next project!

We do need to add the light fixtures in this room…I’m thinking about doing a funky pendant like the one we had in Texas or this pretty one.

I love so many things about this room…but one of them is that the windows look directly out to our barn and gardens. I love being able to see all the action! See those binoculars on the window sill? I just used them to watch a bald eagle fly around our property and land in our trees. The nature out here is awesome!

This is my happy morning corner. My old beat up leather chair has holes in the arms and the legs are all beat up…and I like it that way! I may repair them sometime soon…but for now, it’s just right.

Below you can see what the sun room looked like when we moved in! Lots of tile, carpet, wallpaper, cabinets, and popcorn ceiling. This home was so well-cared for by it’s previous owners (they lived here for 60 years!). I’m thankful for the time and love they put into making it their own. And now we get to do the same!

It’s crazy to look back and see how different it was…because it happened little by little. I can’t even remember what it felt like without our new picture window and wood burning stove installed ! I love how it turned out and can’t wait to continue moving forward with the rest of the remodel. Check out our gallery wall process in this separate post!

Let's German Schmear the Brick!

In my years of Pinterest perusing, whenever I would come across a brick fireplace with the German schmear technique…I would fall in love again and again. I think my first exposure to this idea was on Fixer Upper…when Chip decided on a whim to schmear the fireplace. LOL! So when it came time to build our woodburning surround in our sun room, I knew exactly what I wanted!

This method dates back centuries…and it turns out different every time, much like a unique work of art. And because I want my house to look like a quaint European cottage, this was the perfect choice. I love the distressed, rustic look…and I’m so glad we did it!

But before we could schmear (and yes, that IS a word…even though some people may say “smear”)…we had to BUILD the surround first! We headed down to Hebron Brick in Sioux Falls and picked up some thin brick from their Americana series. We chose the Bell Tower color because we wanted a little variation in tone.

We wanted to try something fun…and decided to do herringbone on the floor. It turned out so fantastic…Matt amazes me every time with his endless skills! Oh, and do you see the front windows completely covered in ICE?! It was a sure sign that this warm little corner is highly necessary in South Dakota! :)

The most stressful moment occurs when you’re putting the mortar on for the first time. Ok, Matt wasn’t stressed, I was a little stressed. After watching 29 tutorials…he was like “just let me do it babe”. LOL!

Here is the finished product! So perfect! The floor turned out with more coverage than the wall, but over time it will wear down as the wood is piled up. You can see that we also got the pine put on the celing and the dry wall is starting to get finished. All that’s left now is to finish the trim and paint! We’re planning to get that done in early December so we can decorate our very first upstairs room for Christmas! The hardwood will go in sometime in the spring.

And just a peek at what it looked like when we moved it!! Lots of changes and many more to come!!

Our first fire…just in time for my birthday! The stove is a Blaze King Ashford 30…and we got it on marketplace for $500! It’s a super high quality stove that will heat our entire first floor if we would ever lose power in the winter. Hooray for self-sufficiency!

I’m so excited and thankful to have the glow and cozy warmth of a woodburning stove this winter. Be sure to scroll through the process photos below and ask any questions in the comments!